


Allan's Blog
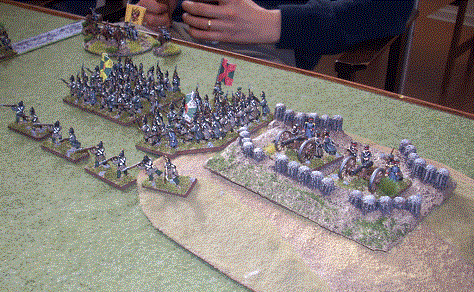
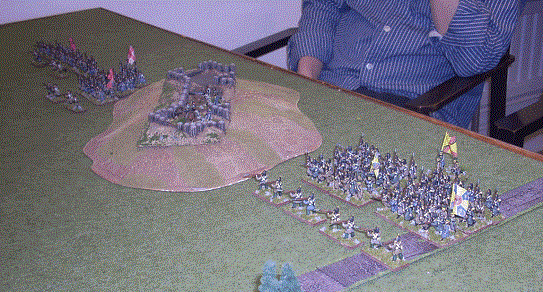
7yrs FoB2 game


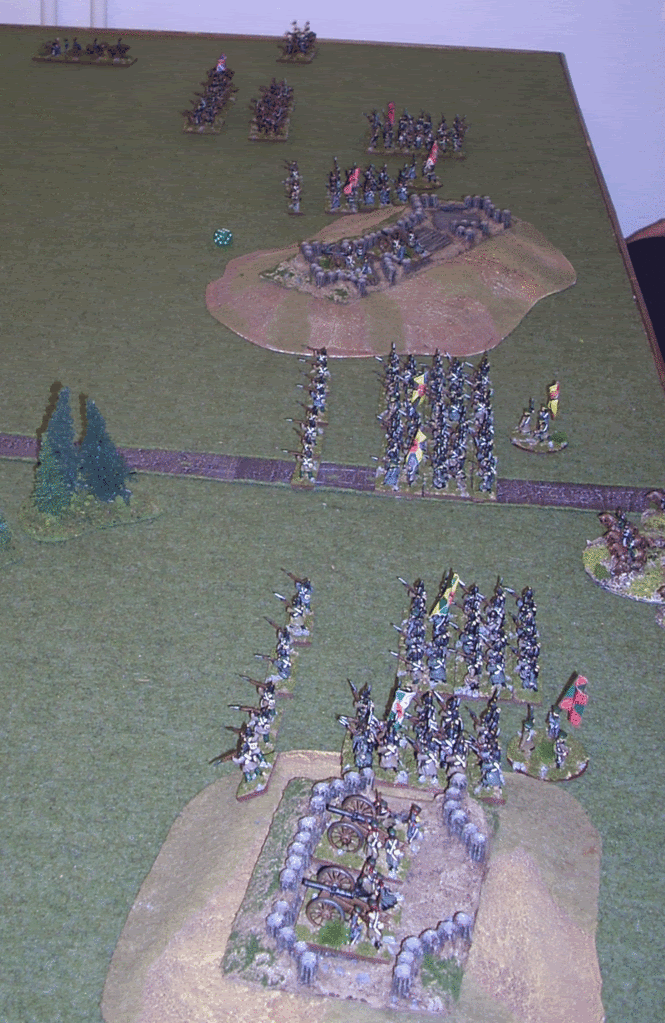
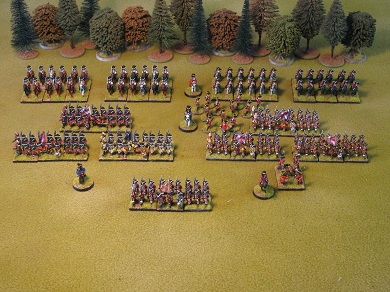
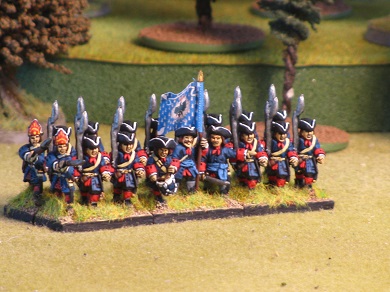
Fob2 7yrs War Game c1757
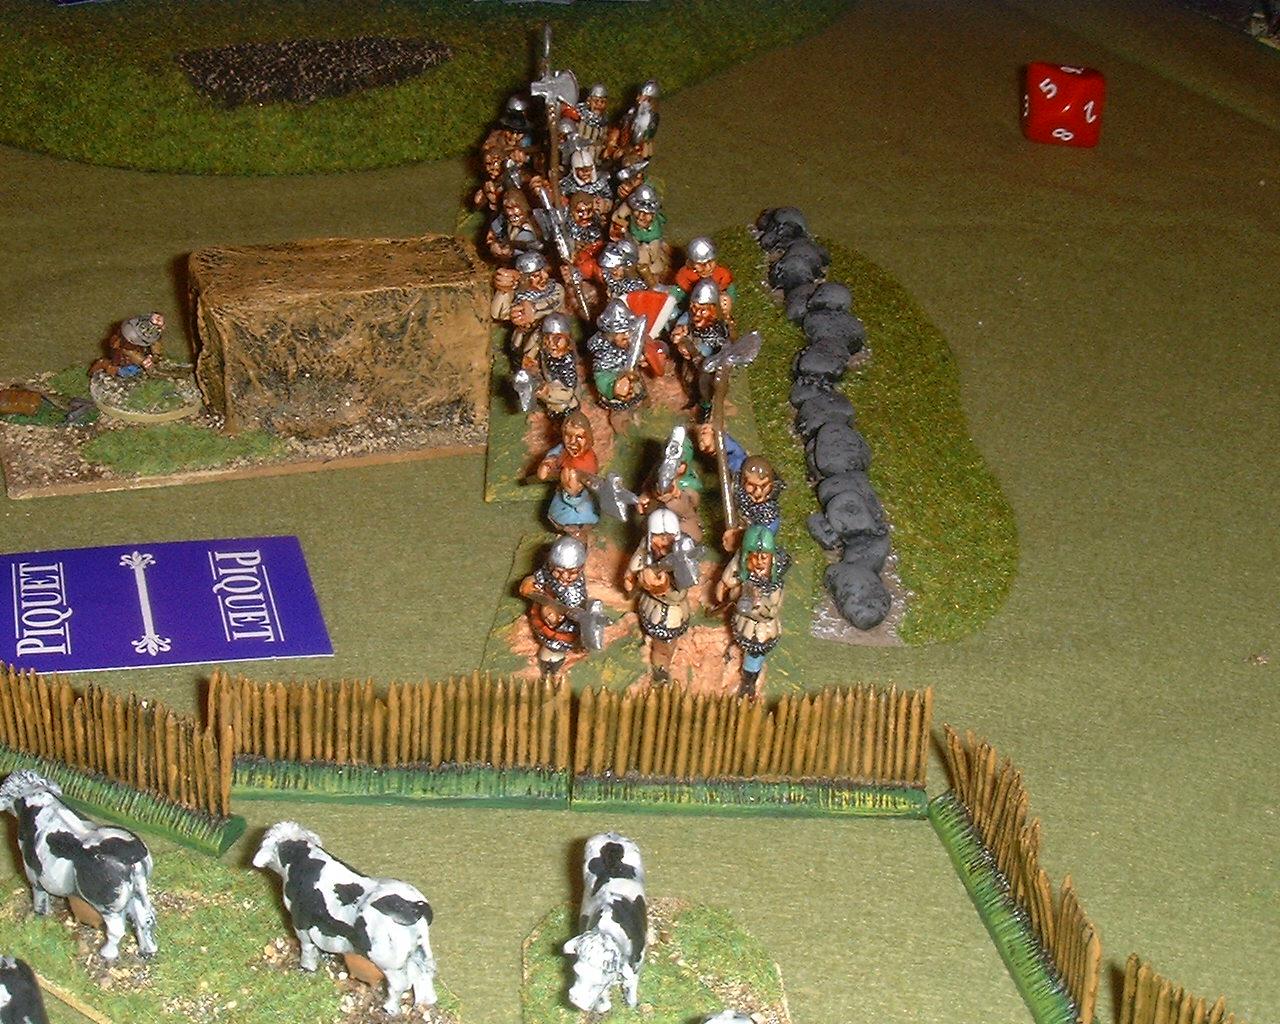
This weekend after a well deserved holiday Simon W game over for a game of 7yrs war
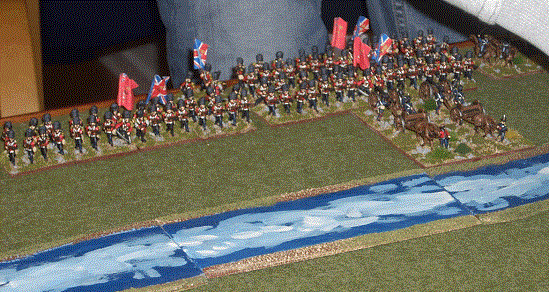
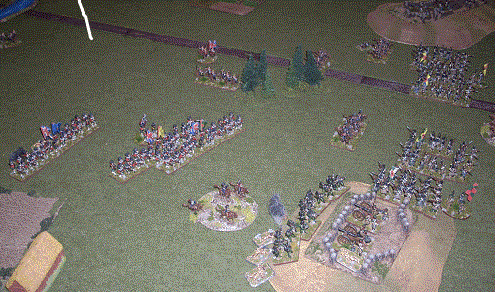
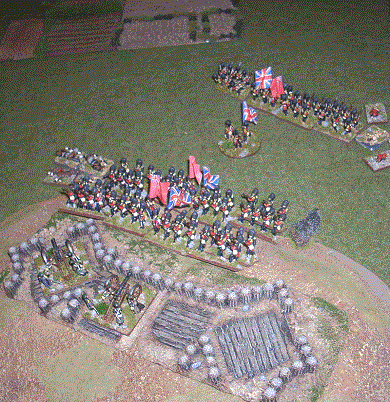
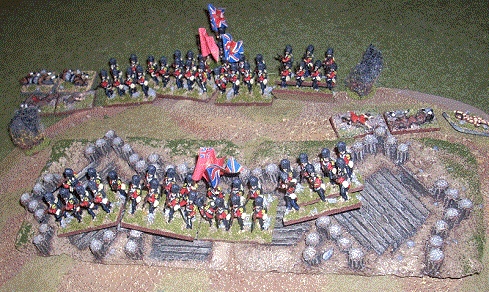
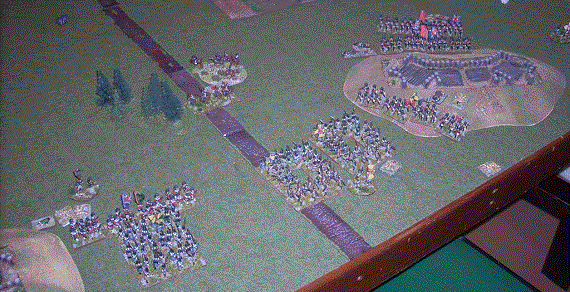
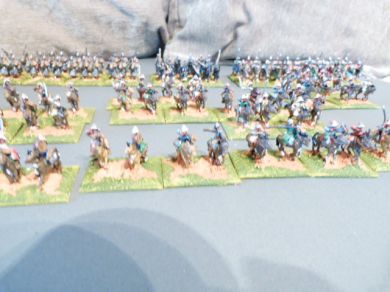
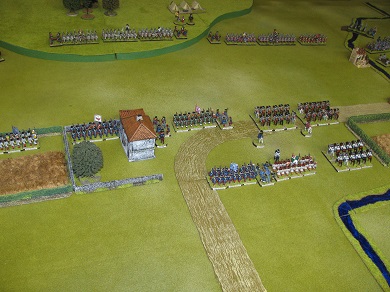
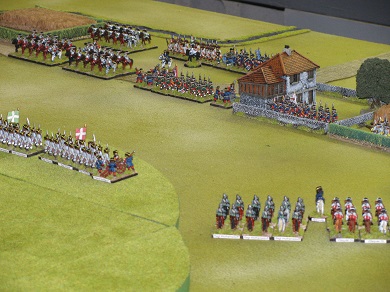
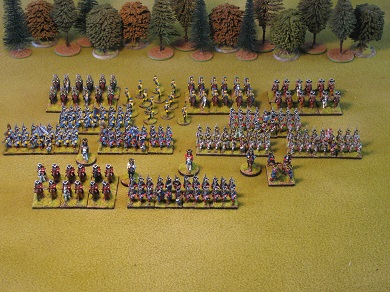
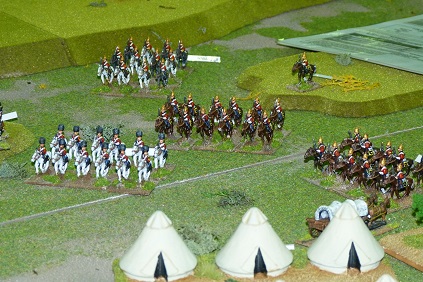
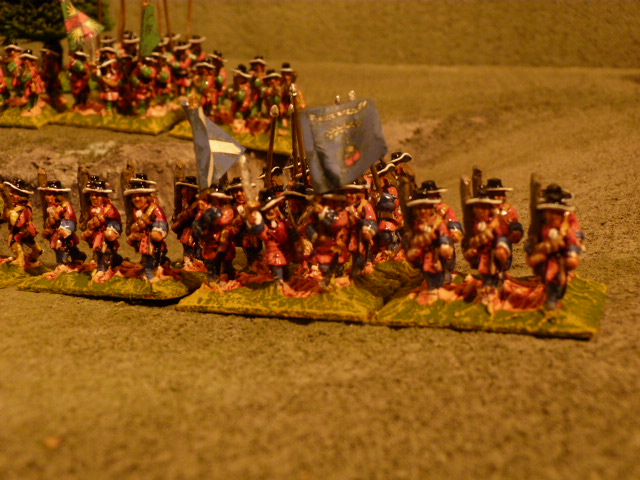
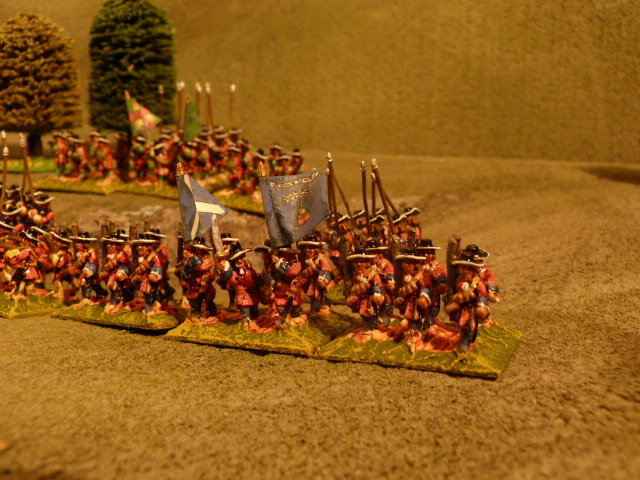
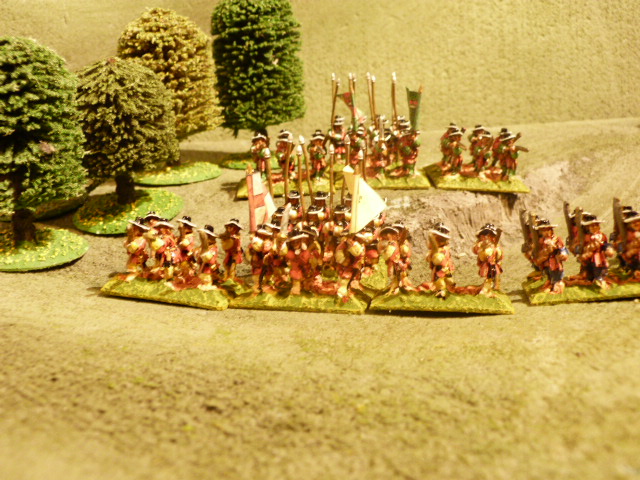
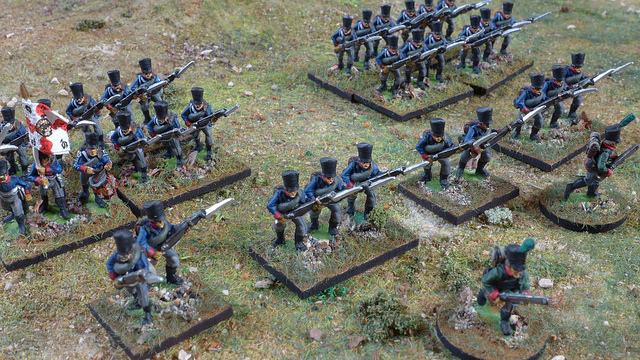
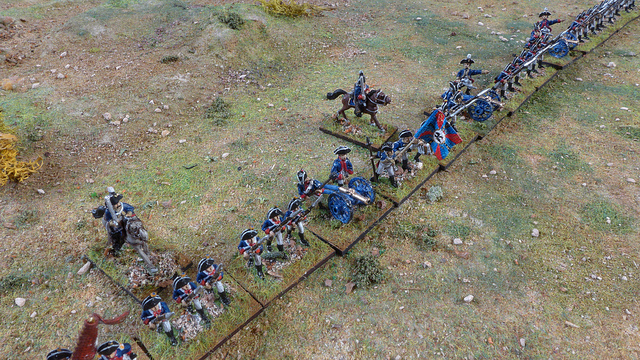
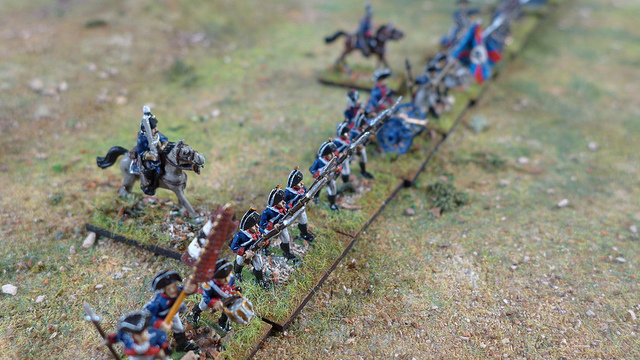
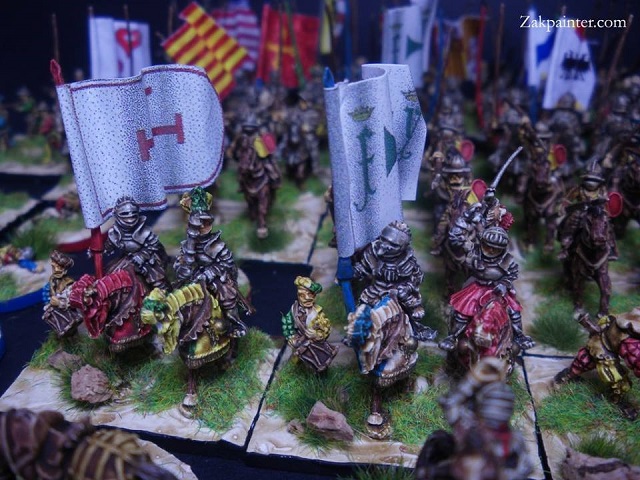
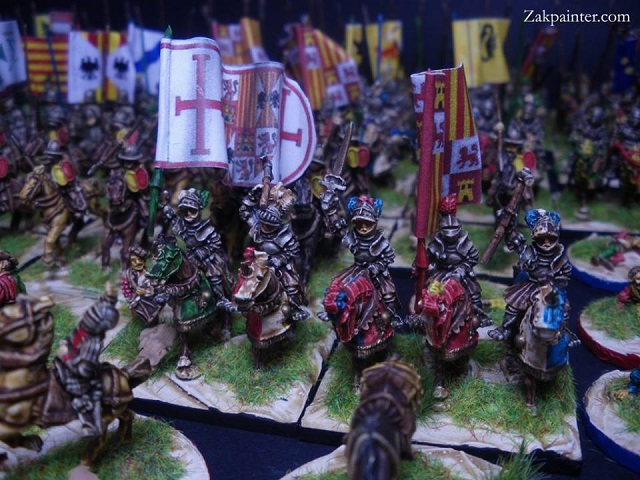
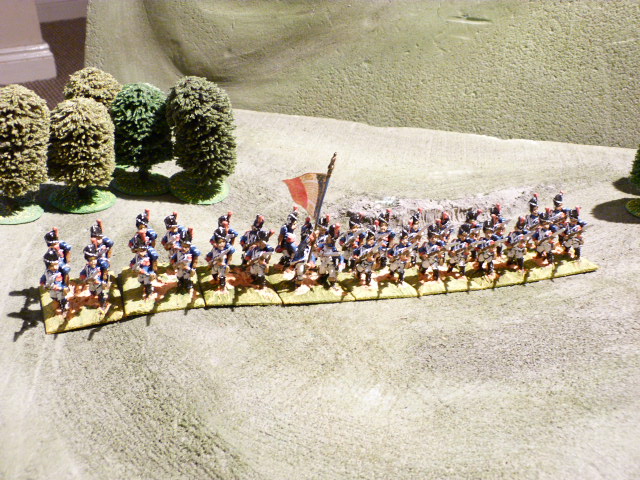
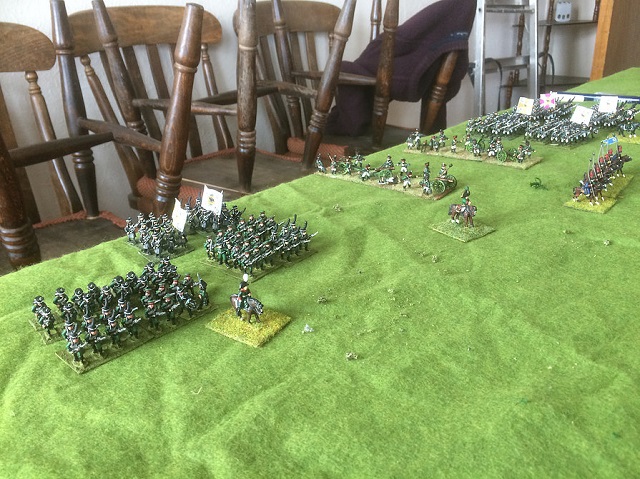
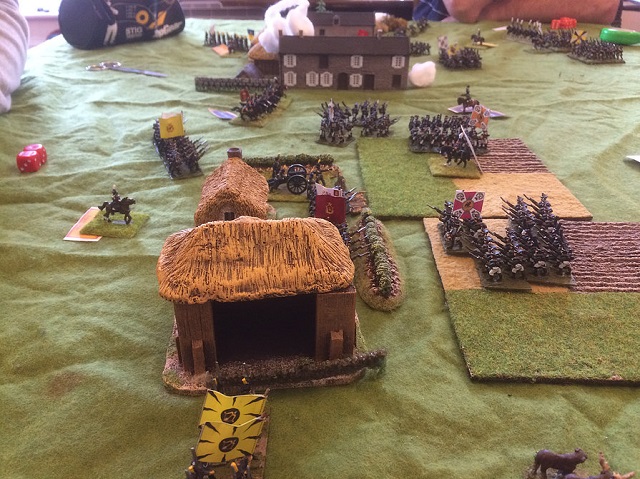
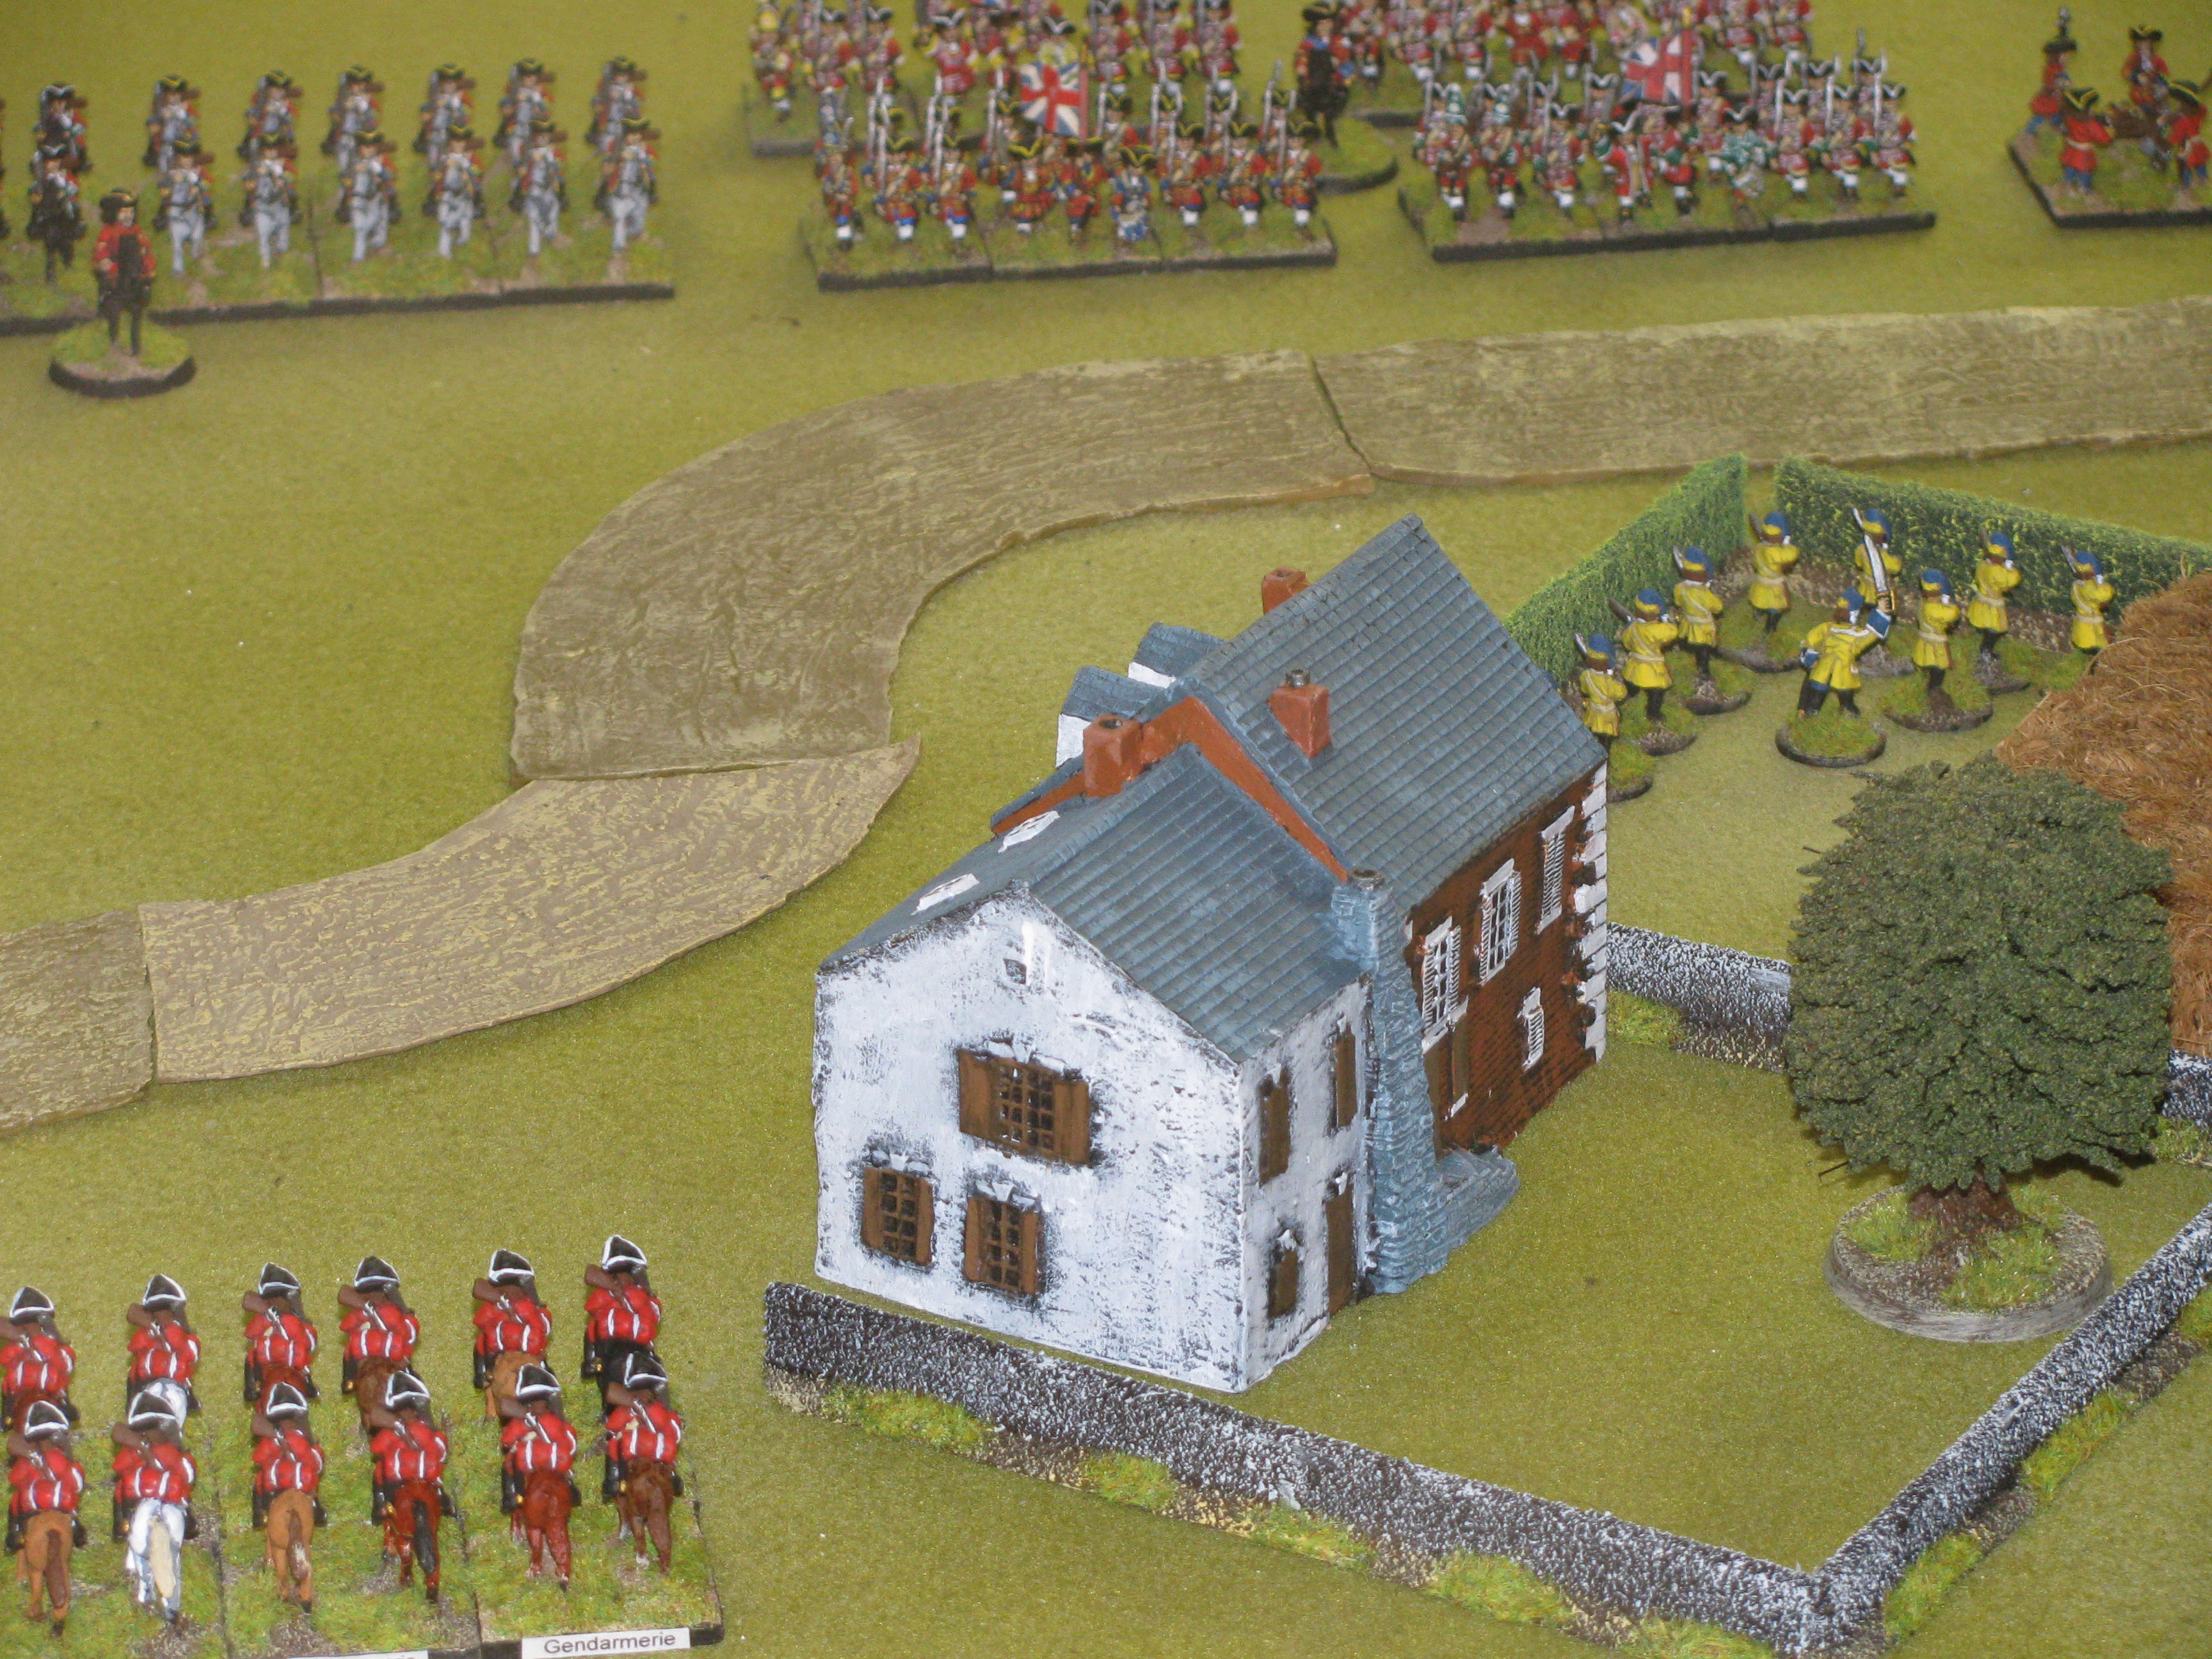
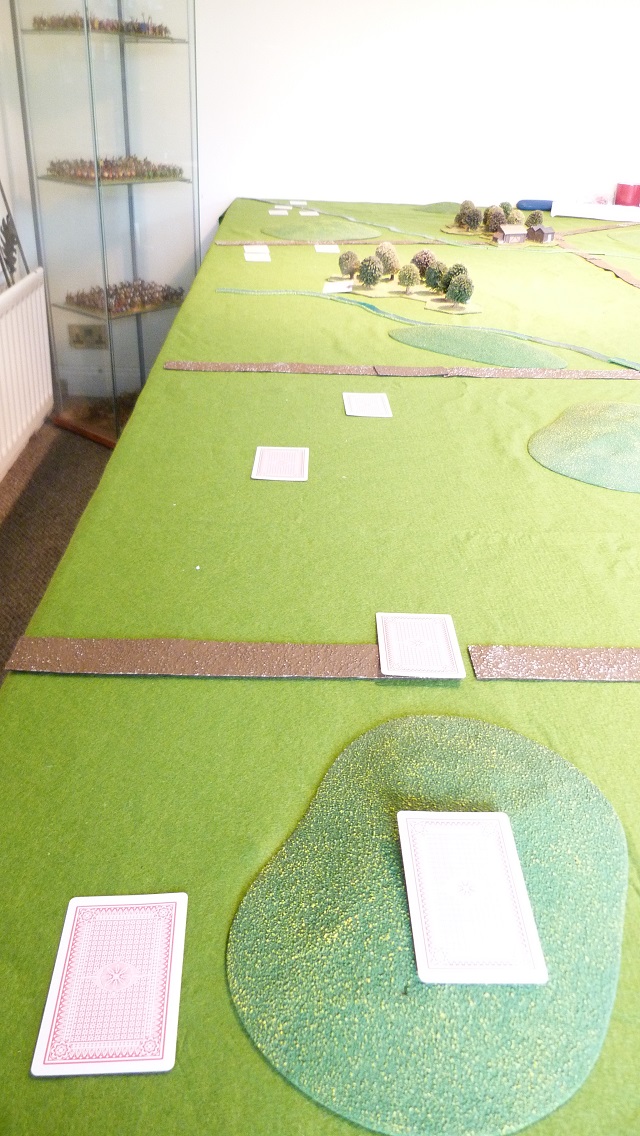
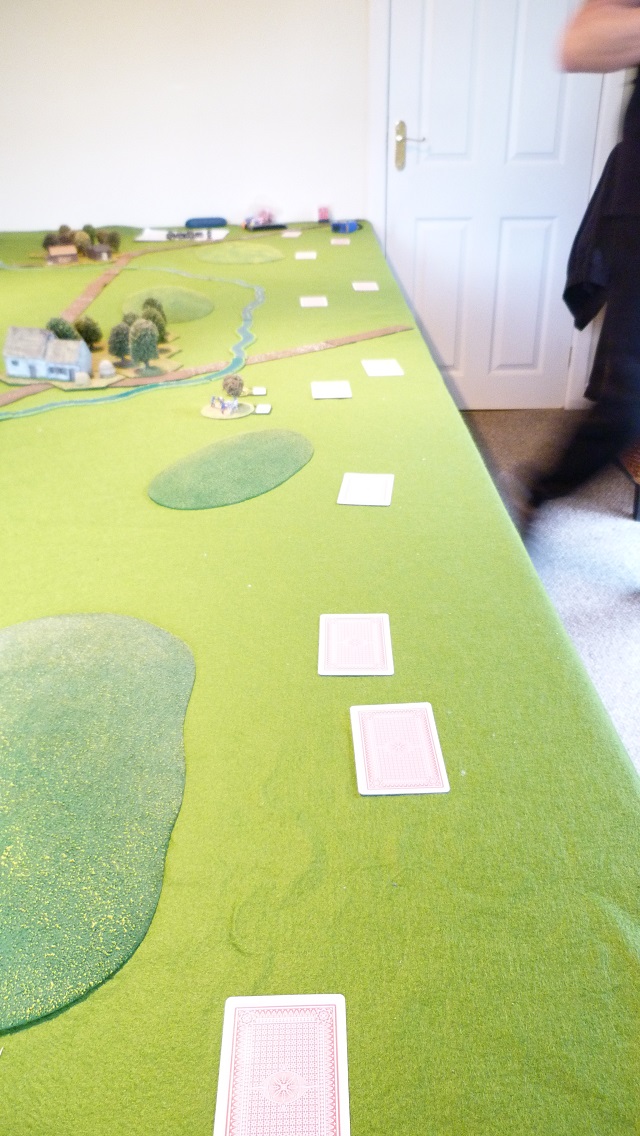
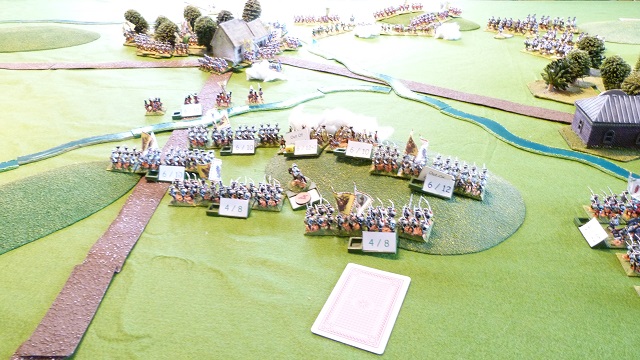
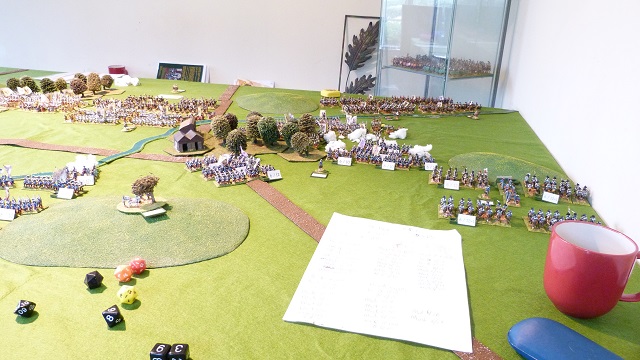
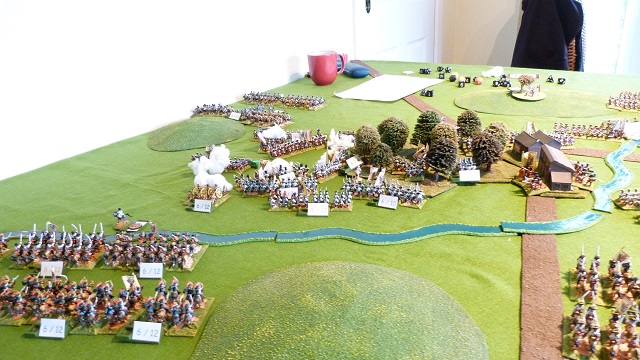
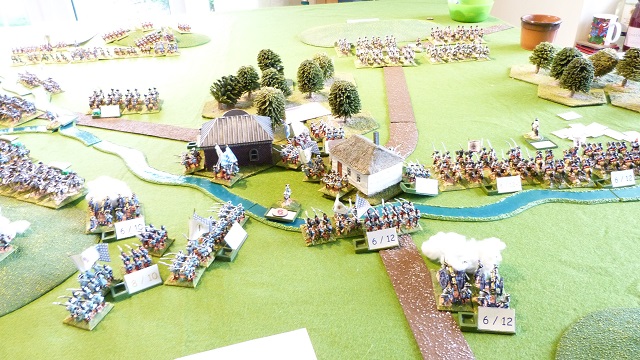
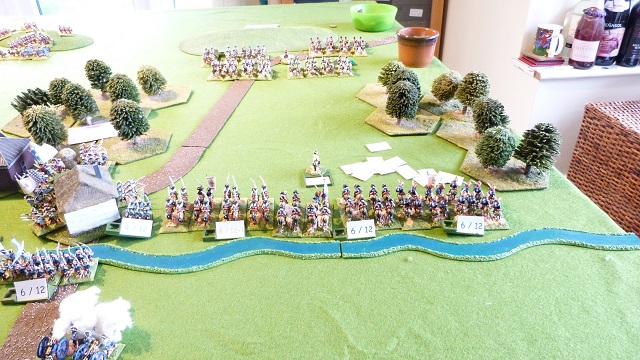
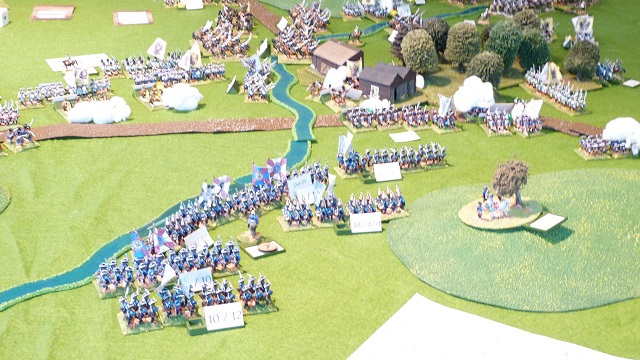
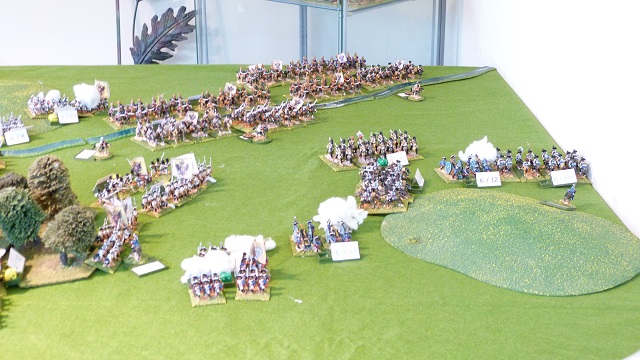
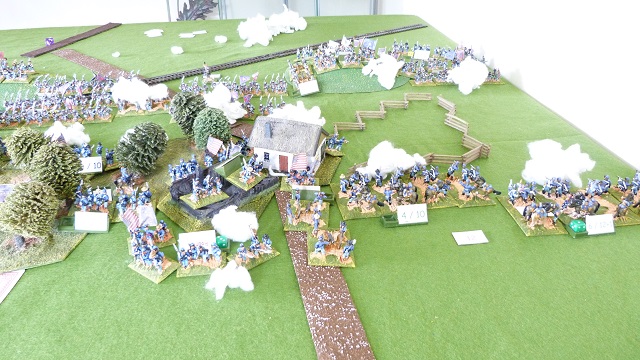
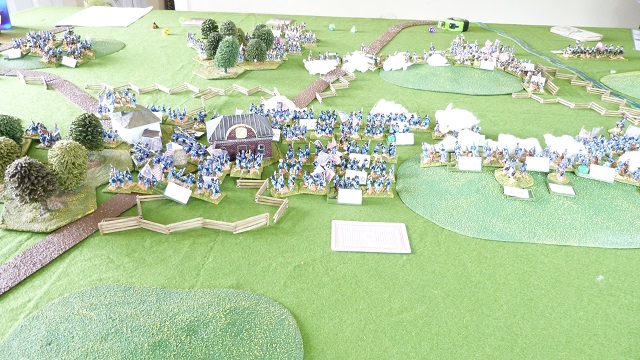
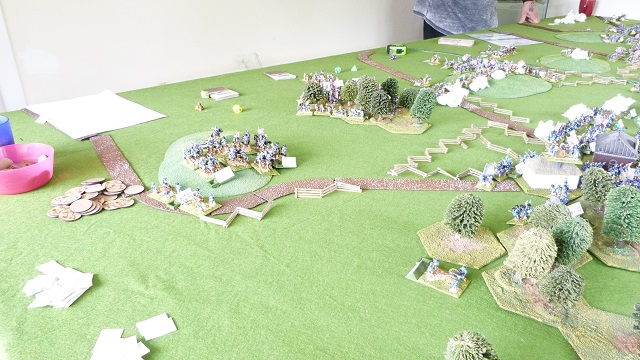
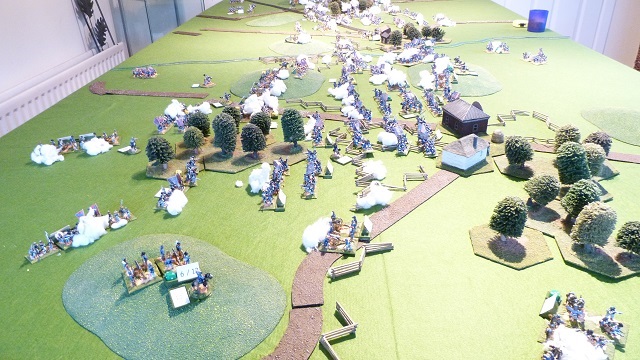
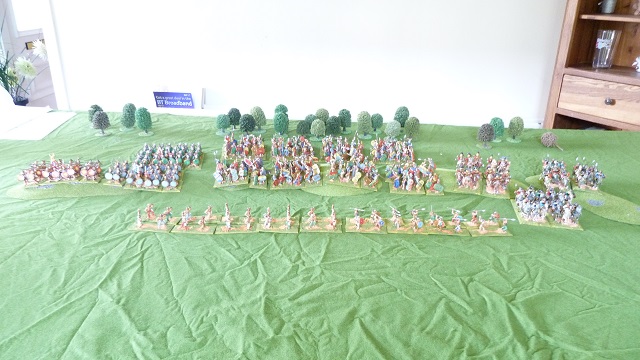
Below two shots of the table
The Armies
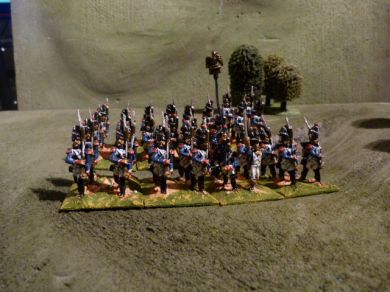
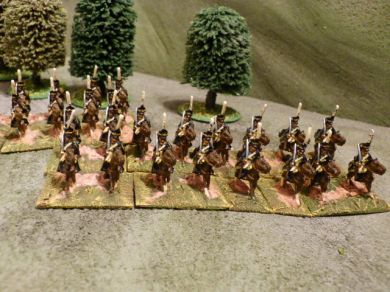
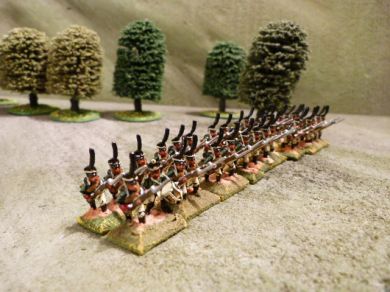
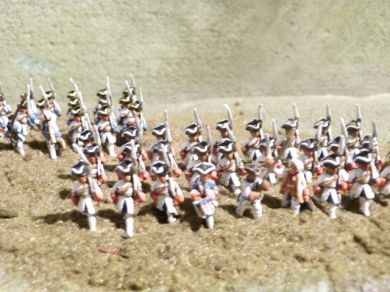
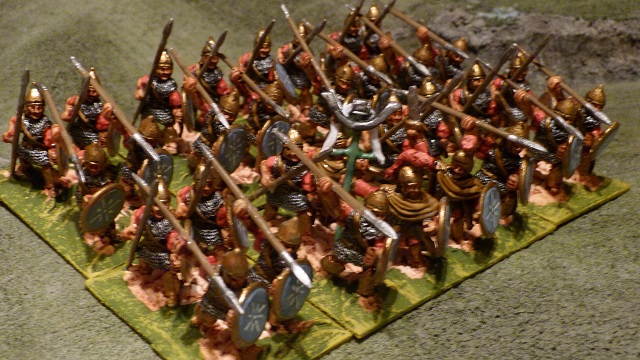
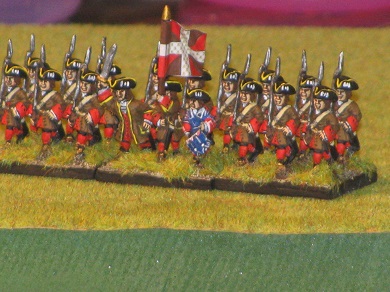
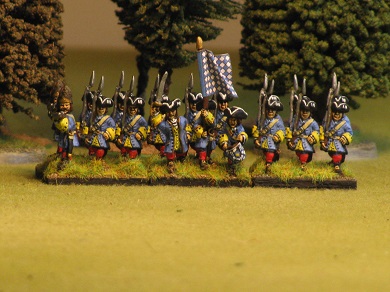
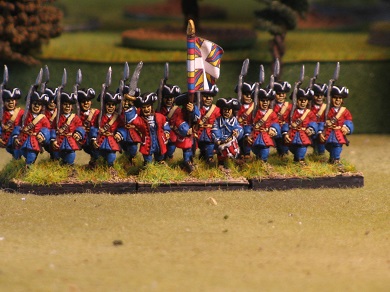
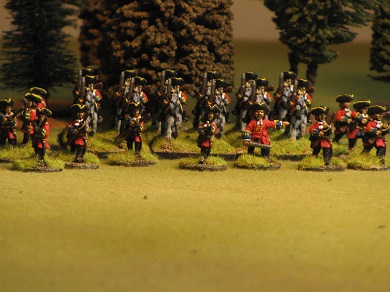
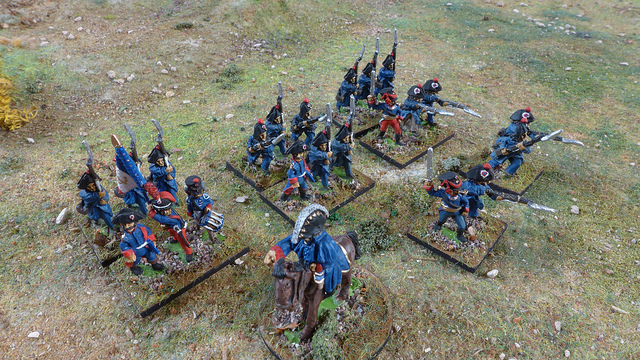
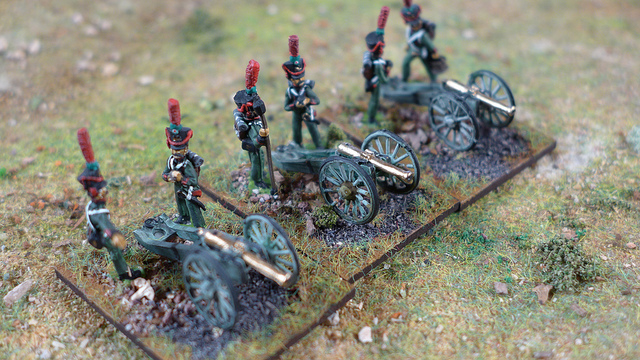
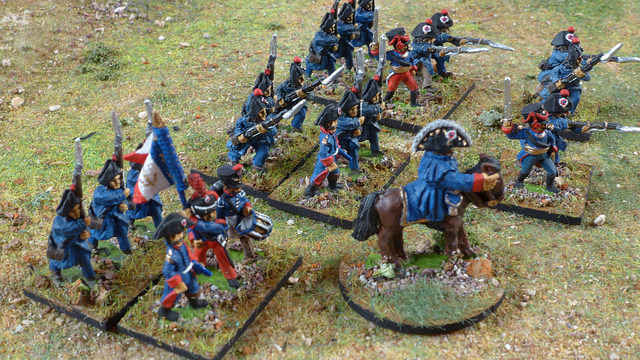
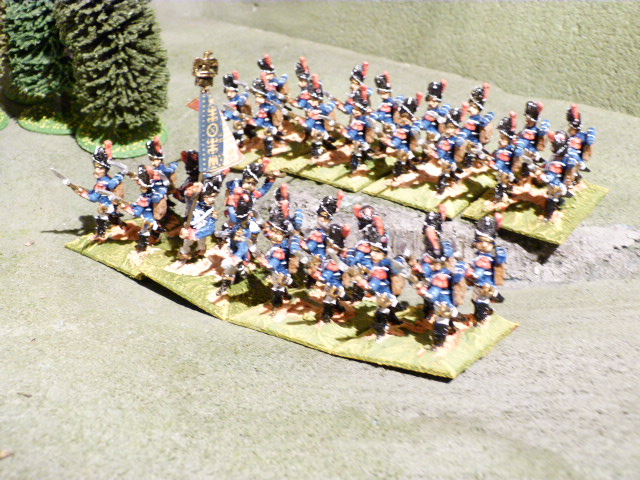
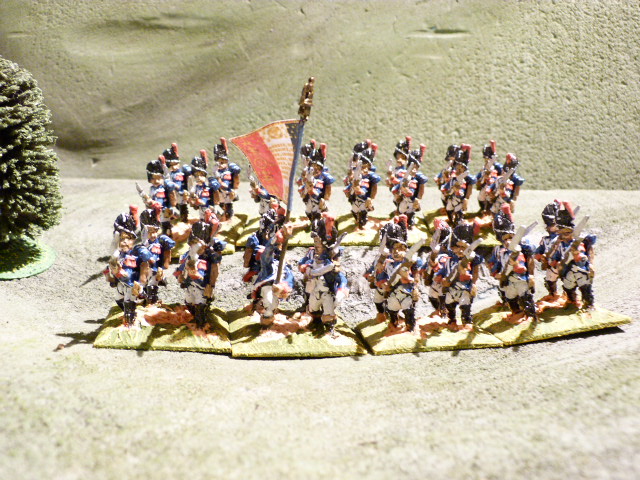
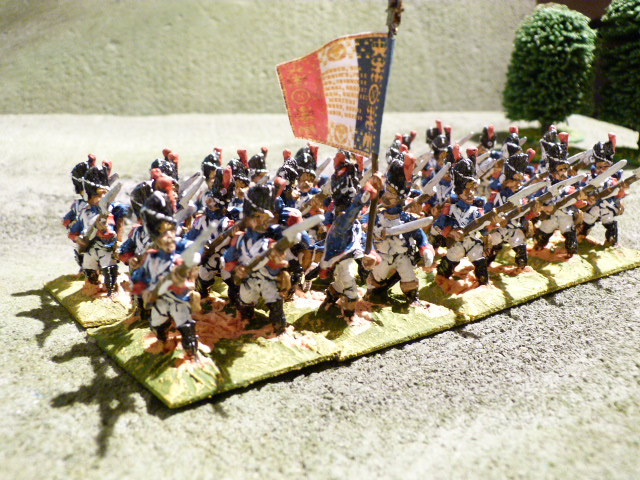
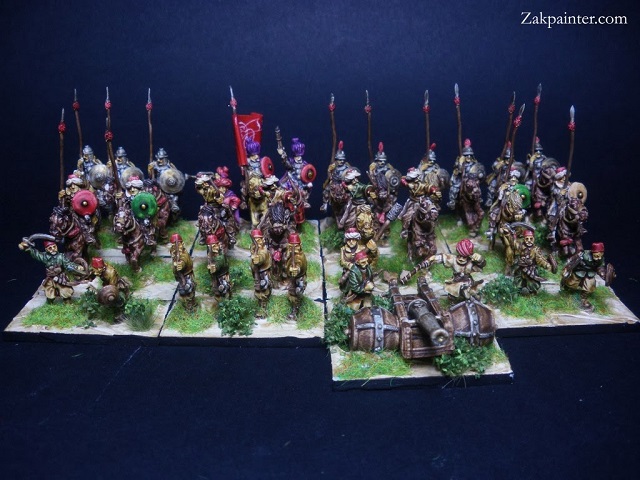
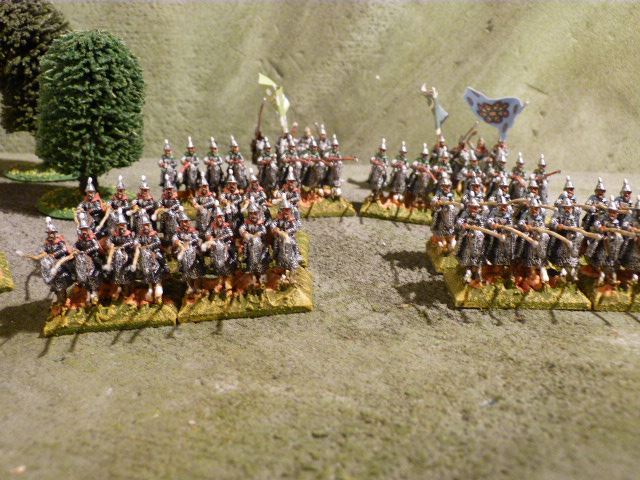
Prussian
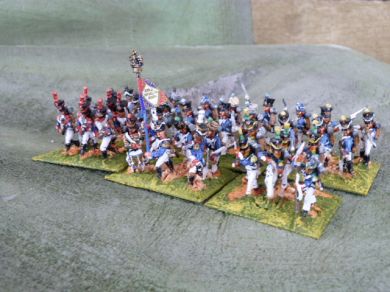
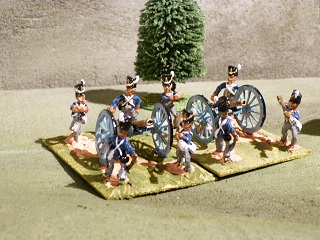
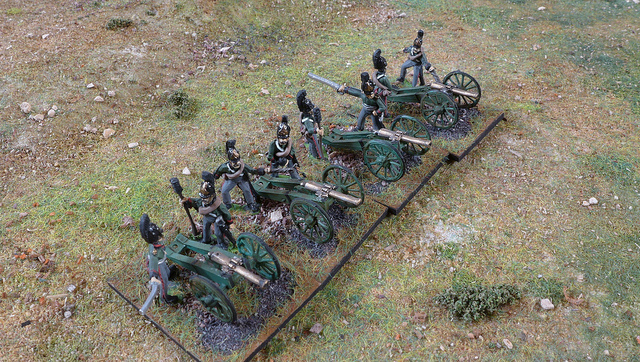
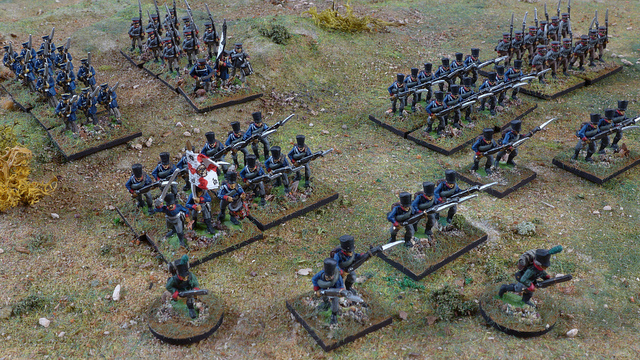
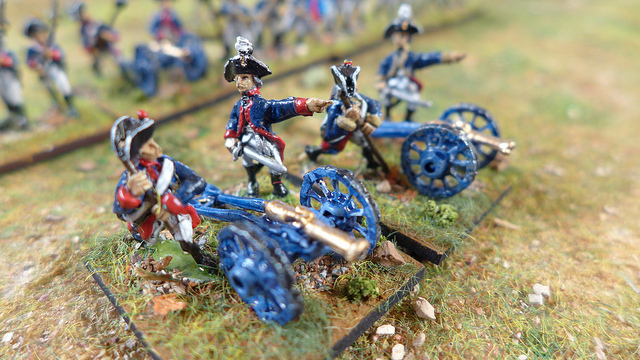
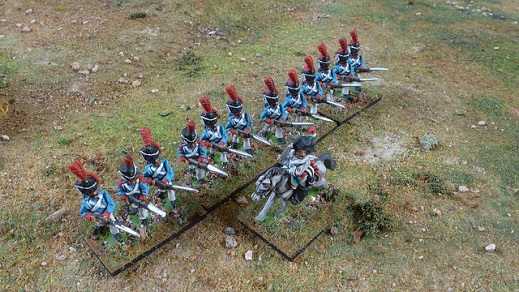
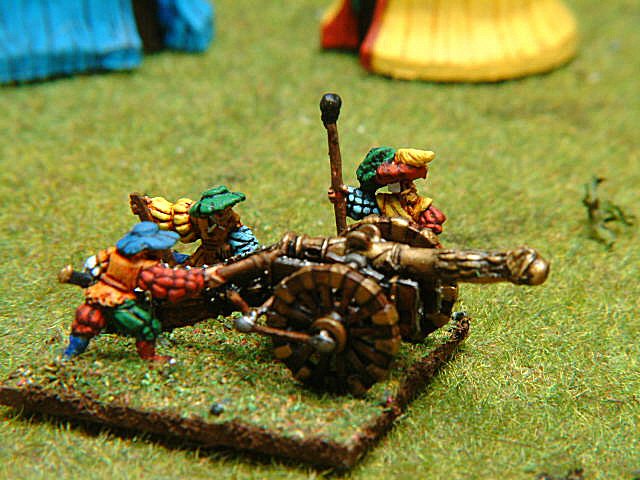
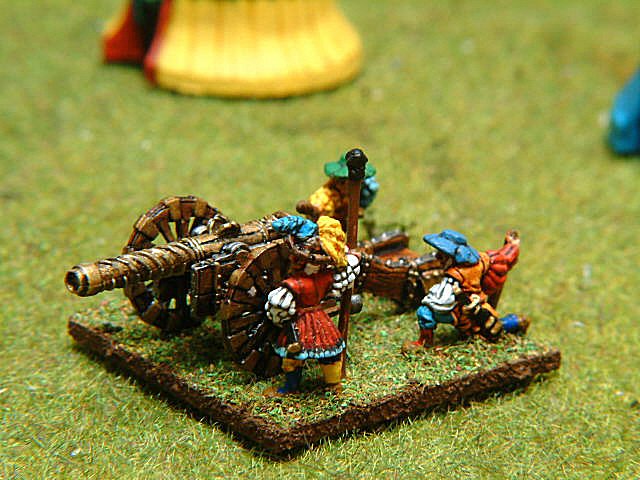
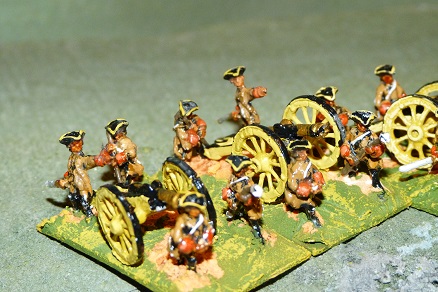
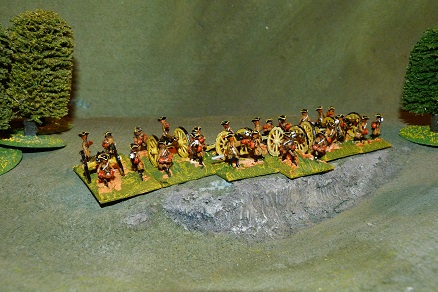
Brigade1 – 2 Garde Infantry Units, 2 Grenadier units, 2 Musketeers and 1 artillery battery
Brigade 2 – 1 Grenadier unit, 2 Fusilier Units, 2 Musketeer and 2 artillery Batteries
Brigade 3 – 1 Grenadier unit, 2 Fusilier Units, 4 Musketeer and 2 artillery Batteries
Brigade 4 – 2 Fusilier Units, 4 Musketeer and 2 artillery Batteries
Brigade 5 – 2 Fusilier Units, 6 Musketeer and 2 artillery Batteries
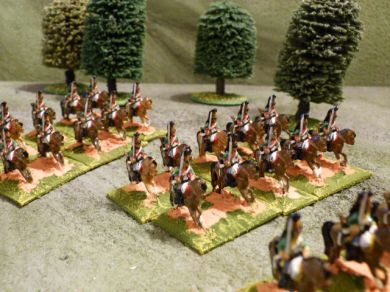
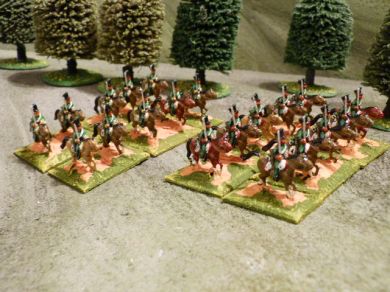
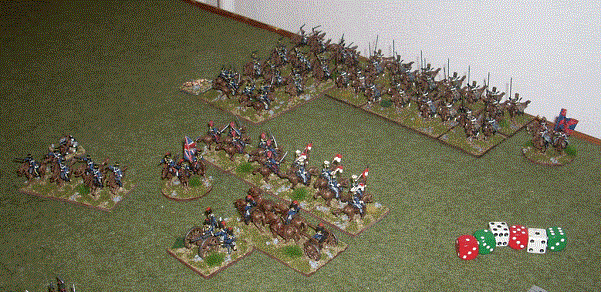
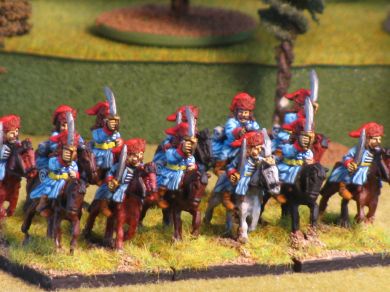
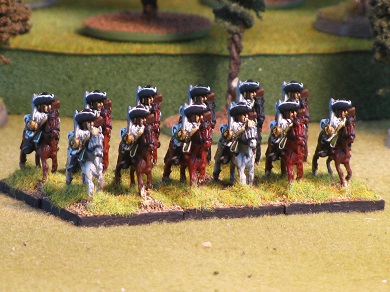
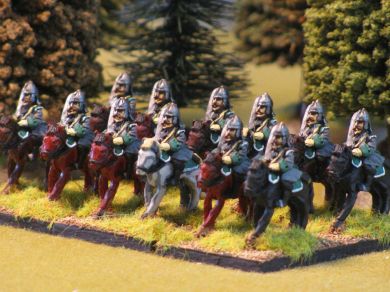
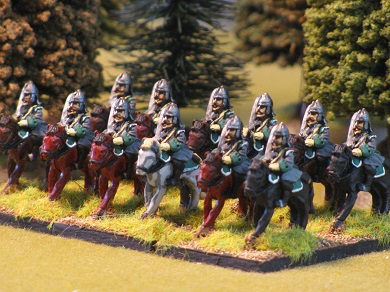
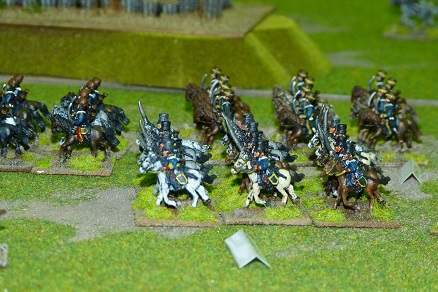
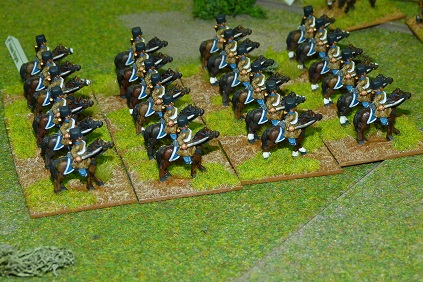
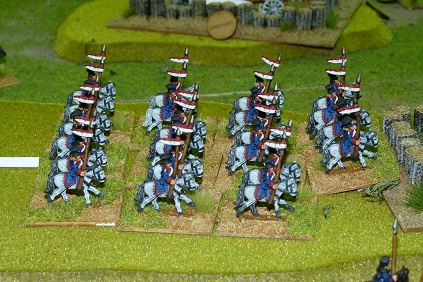
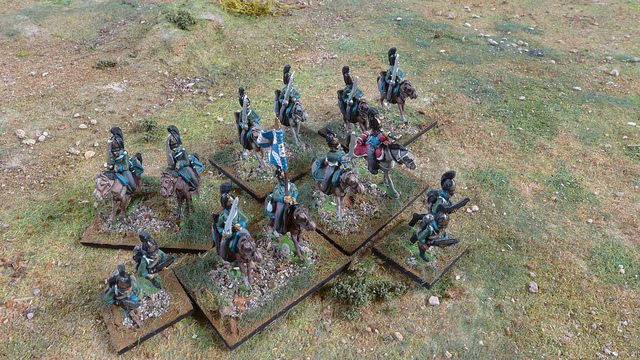
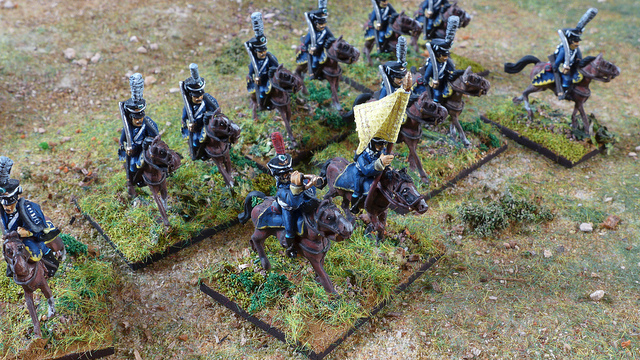
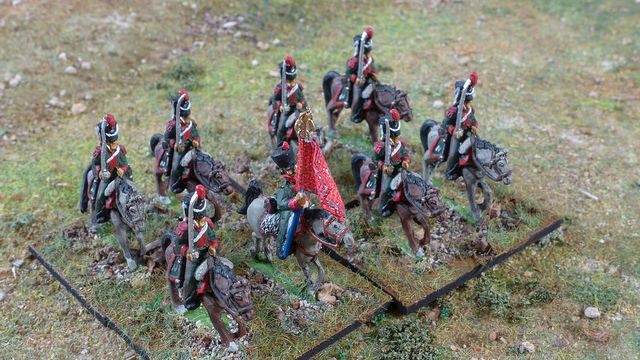
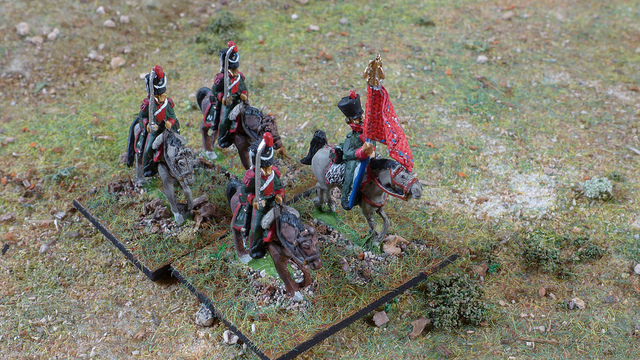
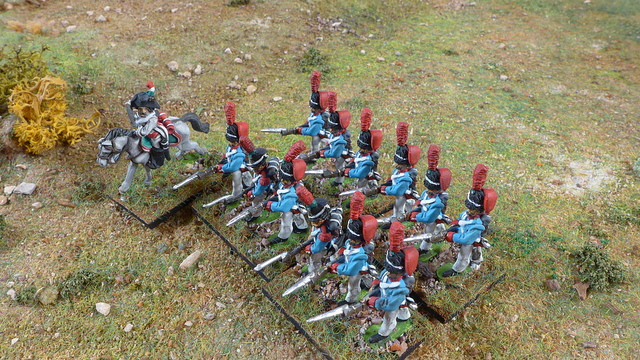
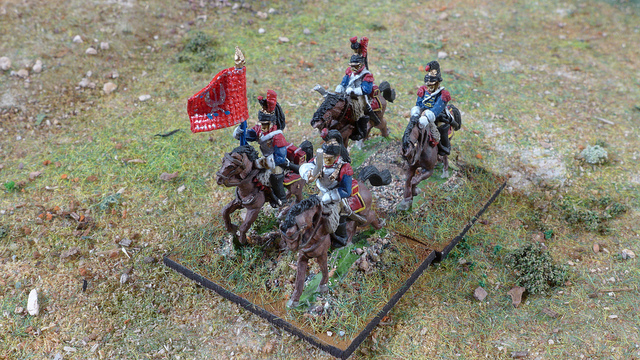
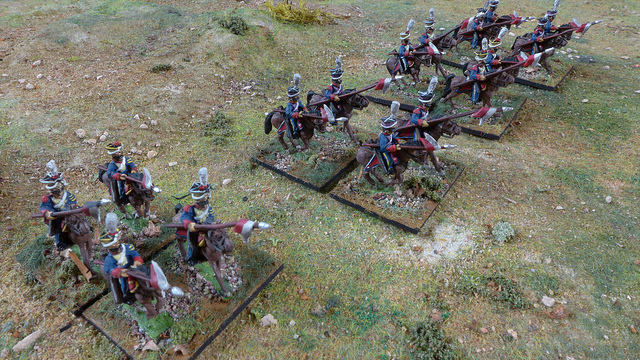
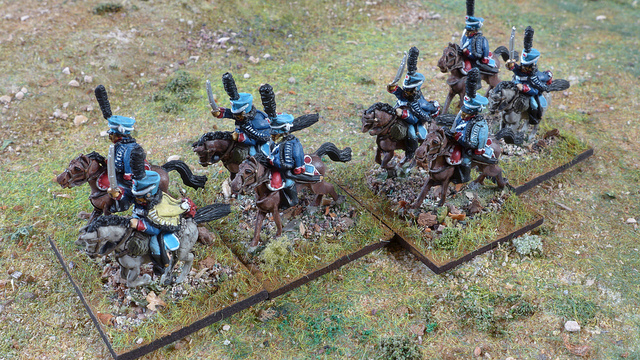
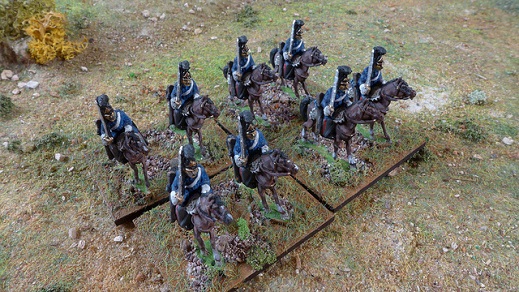
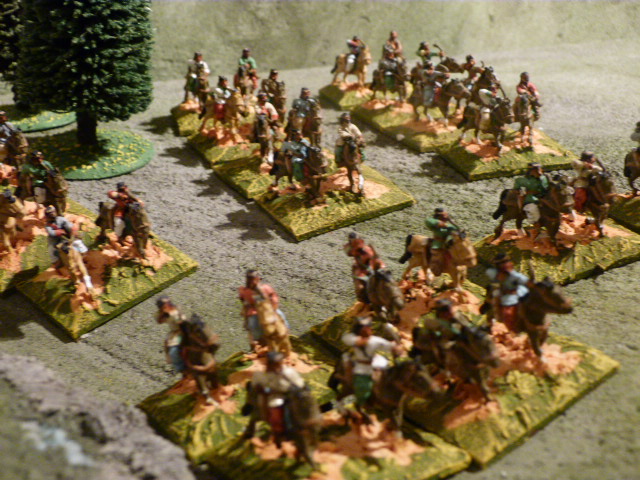
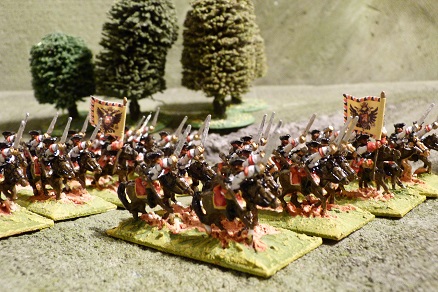
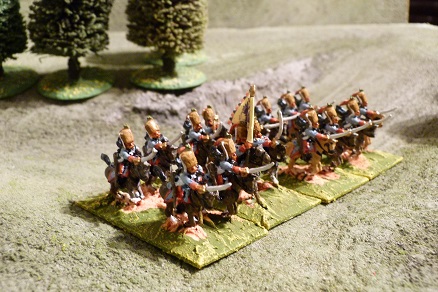
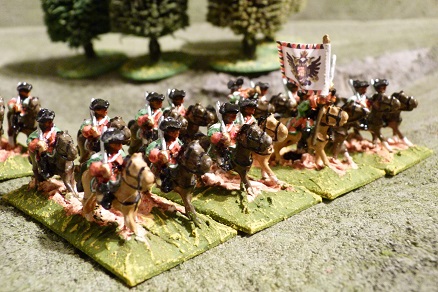
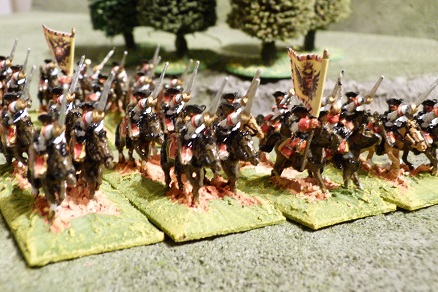
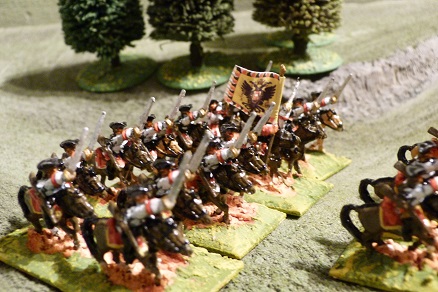
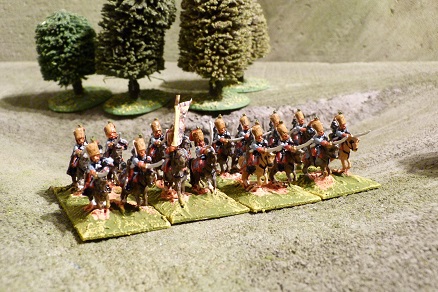
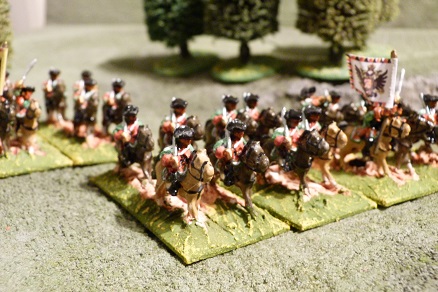
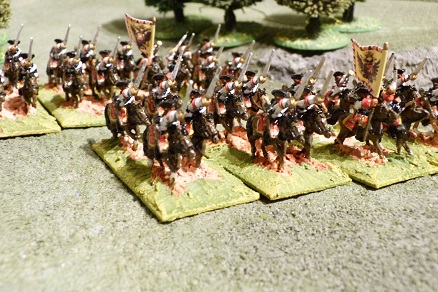
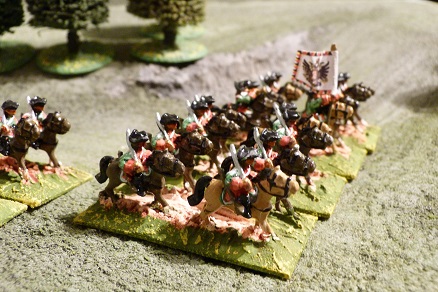
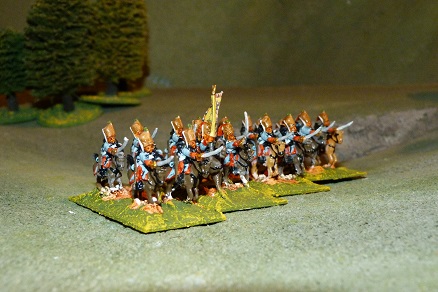
Cavalry Brigade 1 – 3 Kuirassier units, 1 Hussar unit and 1 Dragoon
Cavalry Brigade 2 – 1 Kuirassier units, 1 Hussar unit and 2 Dragoon
Cavalry Brigade 2 – 1 Kuirassier units, 1 Hussar unit and 2 Dragoon + H/A battery
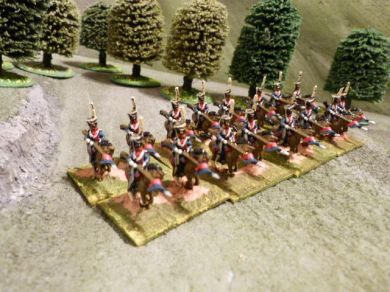
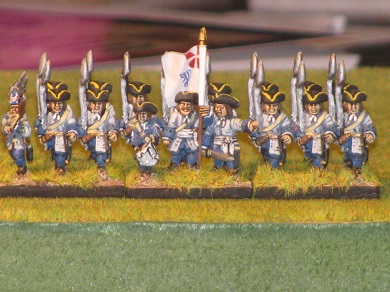
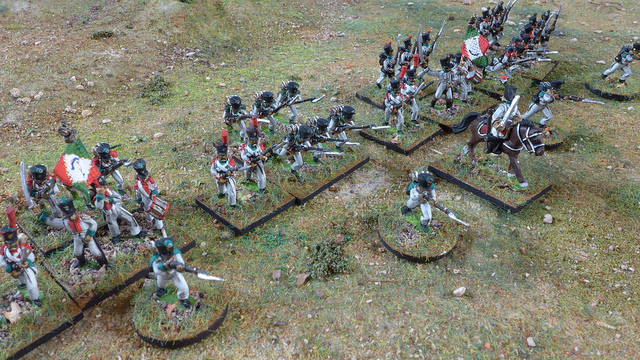
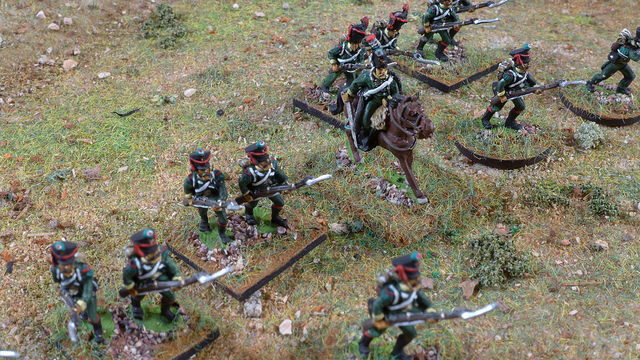
Austrian
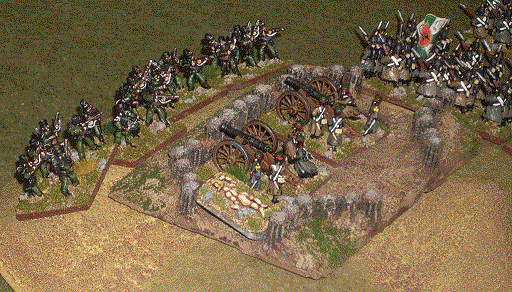
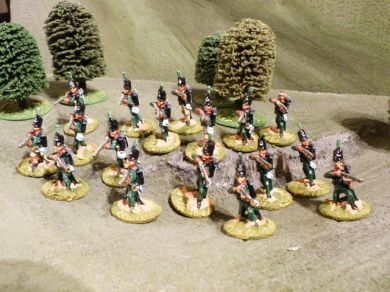
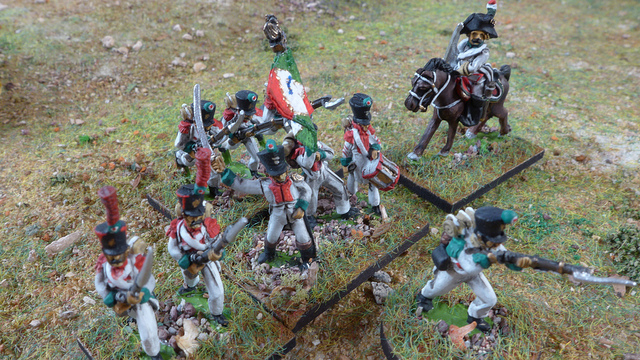
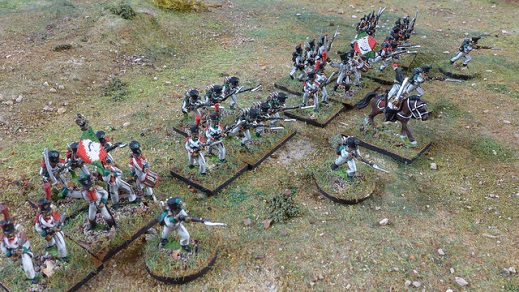
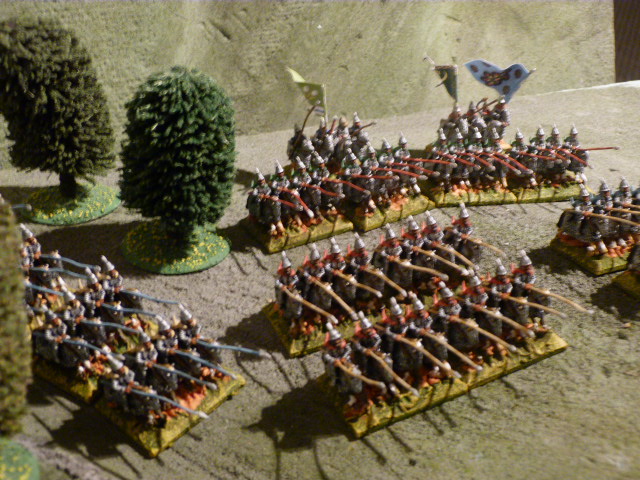
Brigade1 – 1 Grenze, 1 Grenadier units, 4 Musketeers and 2 artillery batteries
Brigade2 – 1 Grenze, 1 Grenadier units, 4 Musketeers and 2 artillery batteries
Brigade3– 1 Grenze, 6 Musketeers and 2 artillery batteries
Brigade4– 1 Grenze, 5 Musketeers and 2 artillery batteries
Brigade5 – 3 Grenadier units,1 Grenze, 2 Musketeers and 2 artillery batteries
Brigade6– 2 Bavarian Grenadier units,4 Musketeers and 2 artillery batteries
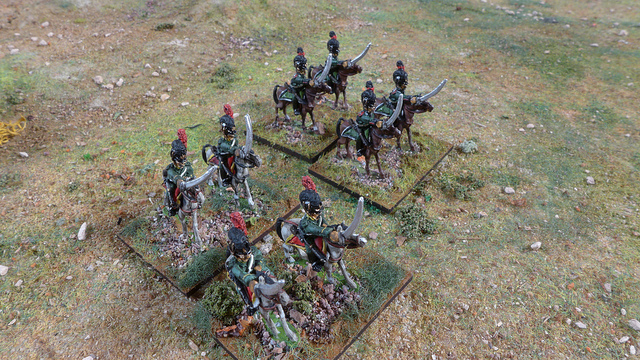
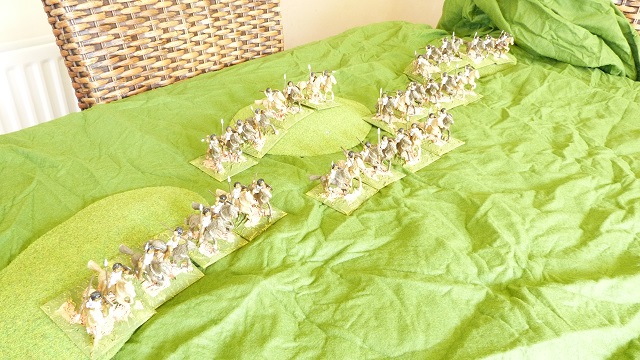
Cavalry Brigade 1 – 4 Kuirassier units and 1 Dragoon
Cavalry Brigade 2 - 3 Hussars and 1 Dragoon
Cavalry Brigade 3 - 2 hussar, I dragoon and 1 Kuirassier units
Cavalry Brigade 4 - 2 hussar, I dragoon and 1 Kuirassier units
We use cards to deploy visability is 24 inches, and compulsary deployment when you come within that distance
you can always opt to show the brigade especially if you want to move faster
Movement of the cards is as per the C in C die until theyare visble
Movement oputside of 24" is normal move ( 8 inch infantry and 12 inch cavalry), once withing that distance its half speed
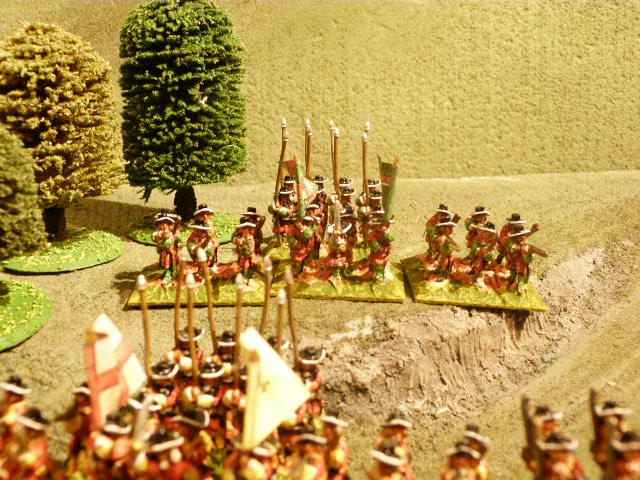
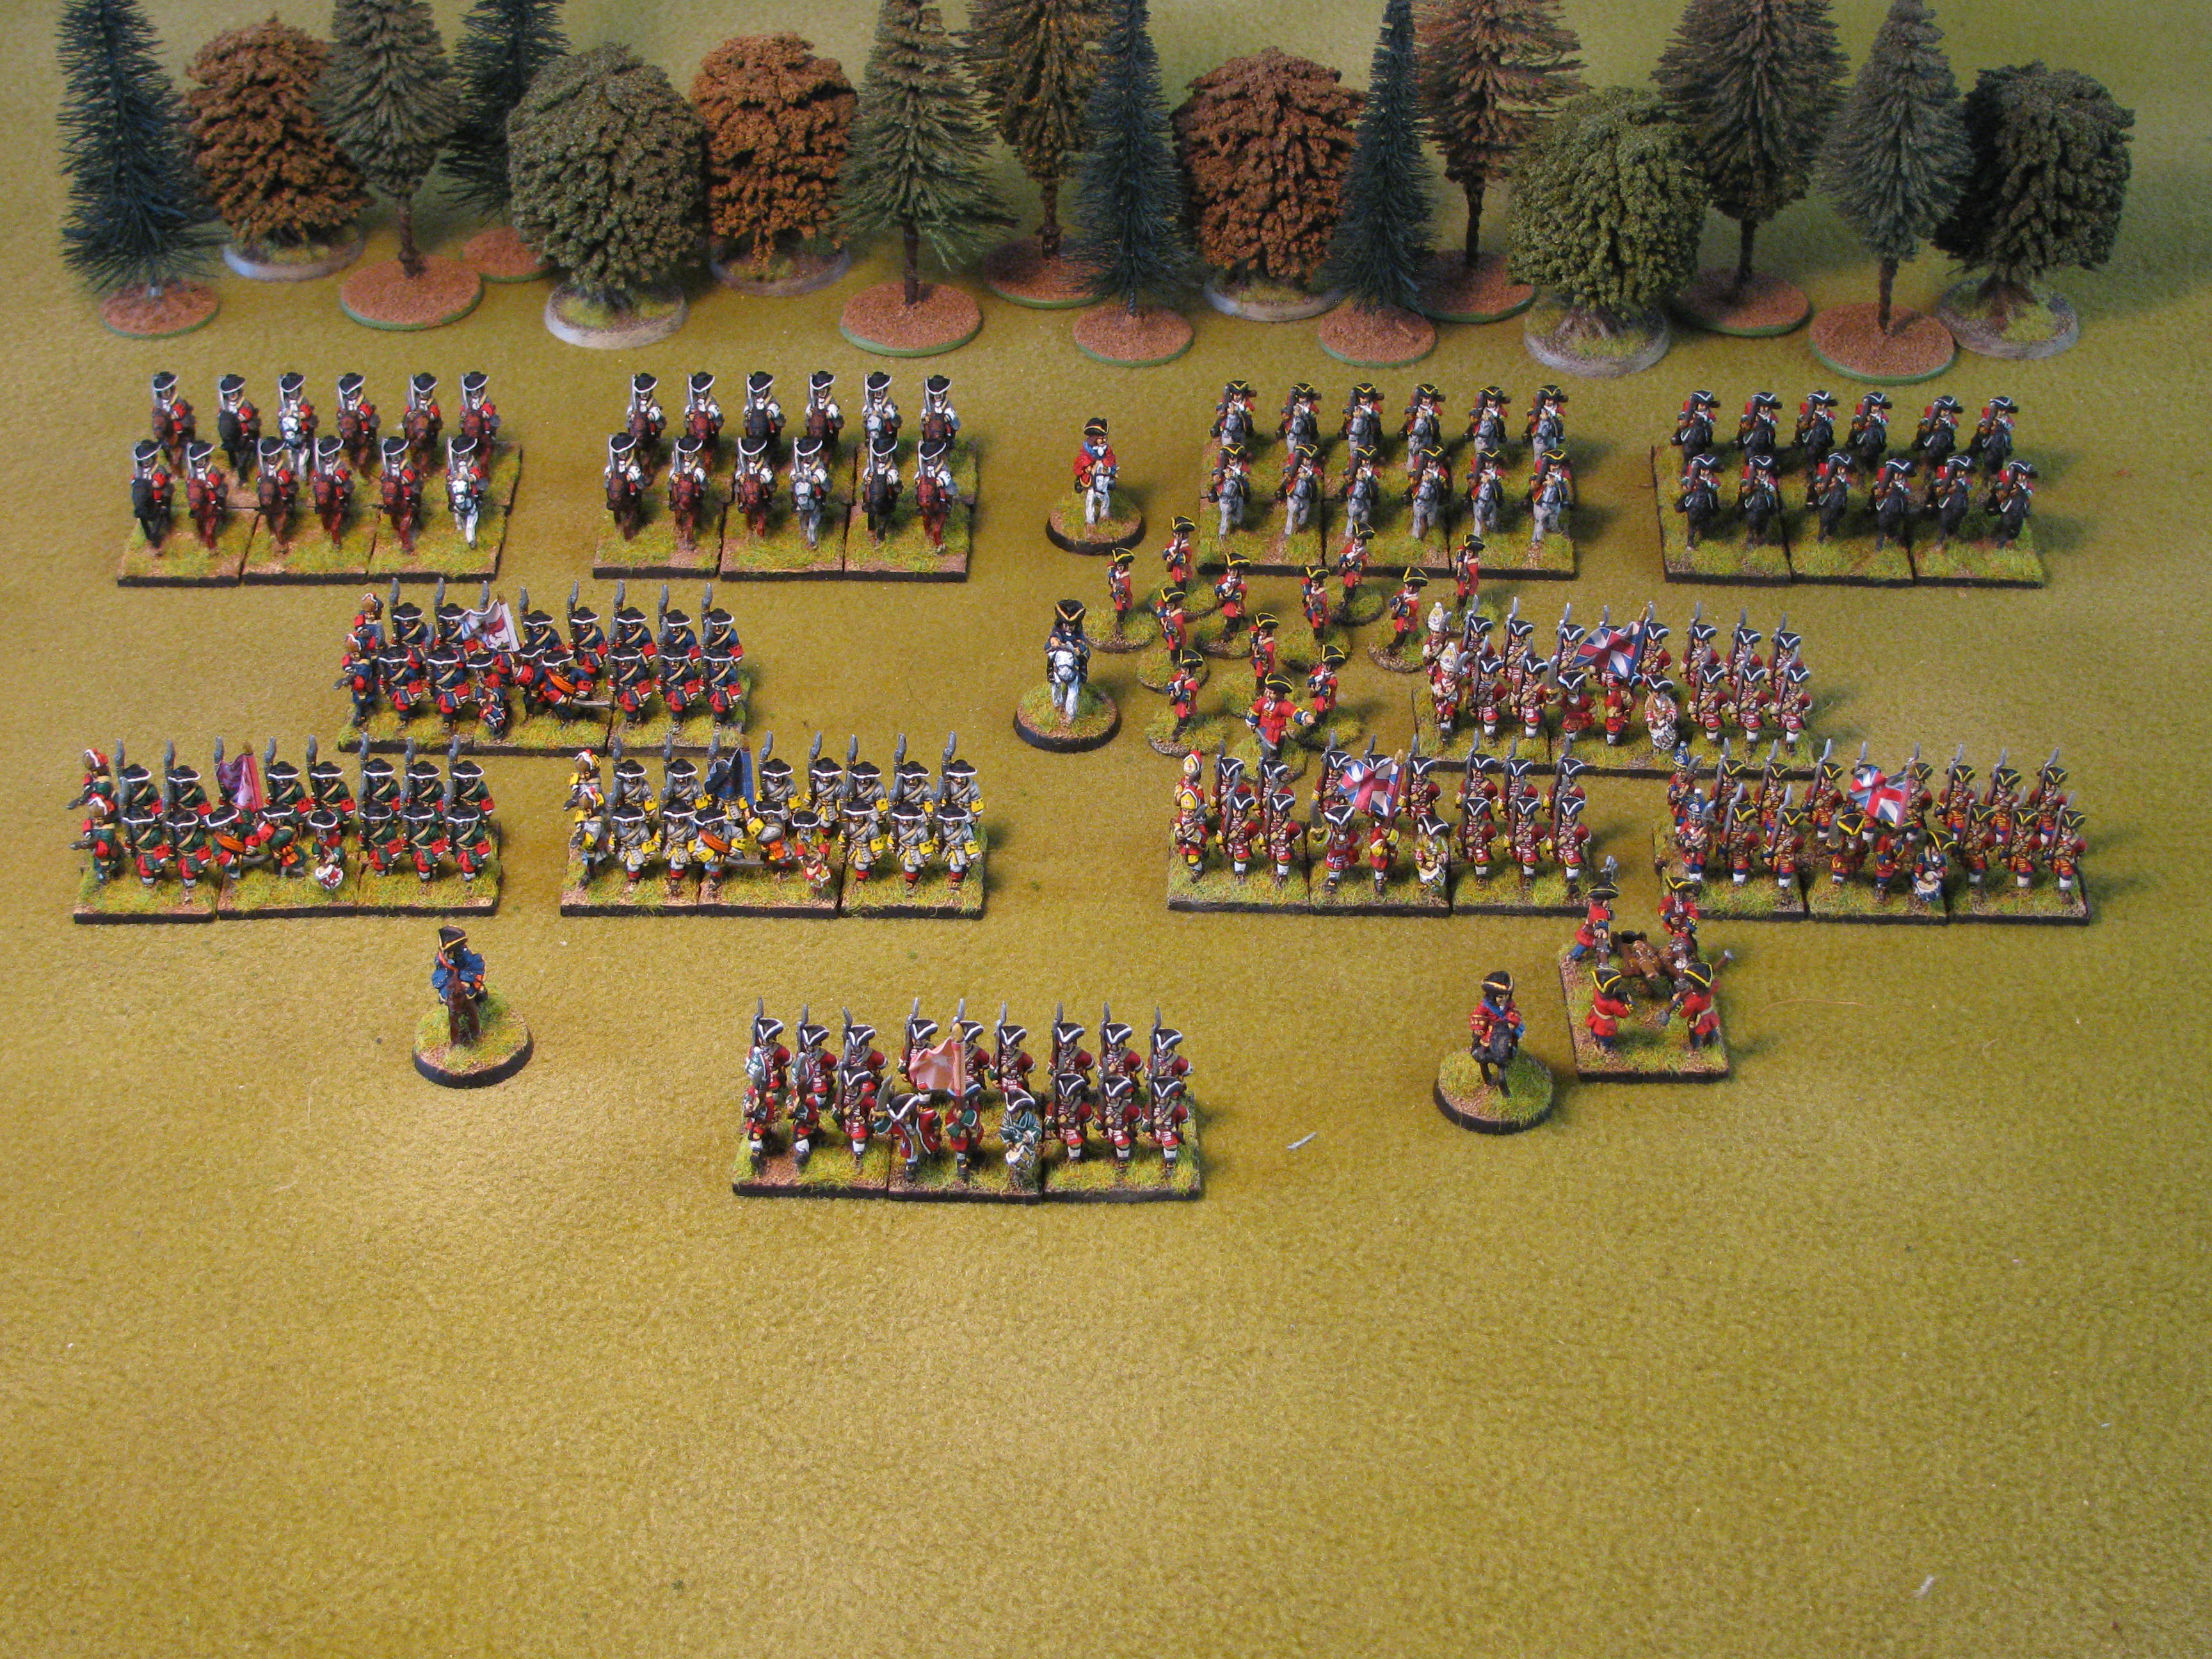
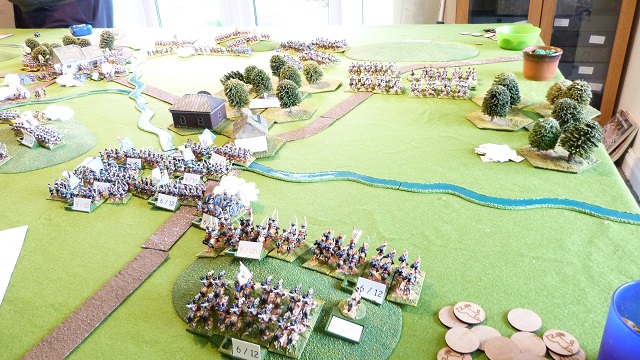
Austrian Deployment
Prussian Deployment
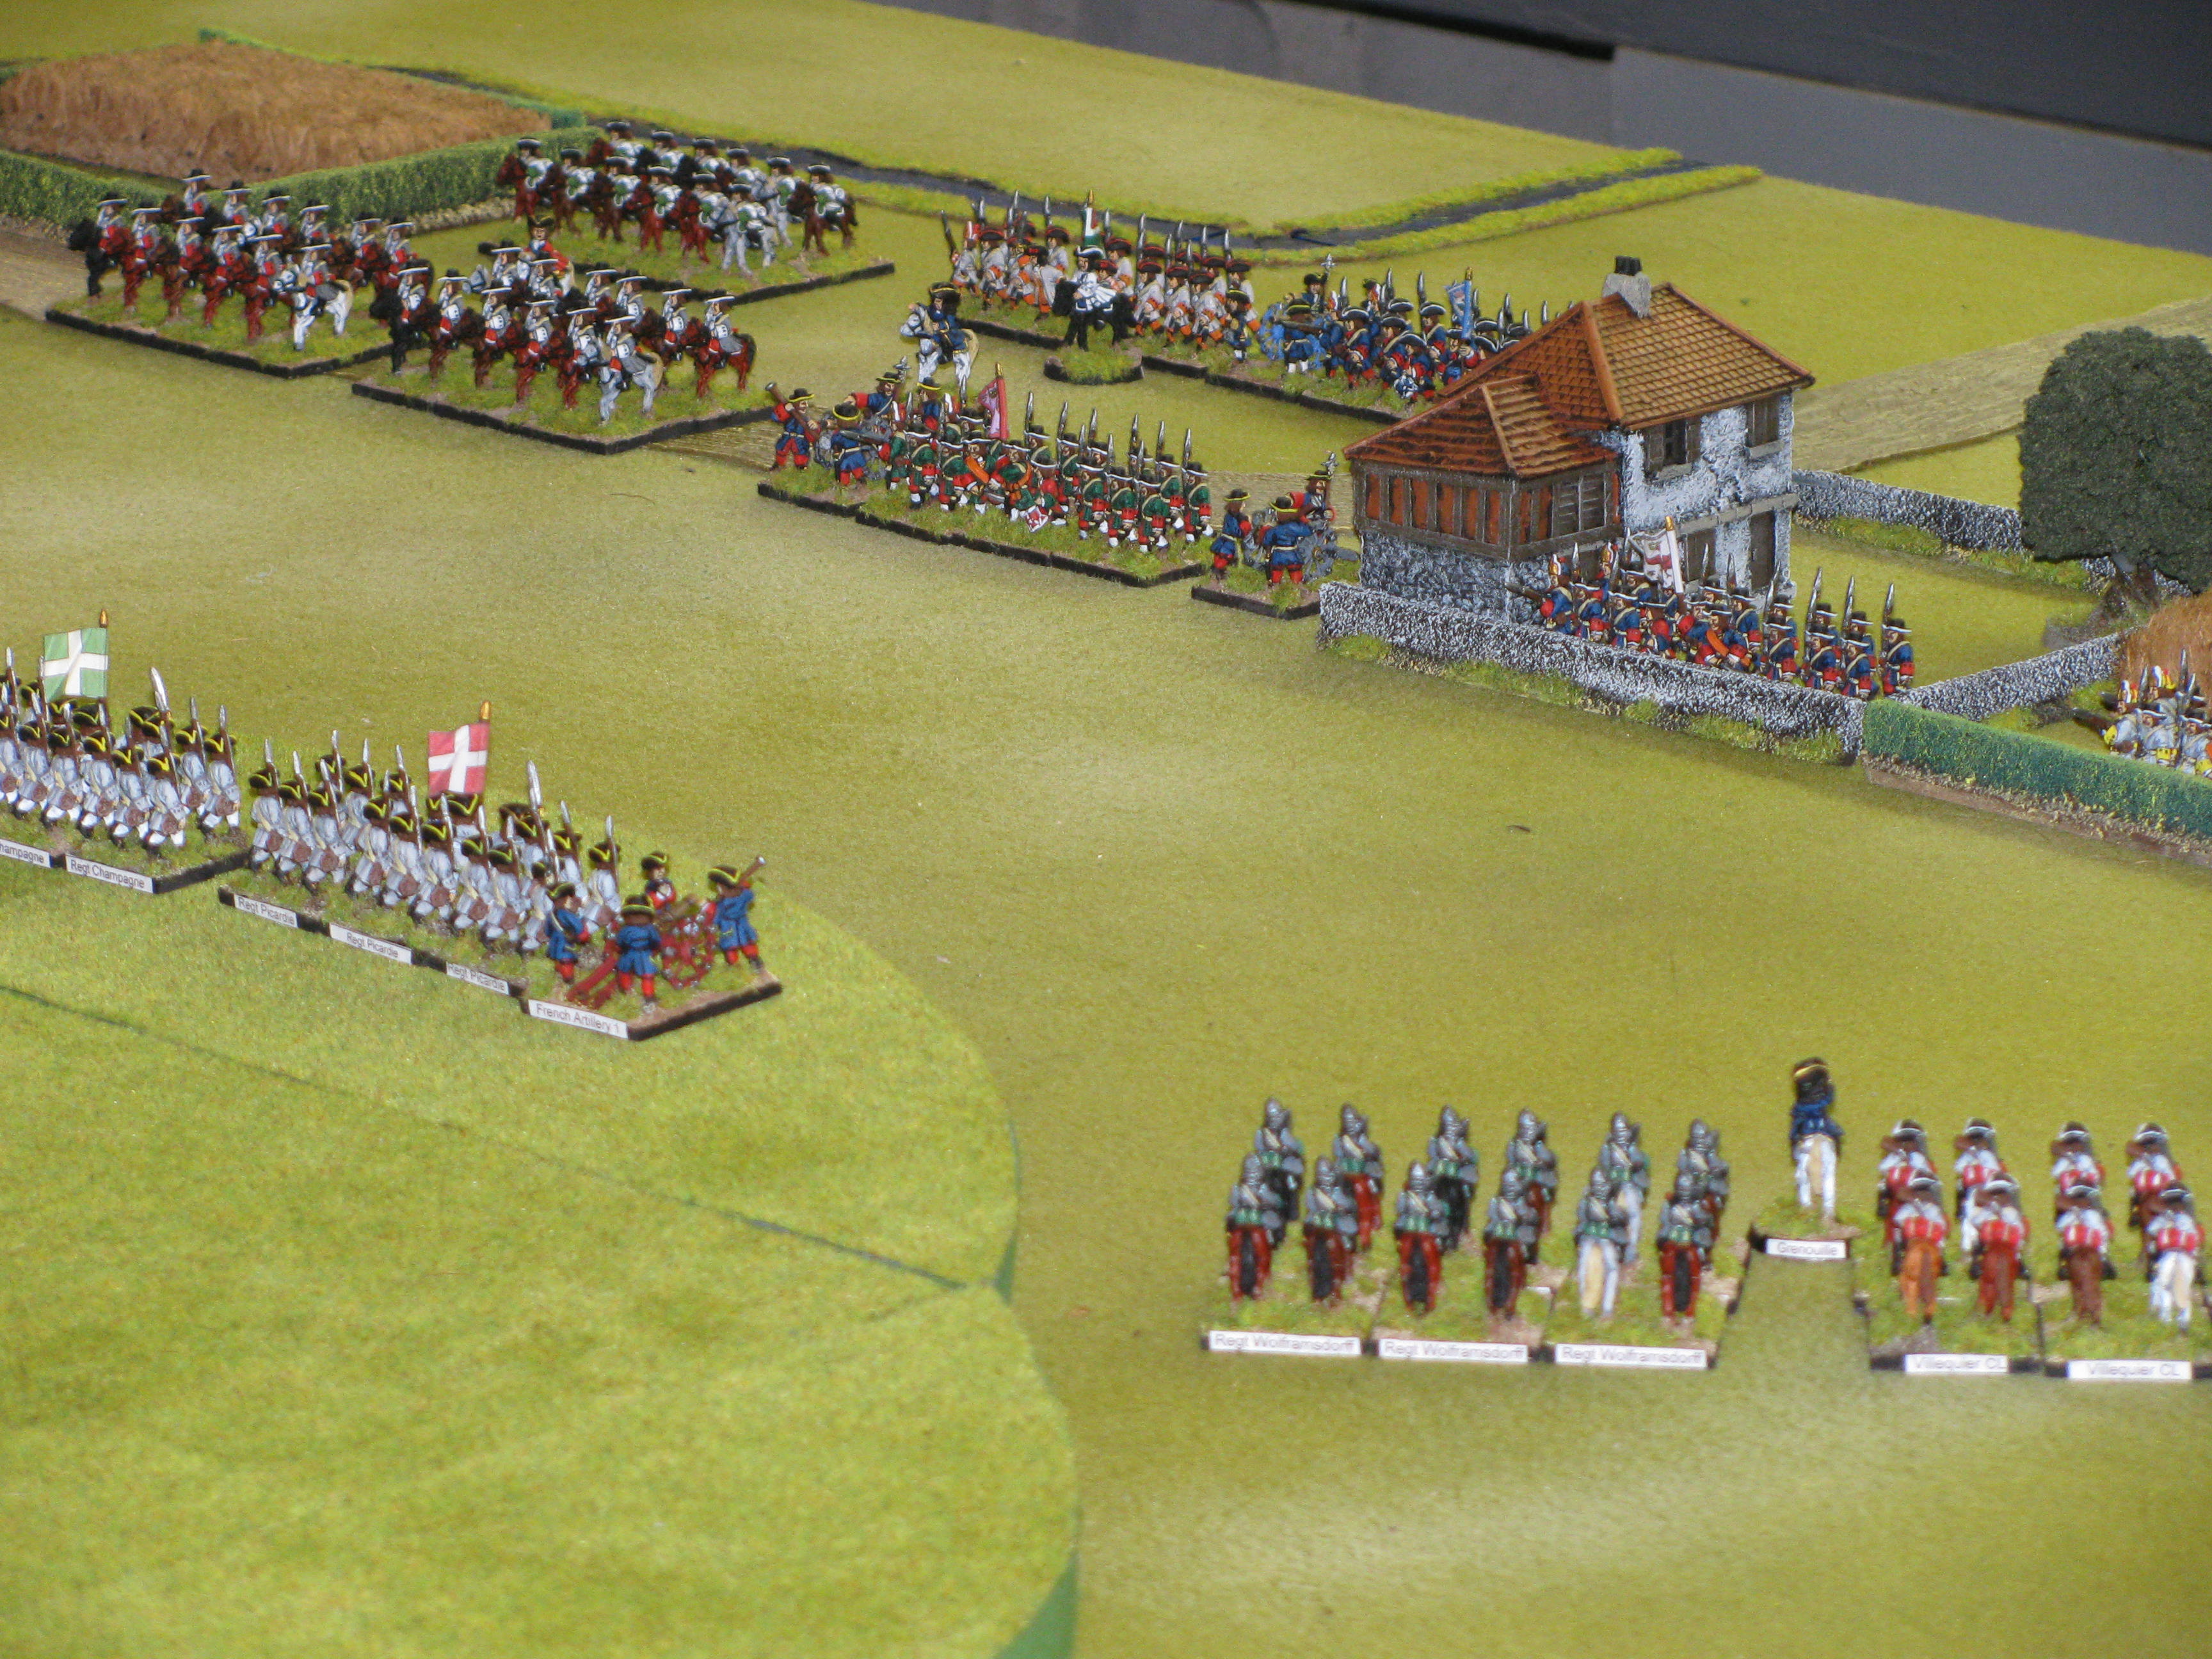
The Austrians deployed on the left hand side of the table in the following order from there left flank, two cavalry brigades 2 and 3, next to them in order infantry brigades 2, 1 and 3 to there rear cavalry brigade1 and Infantry brigade 5, in the centre infantry Brigade 4 and opposite the village on the right flank the 6 the Bavarian brigade and finally on the right the 4th Cavalry Brigade
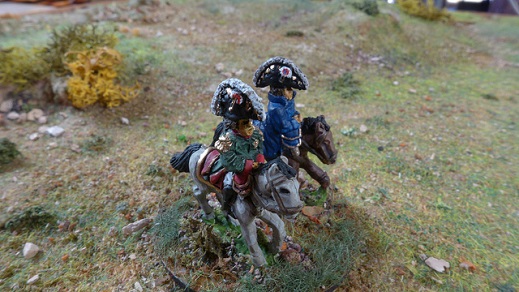
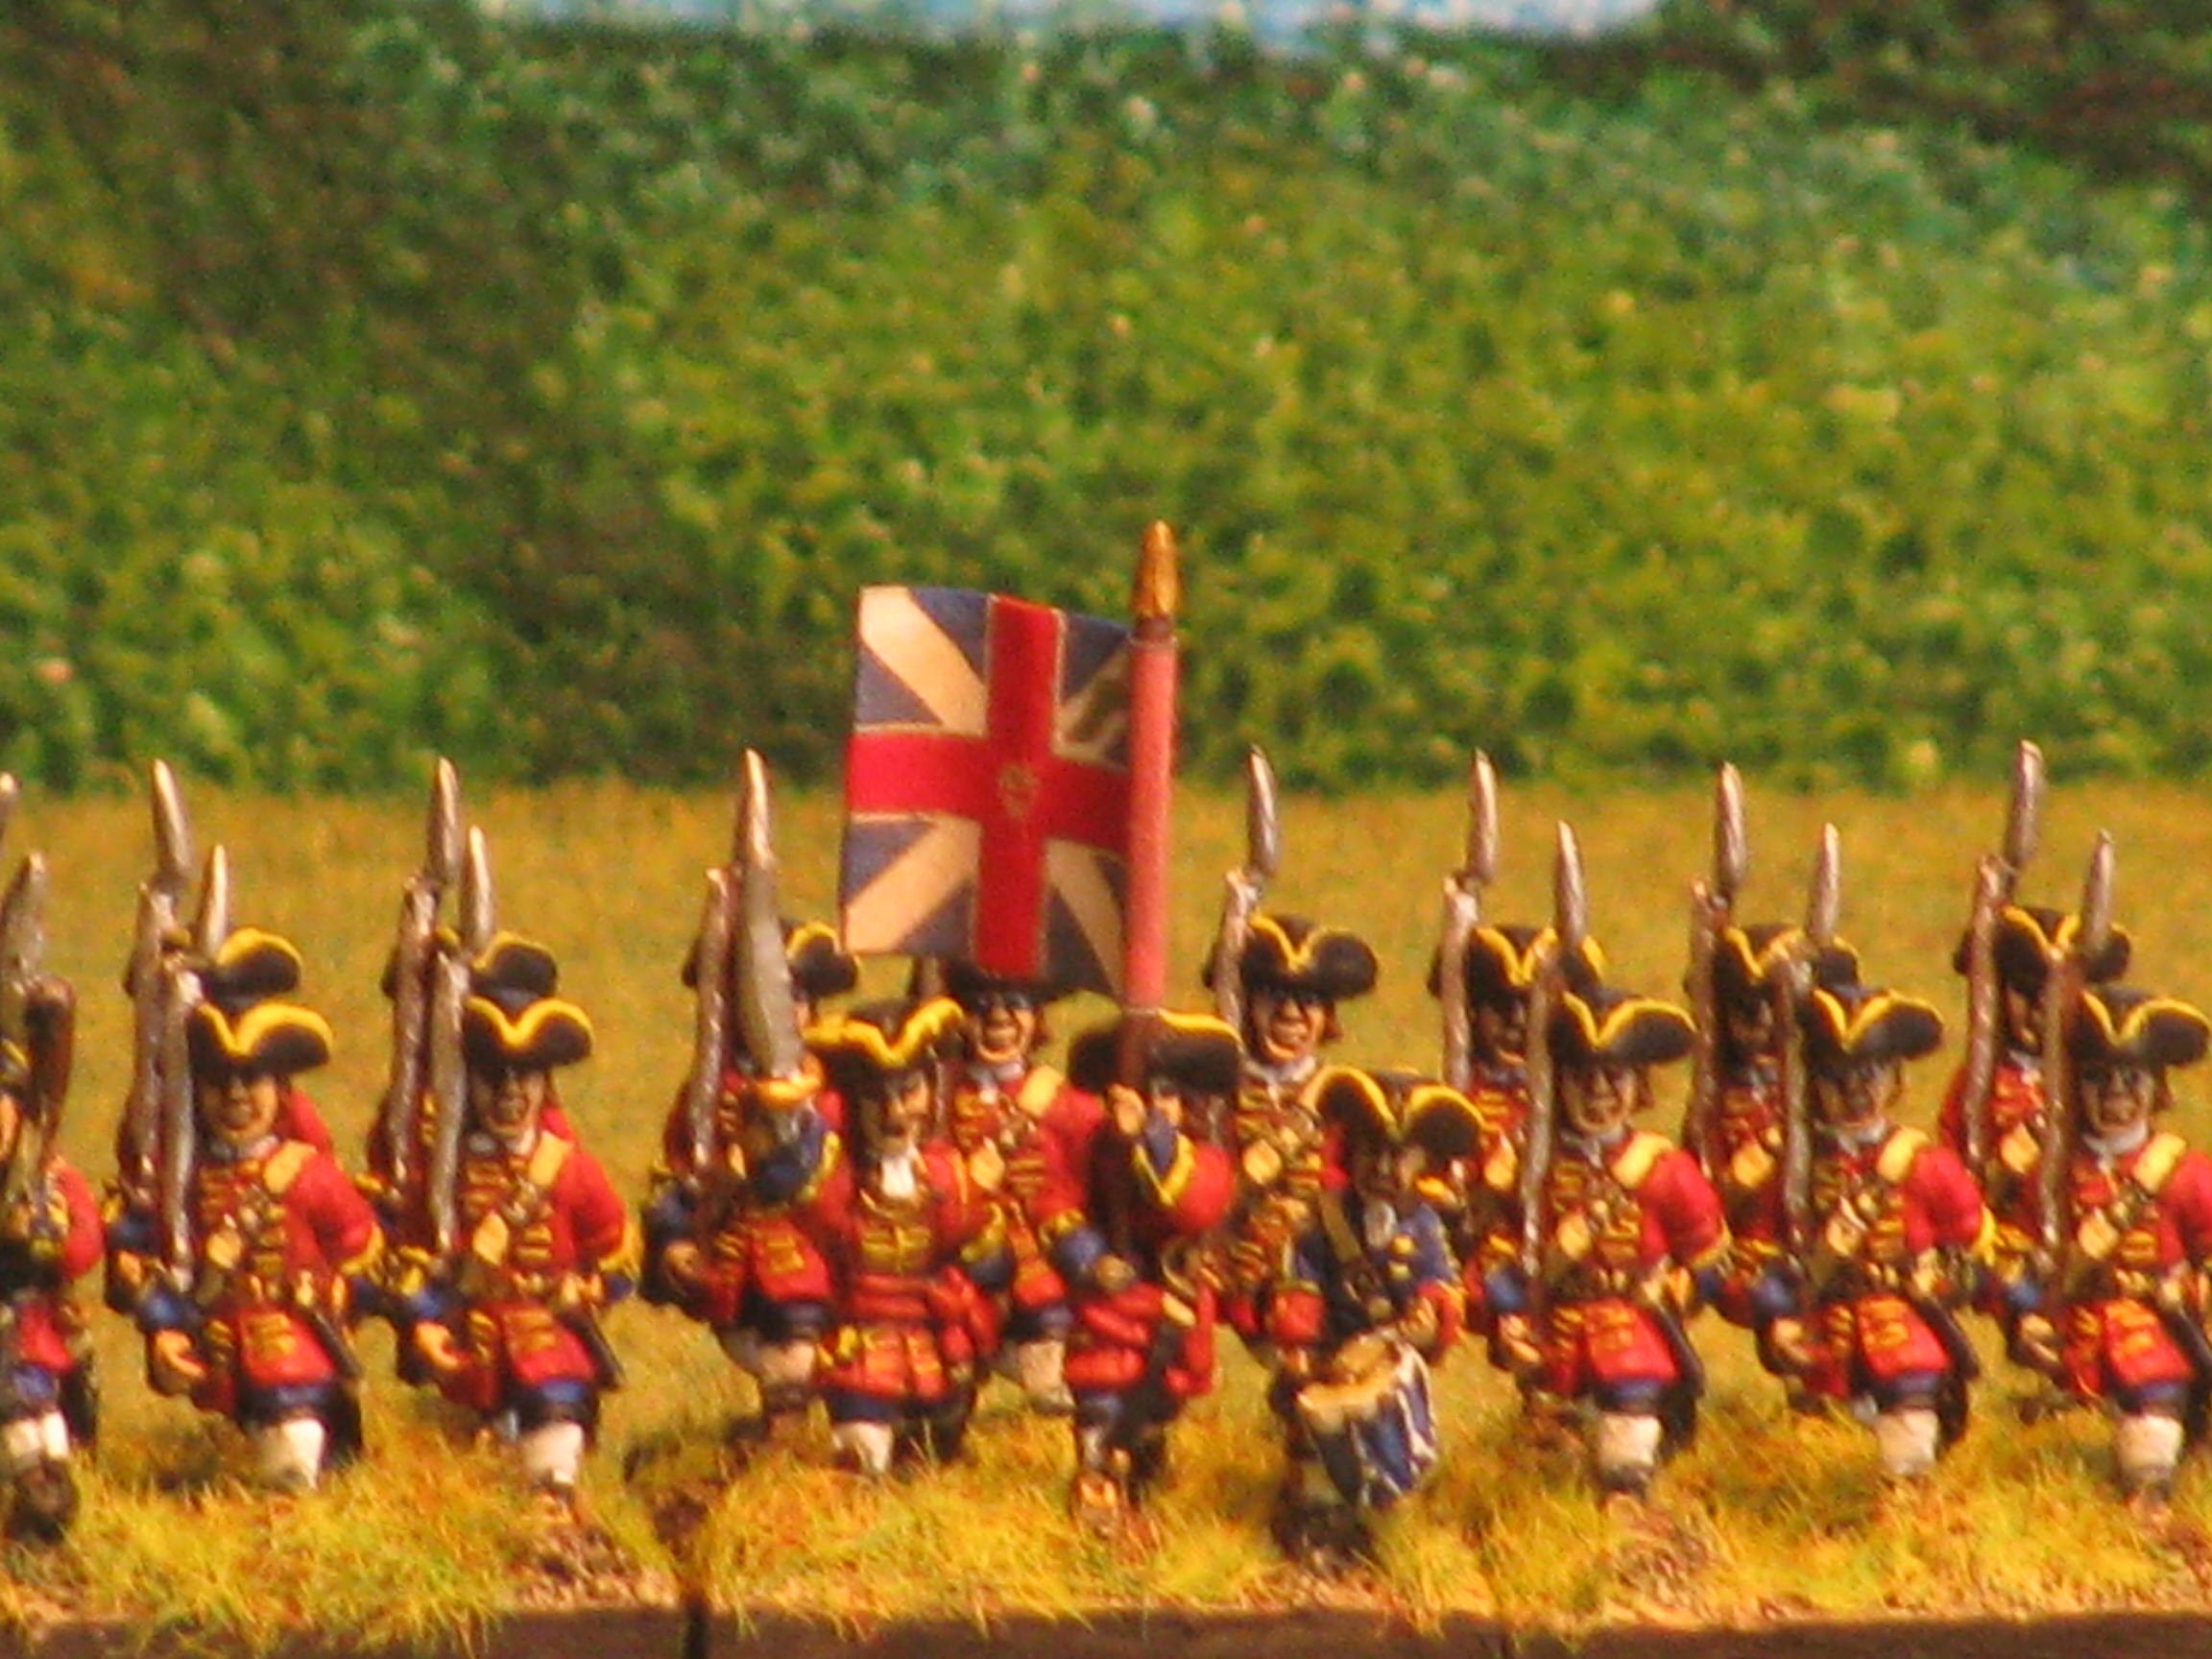
The Prussians under my mate Simon deployed L-R the 1st and 2nd Cavalry brigades with the 2nd infantry brigade to there right next came the 5th and 3rd Brigade with the Guard brigade and the 4th Line brigade and covered on the Prussian Right by the 3rd cavalry brigade.
The Austrian plan was to hold on the right with the Bavarians an supporting cavalry, a push toward the central village but just to keep the Prussians interested and fixed, in the centre 2 brigades supported by the grenadiers and heavy cavalry where to attack while on the left the valiant 2nd brigade was to clear the village ad woods to allow the two left wing cavalry brigades a free run around the Prussian flank.
Once the fog of war had lifted as the Austrian player I held my ground moving slowly with the Bavarians toward the village and putting down artillery support for the cavalry wing, giving the first cards to the Prussians and move cards appearing gave them a head start
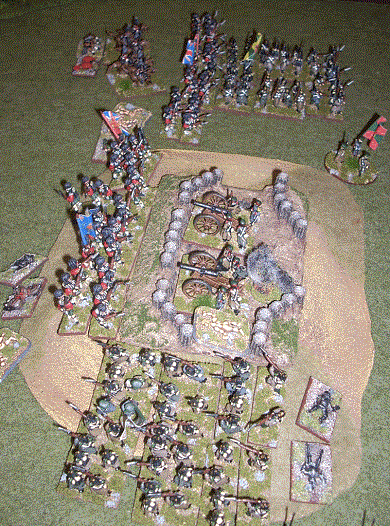
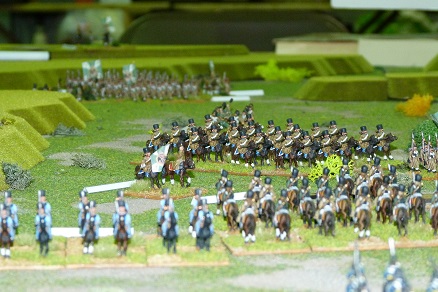
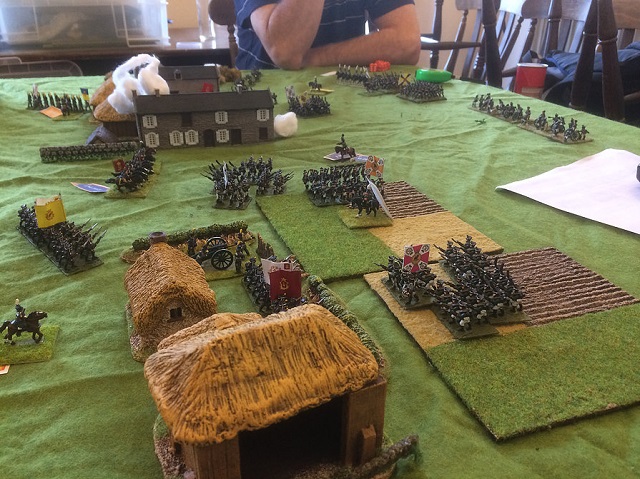
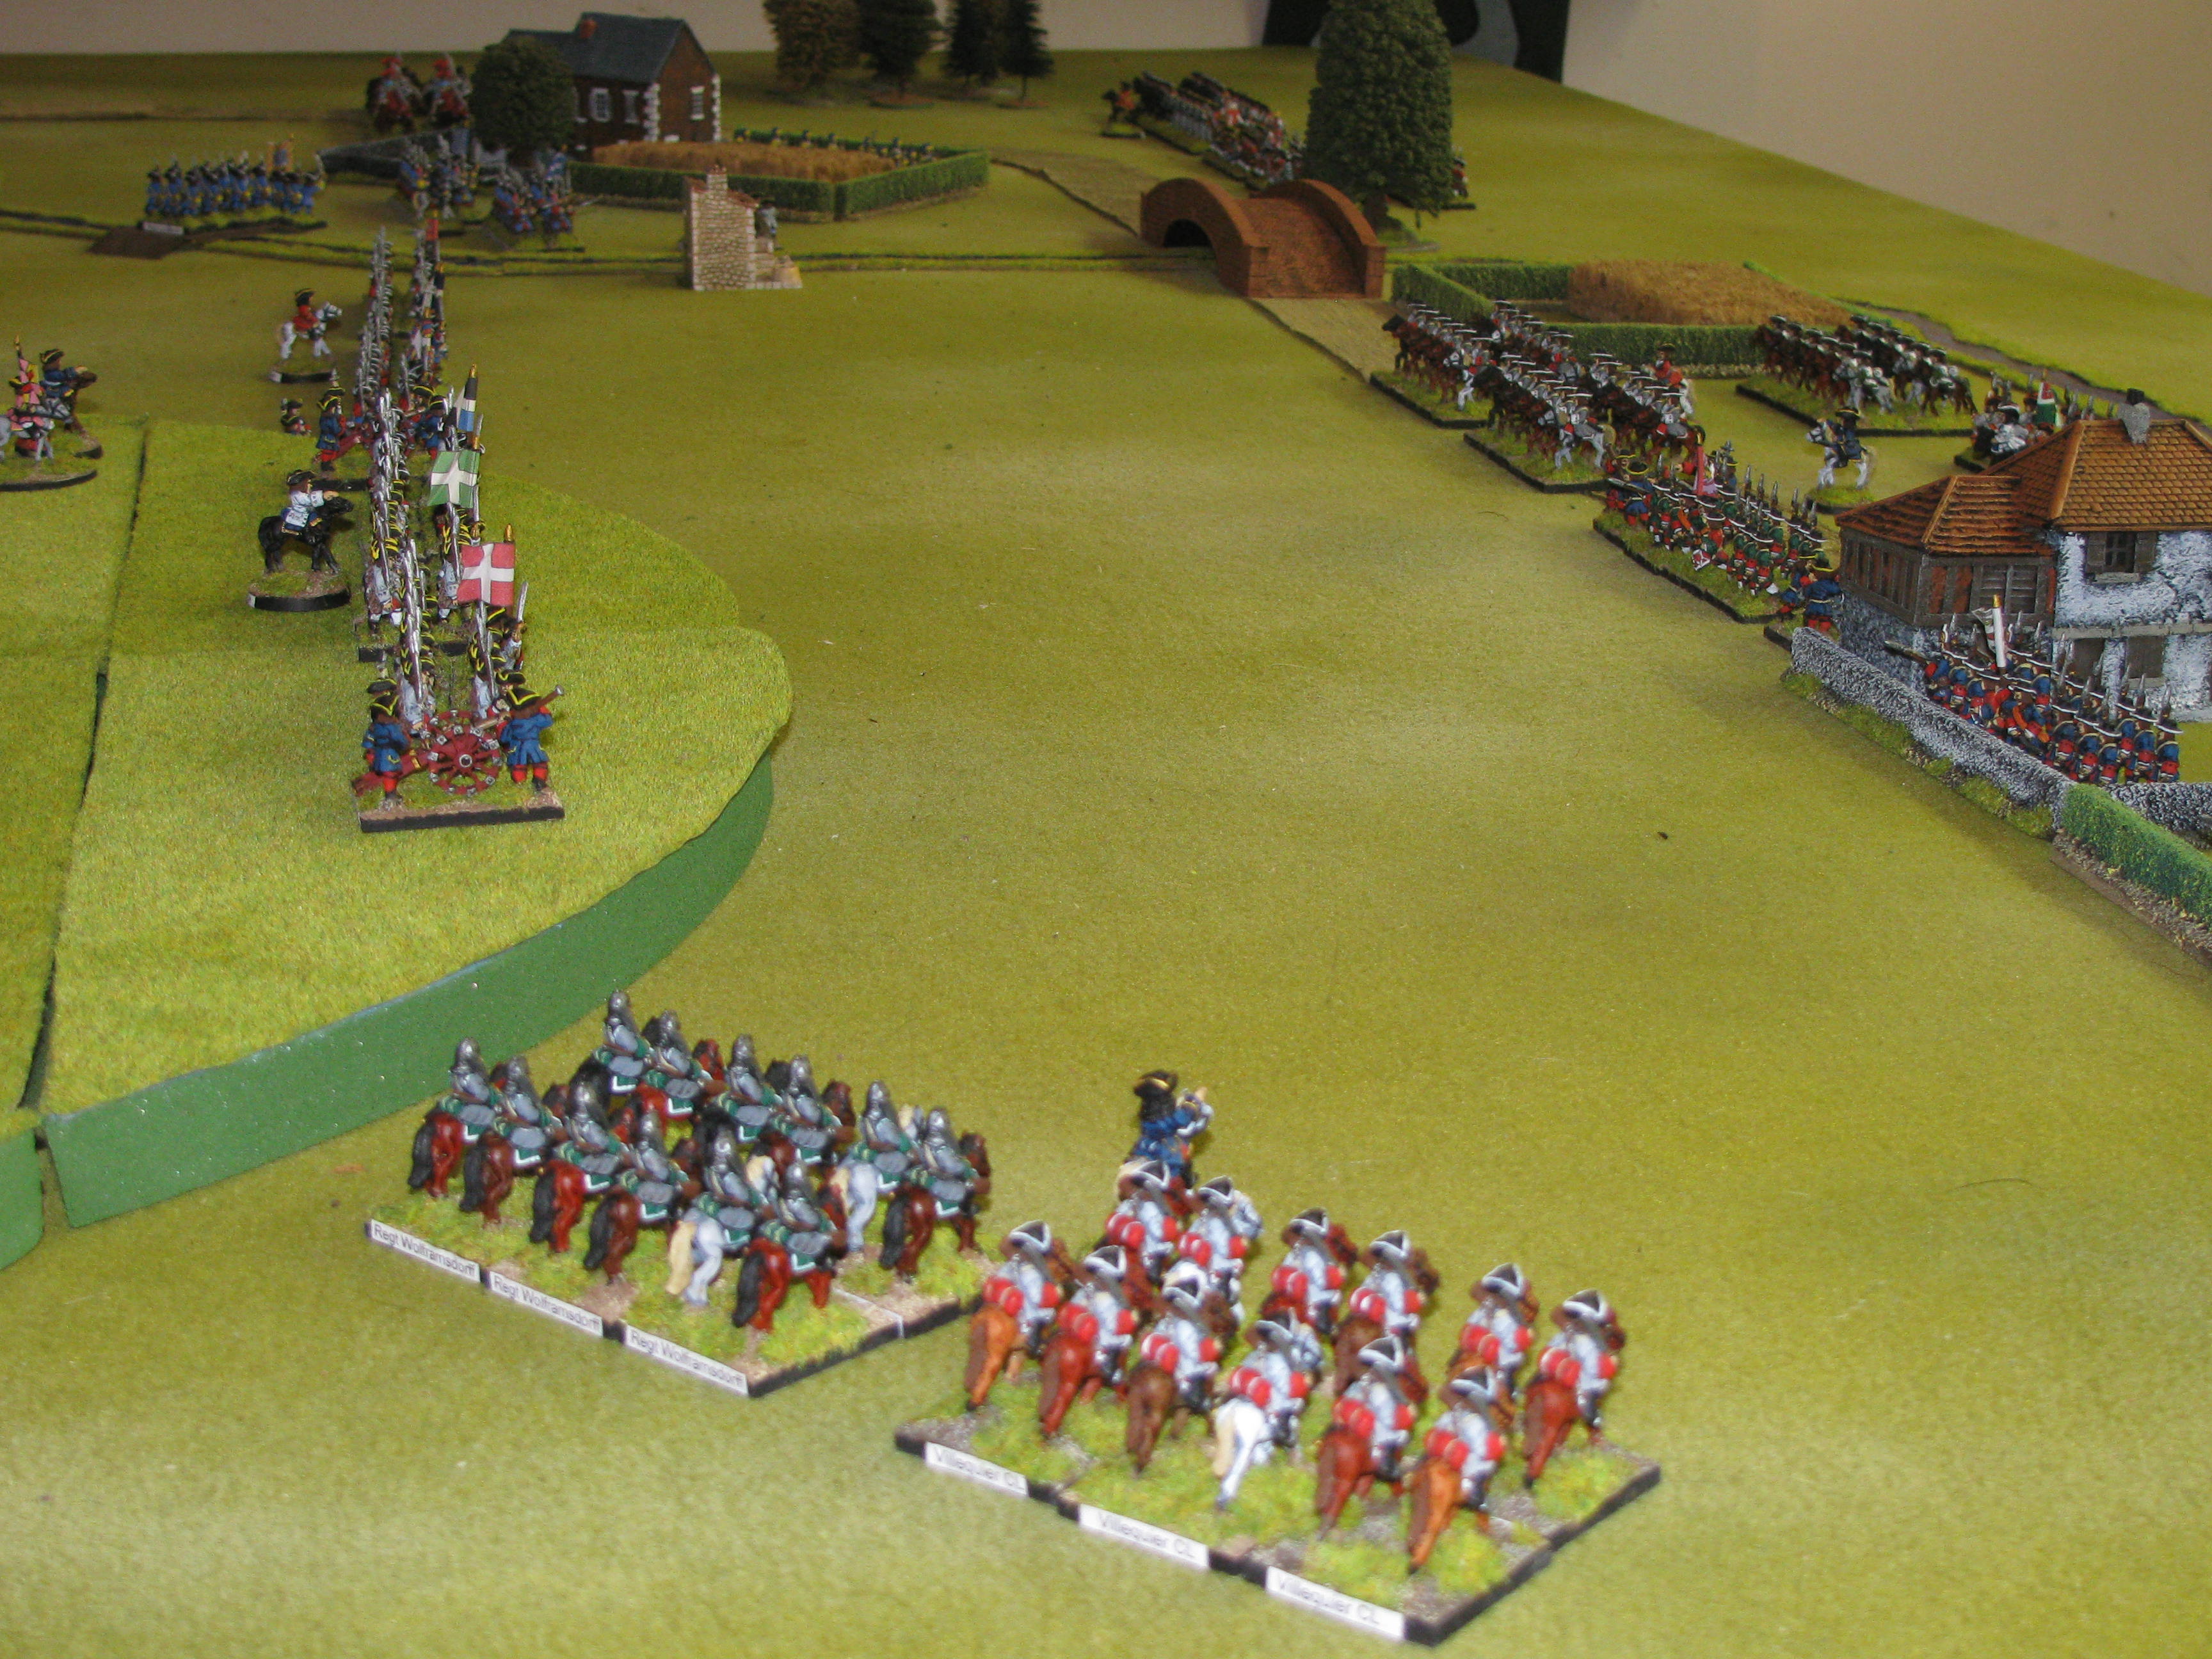
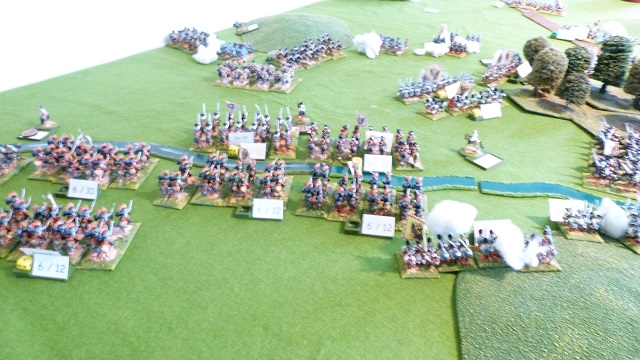
On the Austrian left I withdrew the two cavalry brigades back behind the stream tempting the Prussians forward and forward they came as the Valiant Infantry of the Austrian 2nd headed to the tiny hamlet and wood. On the Austrian right the Bavarian artillery caused significant discomfiture for the Prussian horse to fall back, in the centre slowly lumbering forward the Austrians shook themselves into position. But better deck will out and the Prussians stormed into the village on the Austrian Left and into the central village, the central village was taken by the large 5th brigade of Prussia and occupied and remained the whole day
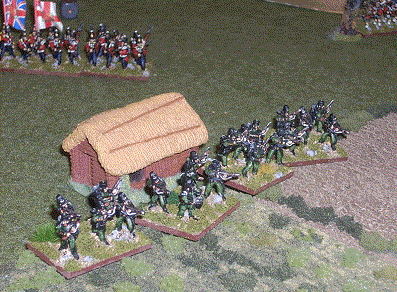
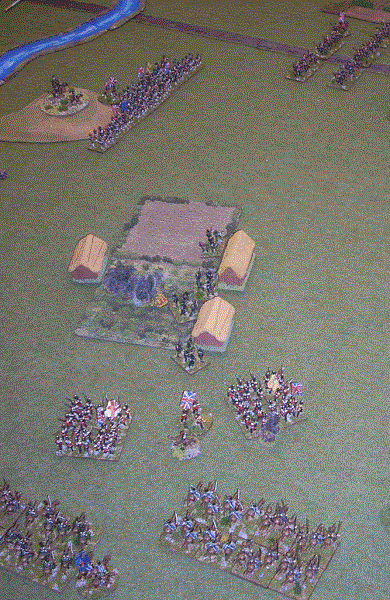
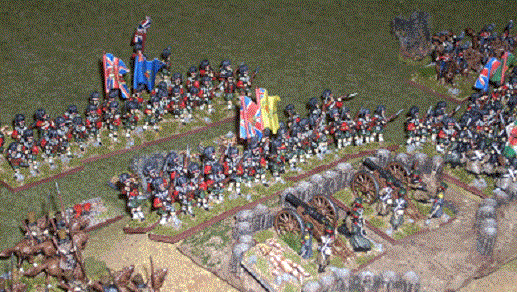
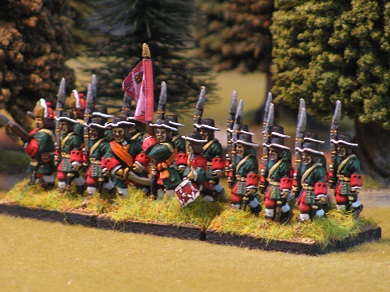
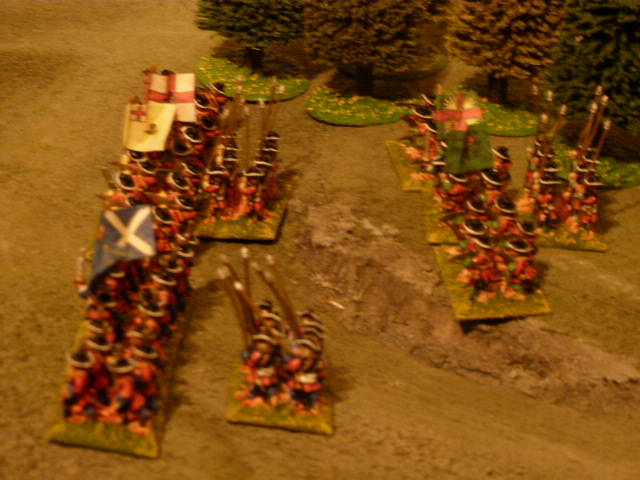
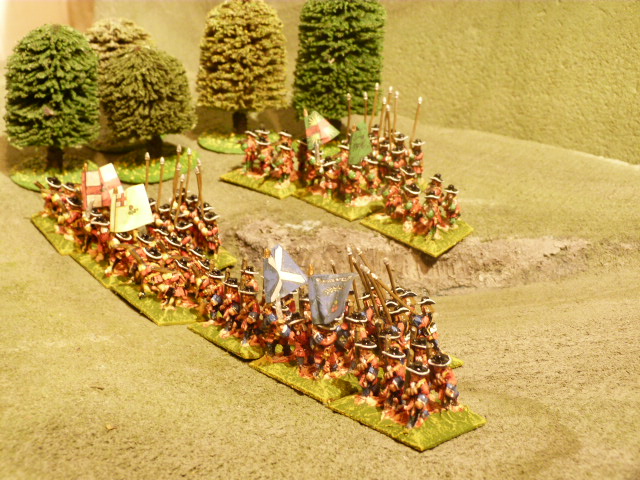
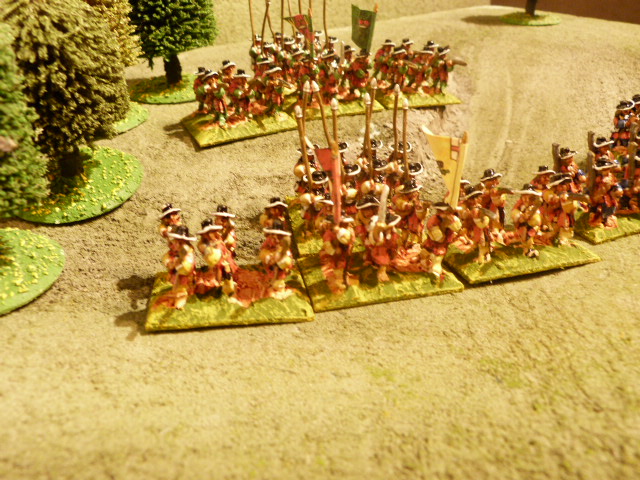
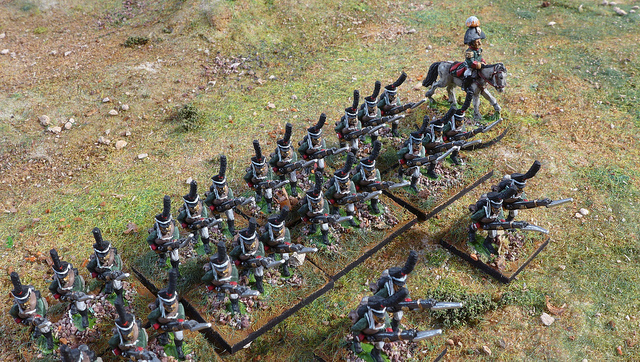
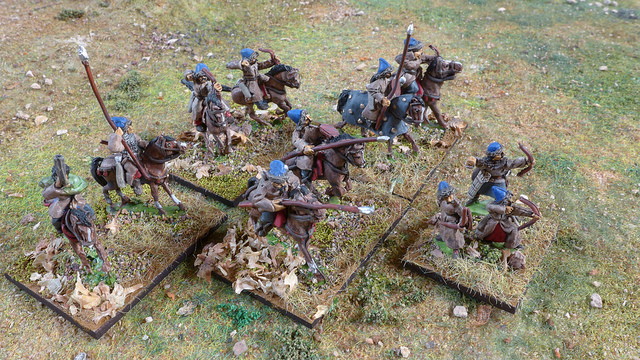
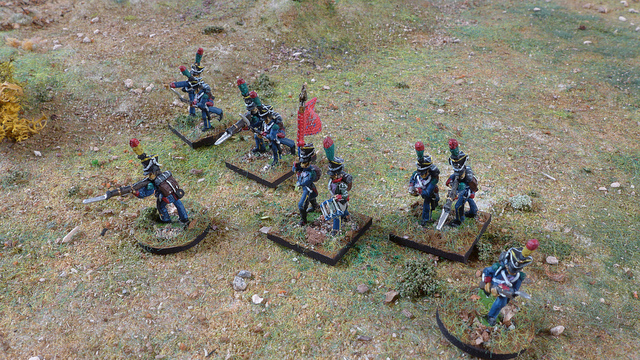
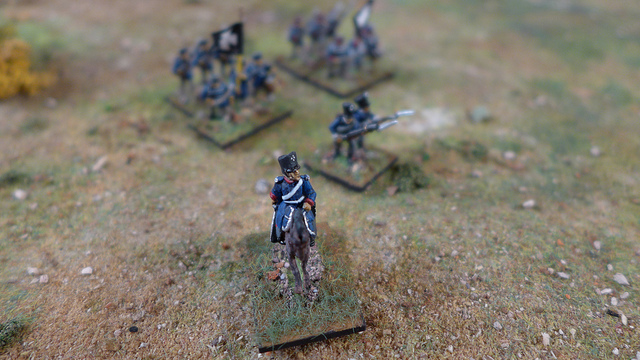
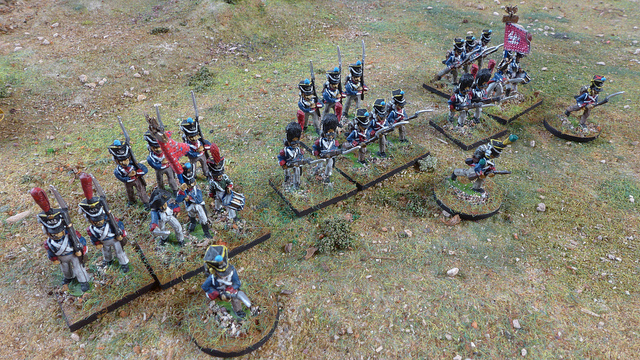
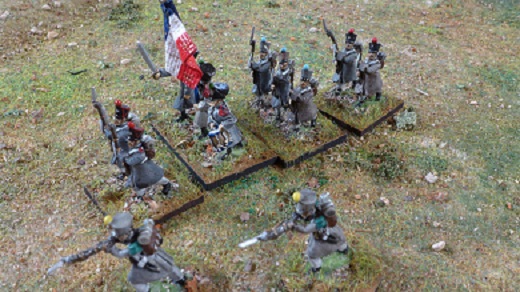
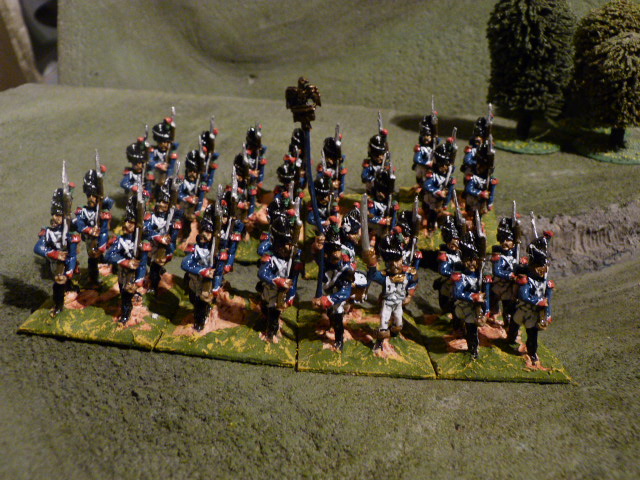
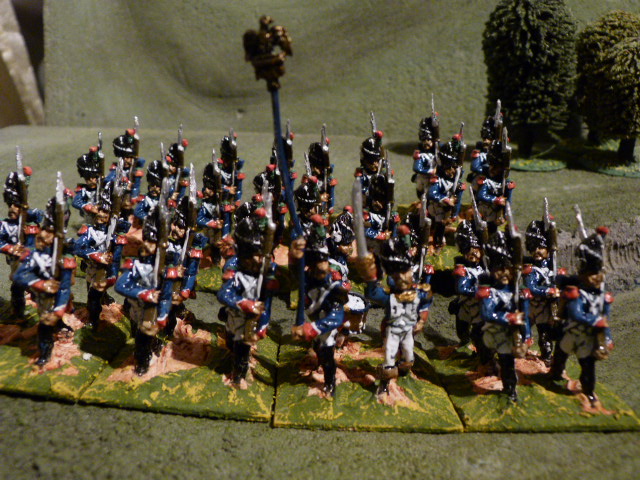
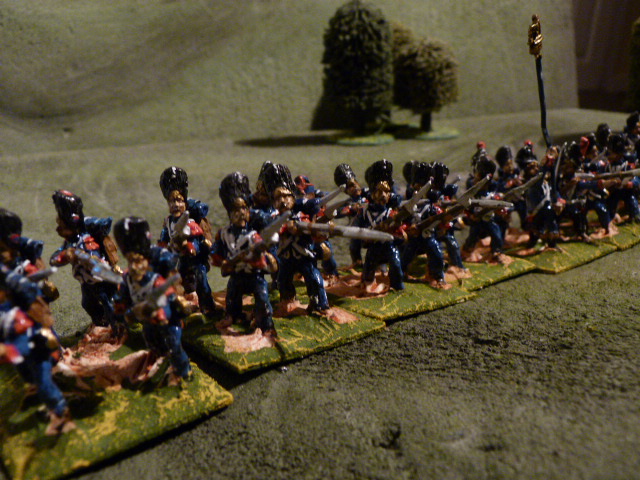
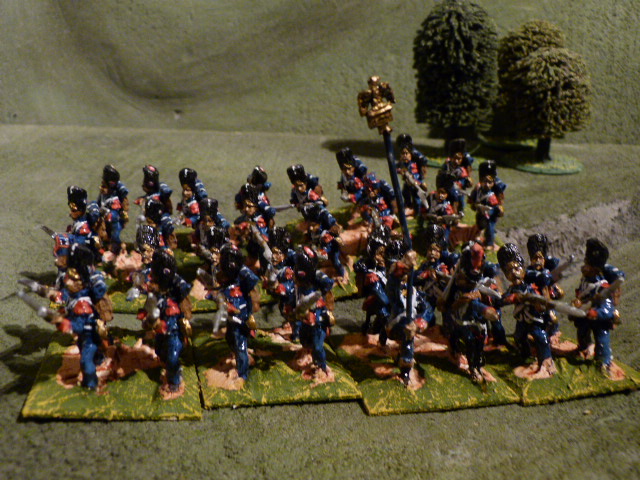
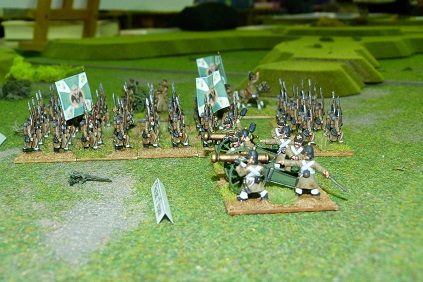
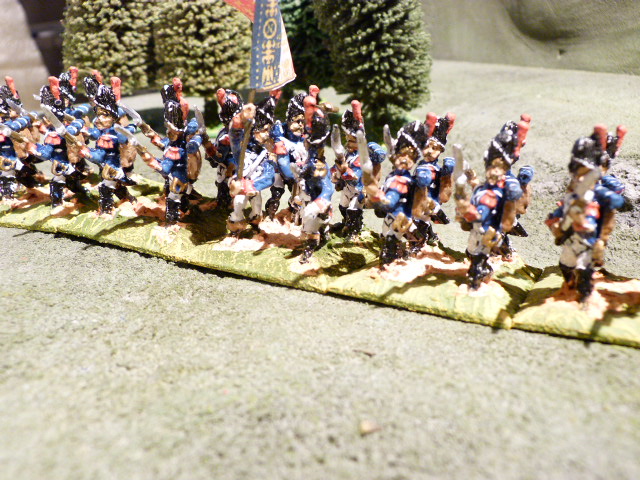
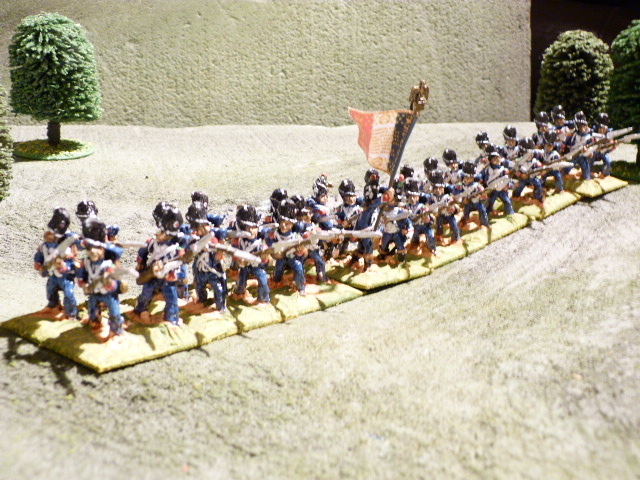
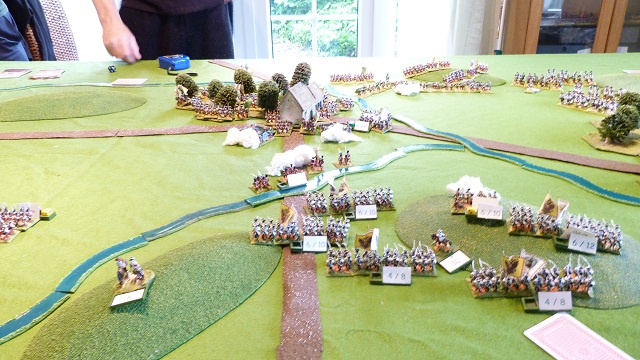
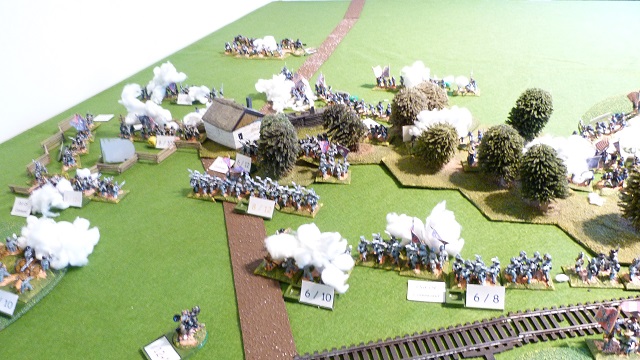
Austrian Left the 2nd Infantry brigade storming the wood
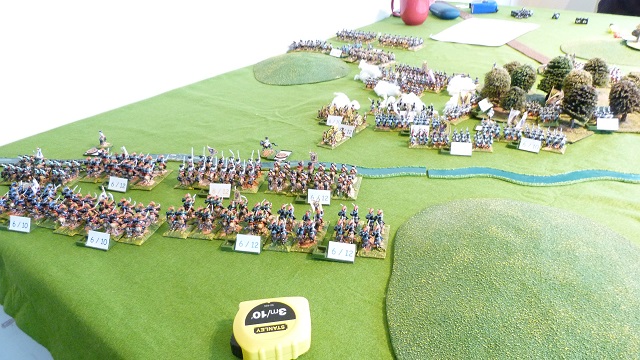
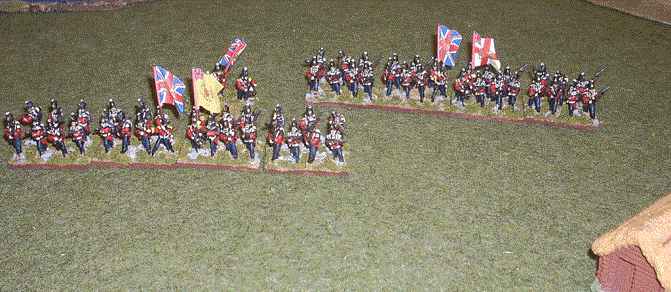
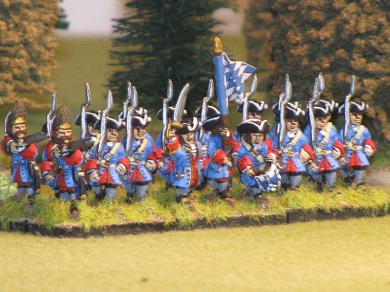
the Austrian centre left brigades 1 and 3 with the Cavalry Brigade 1 and the card is brigade 3 not seen yet
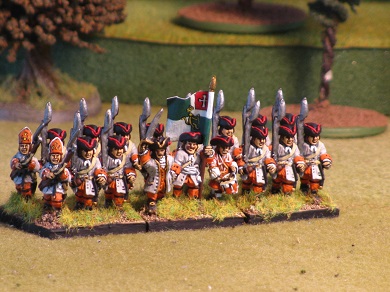
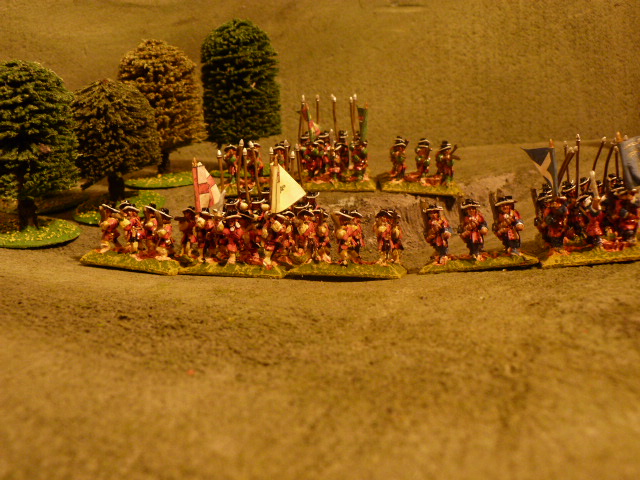
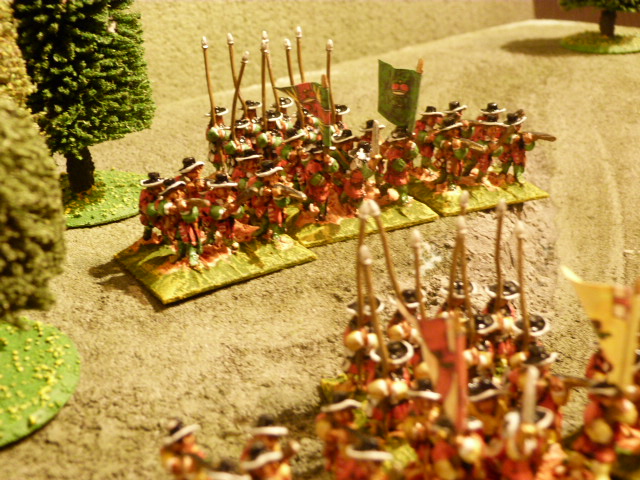
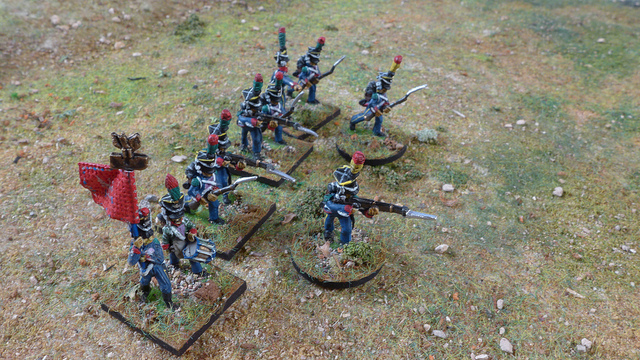
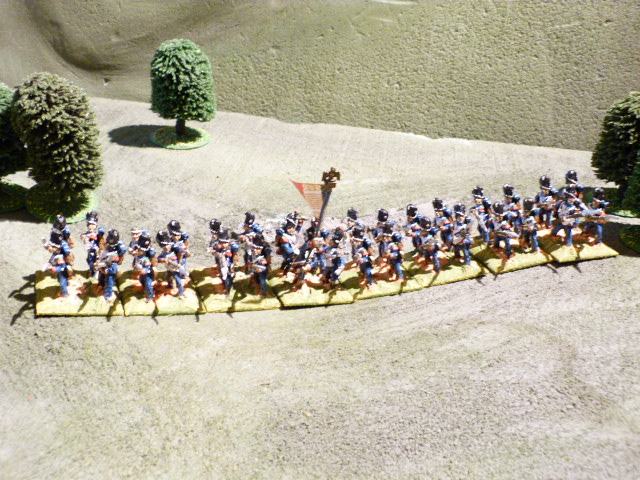
The Austrian 4th Brigade taking the hill and skirmishing with the Prussians - notice the Prussian cavalry in the top right
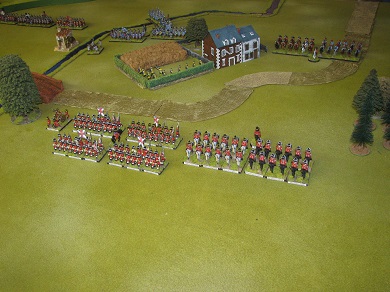
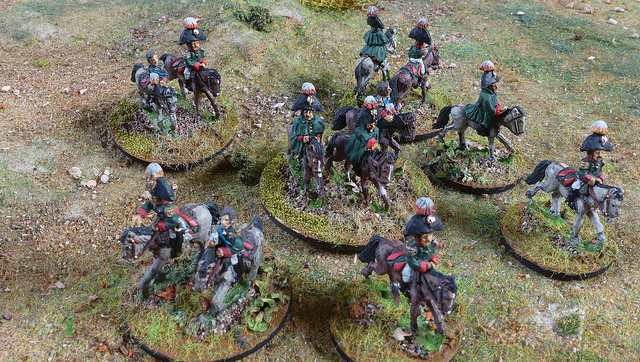
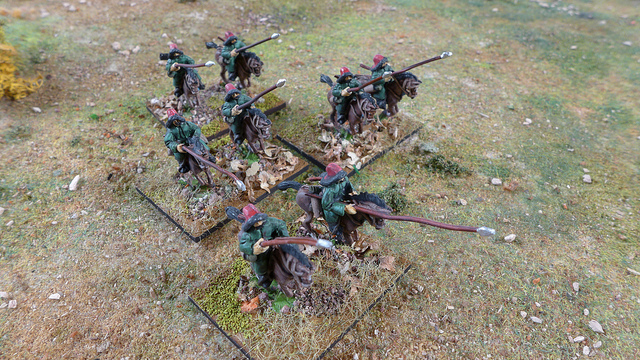
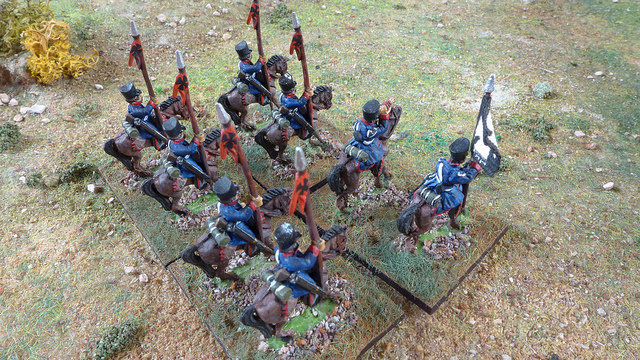
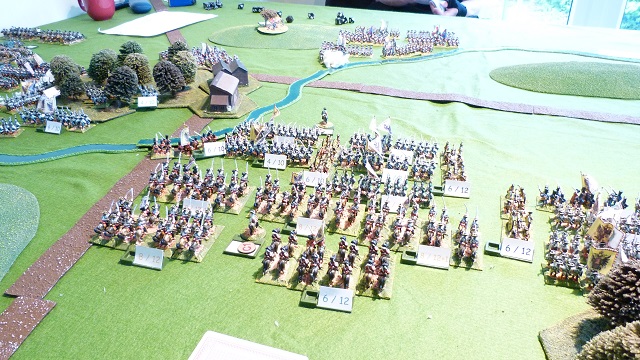
The Austrian Right the Bavarians approach the village and their artillery bombard the Prussian Cavalry, the Austrian Cavalry sit and wait
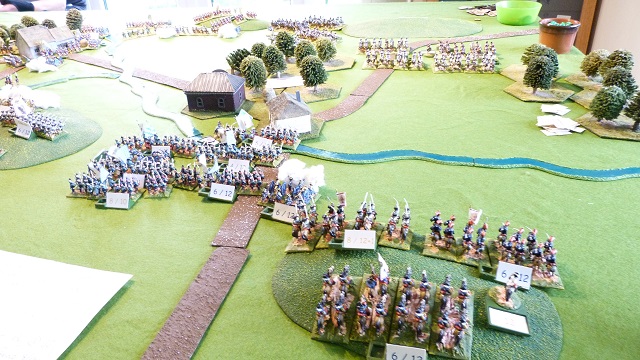
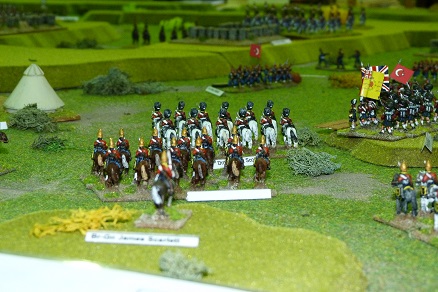
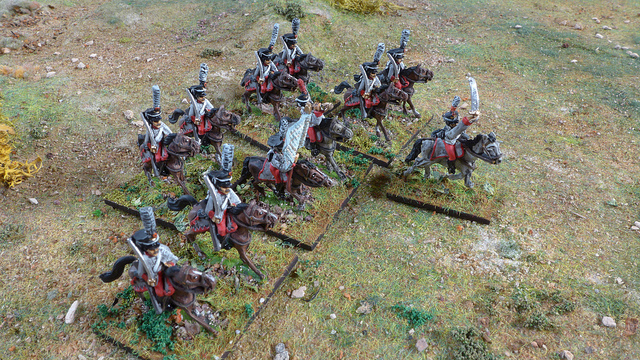
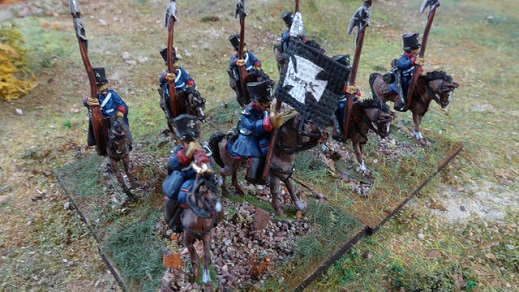
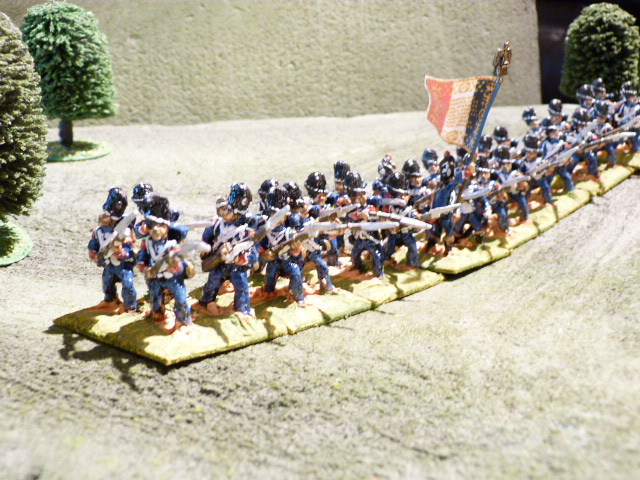
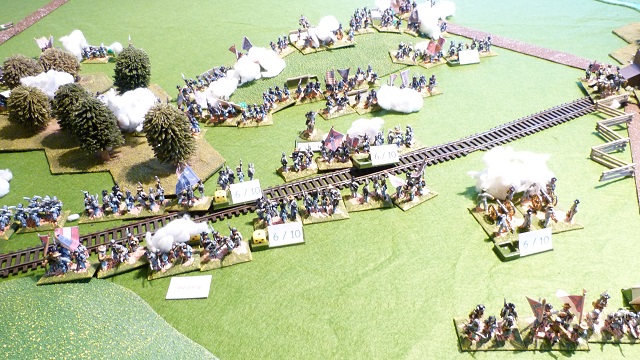
the Reverse view the Prussian Left watching the Bavarians and the sneak cavalry wheeling to the right
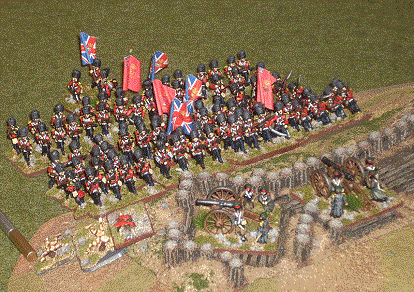
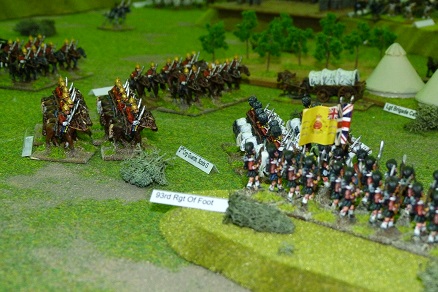
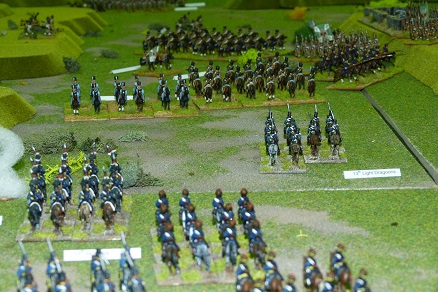
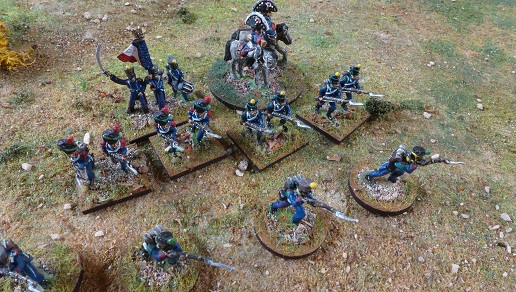
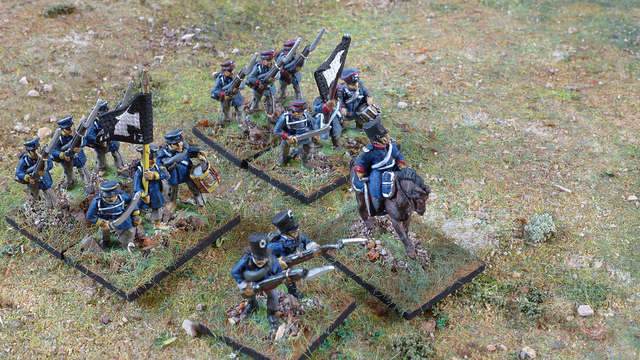
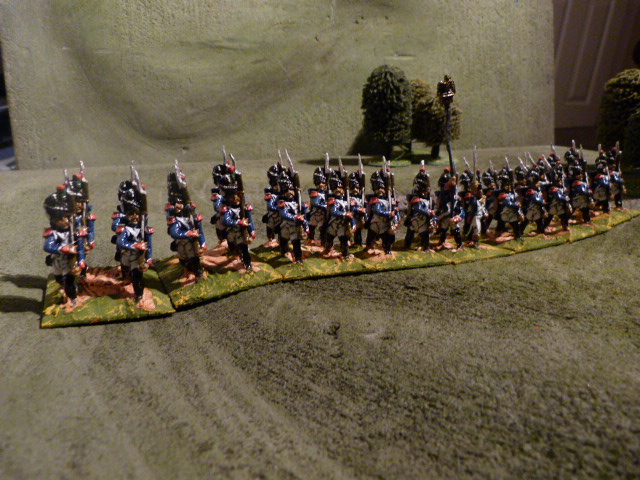
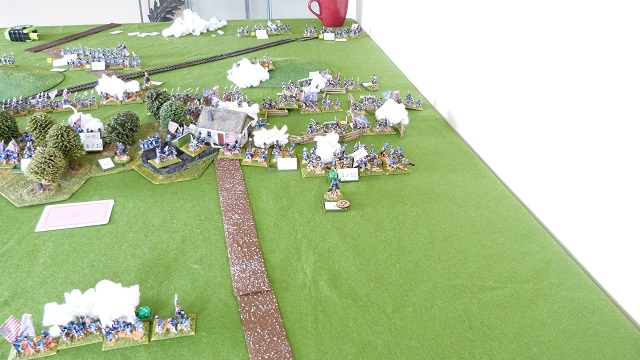
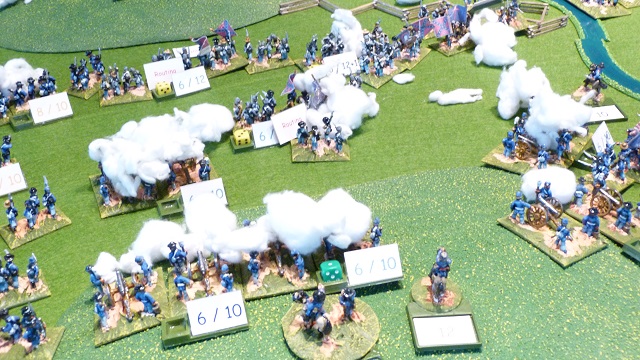
Prussian centre showing 2nd brigade and the 5th brigade occupying the village
Prussian right showing the Prussian 4th Brigade doing two tasks and leaving half the brigade facing the Austrians ooops
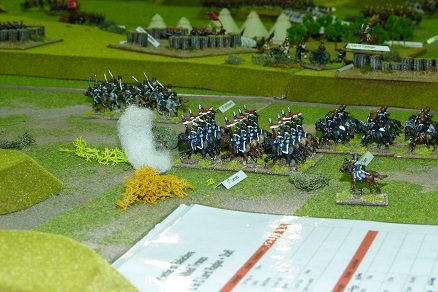
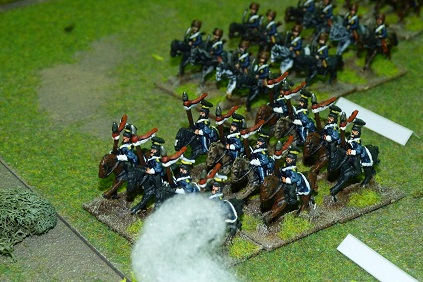
The Austrian 4th Brigade supporting the Bavarians skirmished with the Prussian 5th Division in the village, waiting and occupying the high ground just to the south of the village, but the 5th Prussian brigade bringing two batteries forward soon pushed the Grenze skirmishing back, as the Austrian centre continued lumbering forward to the left the Austrian 2nd Brigade stormed the woods the opposing Prussian 4th Brigade split and sent half its strength to the wood and half to the village and the Prussian 3rd Cavalry brigade supported them. The Austrians quickly got the upper hand and the diverted Prussian half Brigade moved to support its comrades in the wood, but too late the Austrian line in a series of fusillades saw off the Prussians off, along with one of the Prussian batteries, the Austrians lost there grenadiers in rout as the Prussian Cavalry got embroiled in supporting the infantry, only to see the Austrian Cavalry 8 regiments strong recross the stream to support the victorious Austrian Infantry.
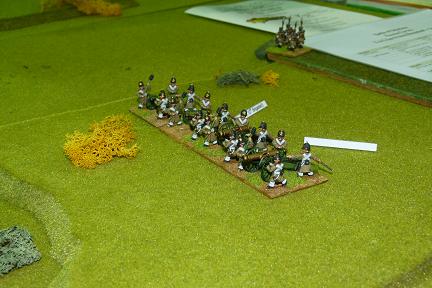
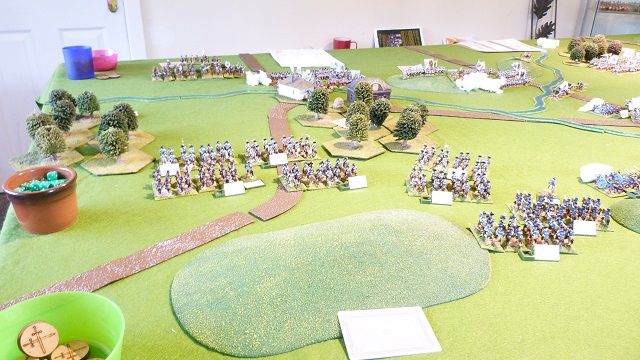
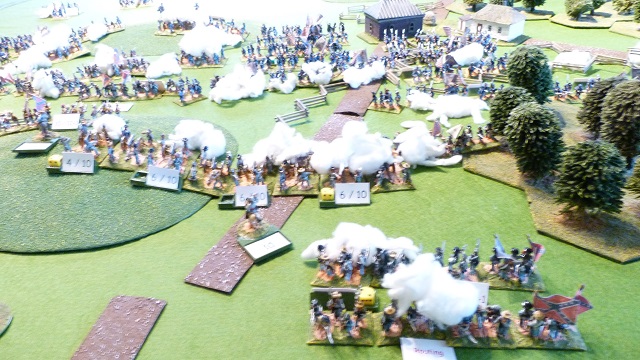
The Austrians skirmish in the centre and Ar#illery are thrown out bu the Prussians
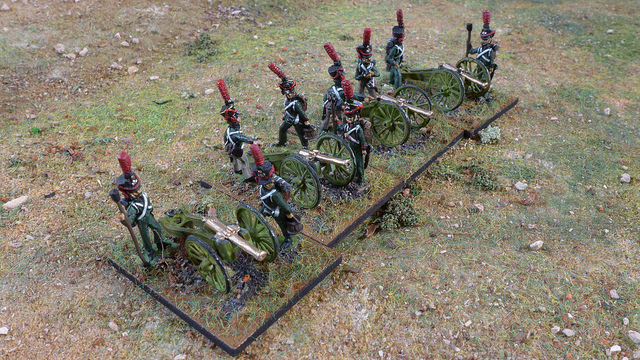
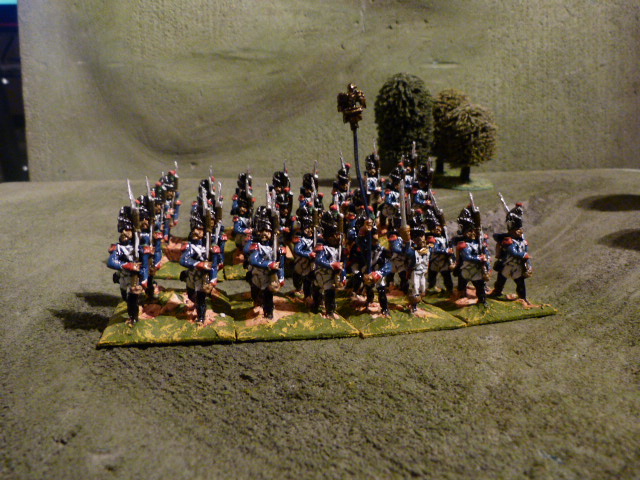
The Guards artillery is destroyed by Austrian Artillery
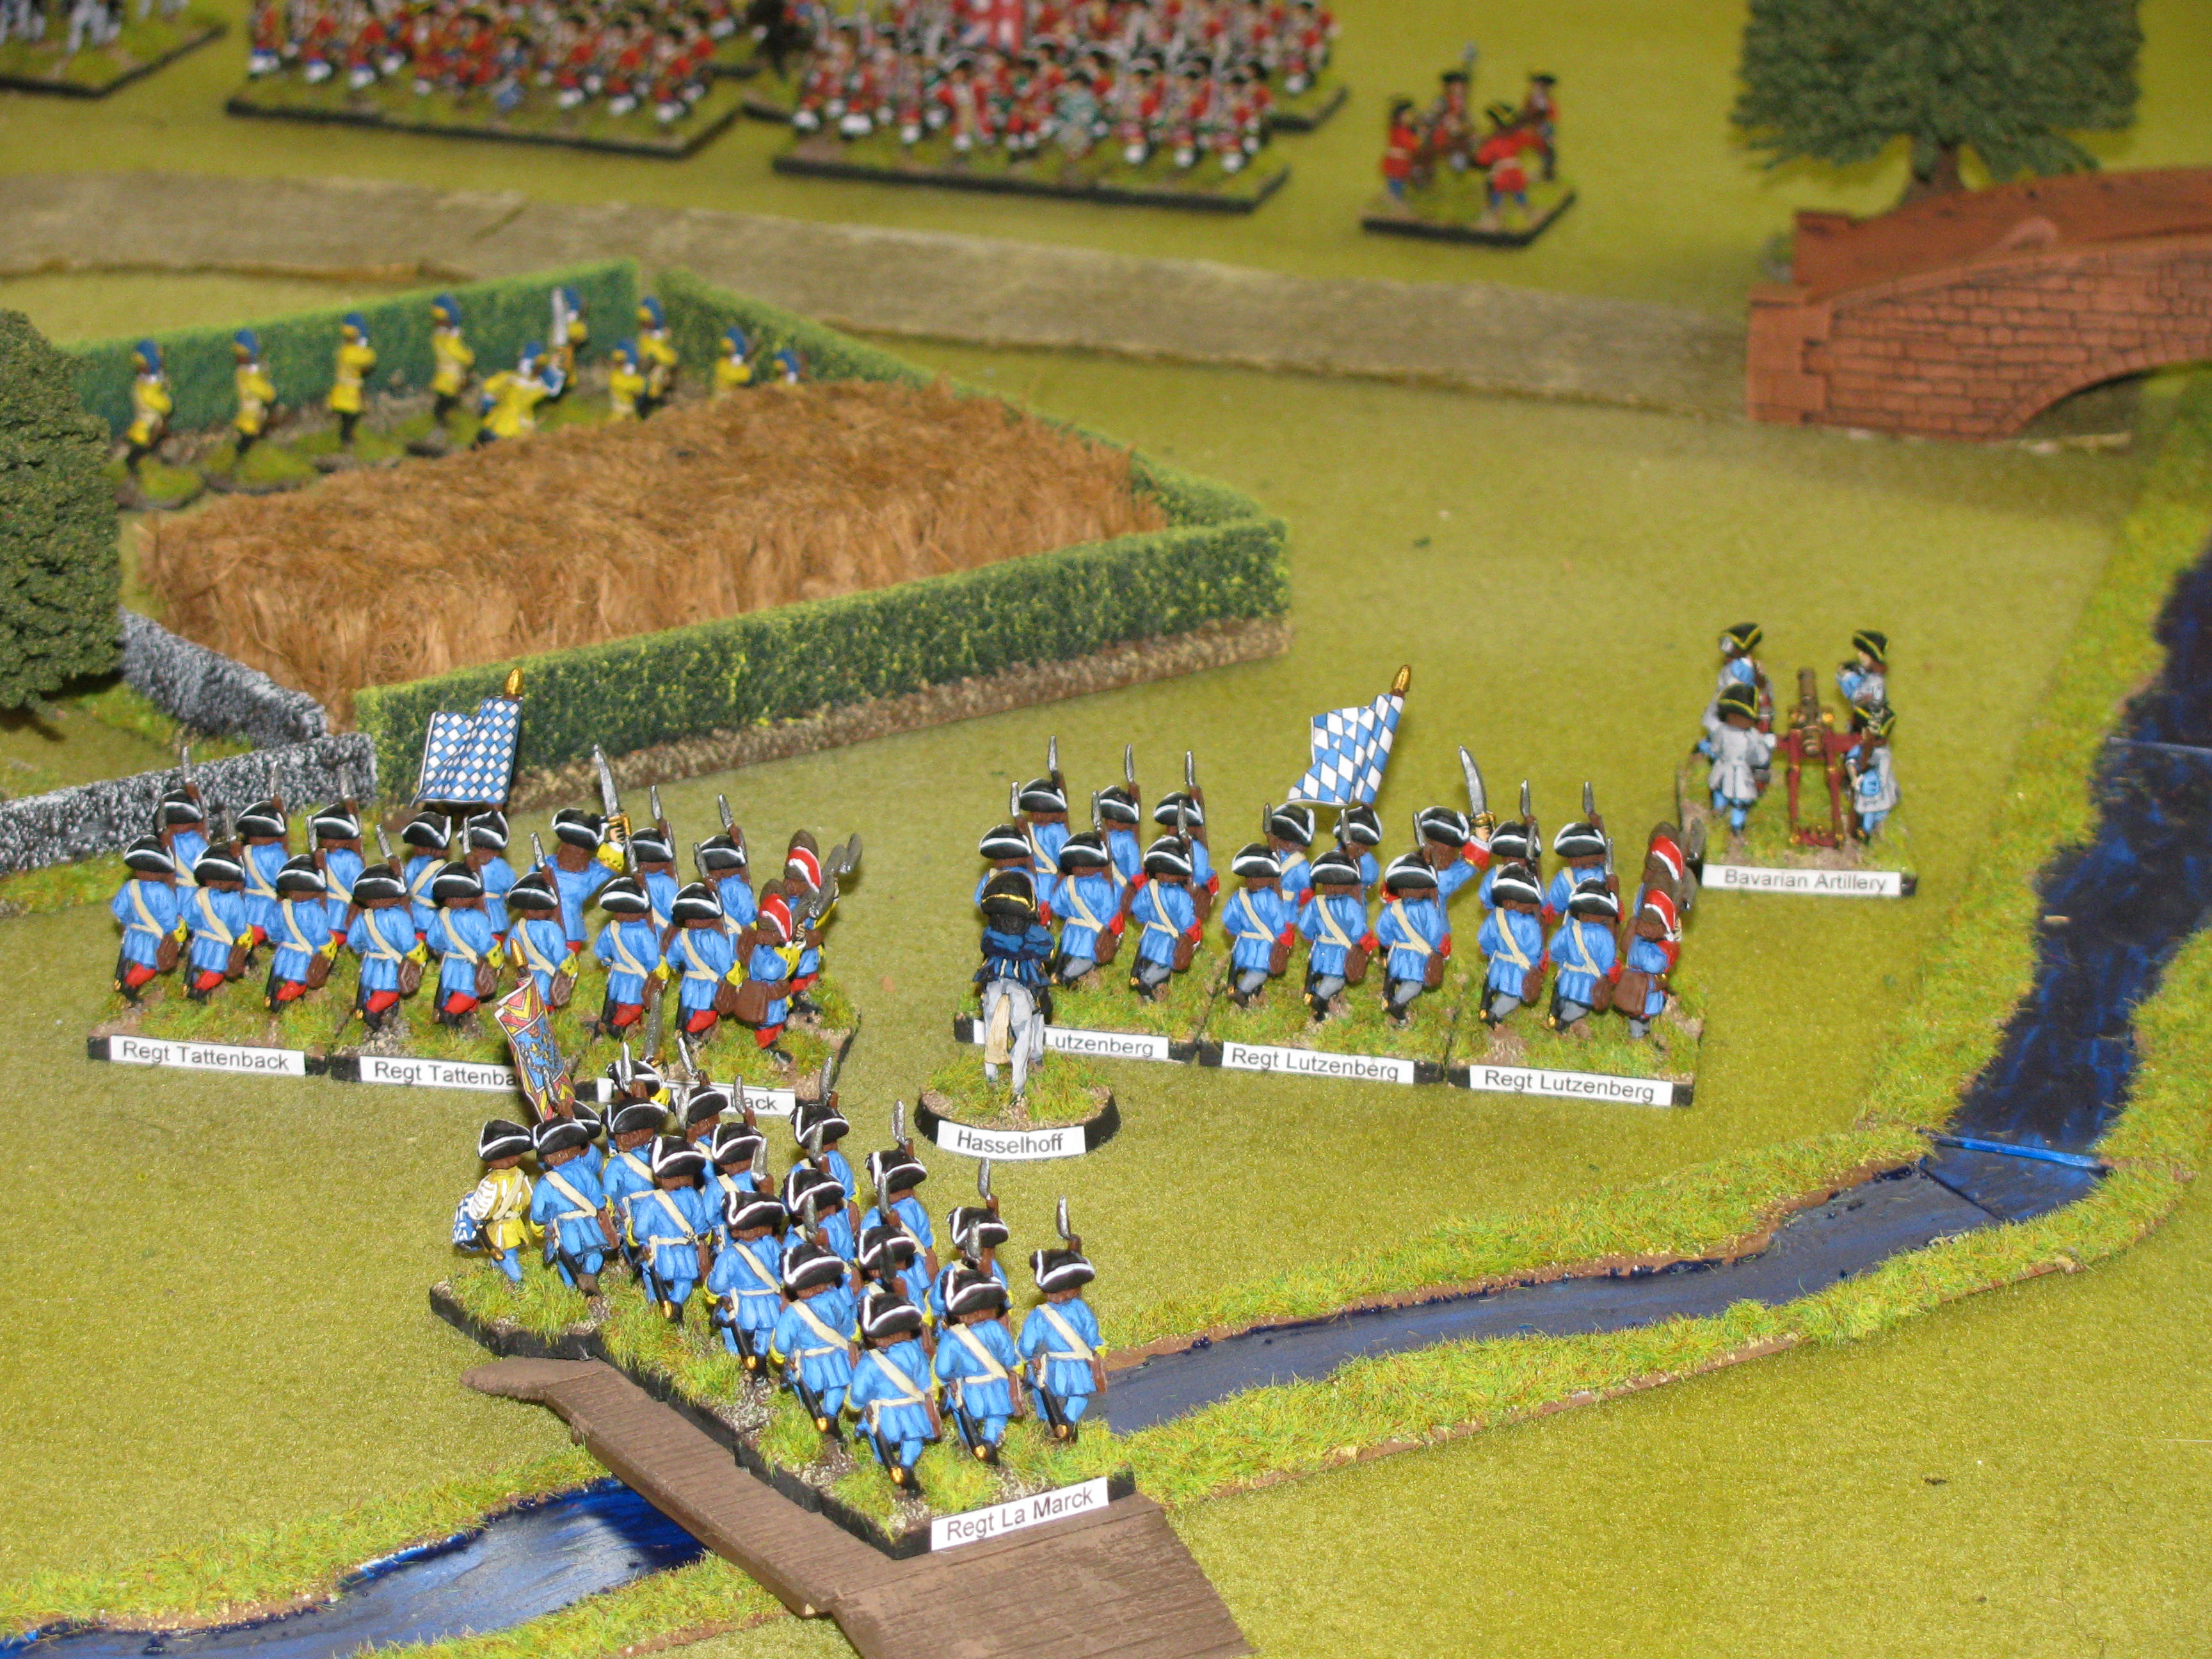
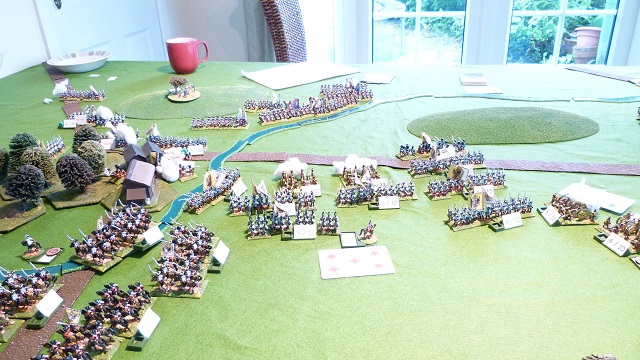
On the Austrian right, the Bavarian brigade started to get into the village and the supporting Austrian cavalry ably supported by a Bavarian battery also crossed the stream.
The Prussian 1st Cavalry unable to get around the flank swung right and toward the Austrian 4th Infantry brigade skirmishing with the Prussians in the village, after suffering notable casualties it seemed a breakthrough might happen. Luckily for the Austrian Infantry, the delay of the stream gave time to try and realign and for some Bavarian Artillery to unlimber in support and the Prussians met by withering fire and artillery shot halted or broke.
Meanwhile, Austrian brigades 1 and 3 came through in the centre and engaged the Prussian Guards behind the stream and the Prussians in the village with artillery, destroying the Guards artillery support. At this point, the Austrian Cuirassiers, Cavalry brigade 1, swung to the left to get around the woods supporting the other cavalry in an attempt to outflank the Prussian.
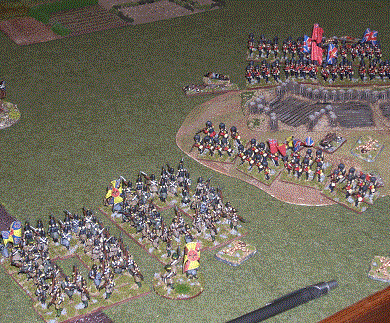
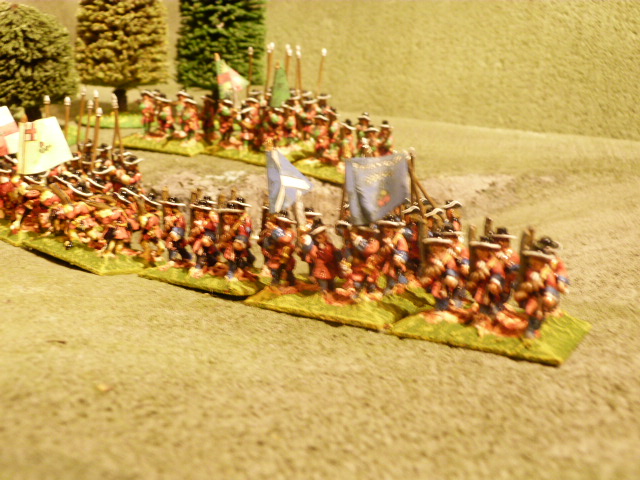
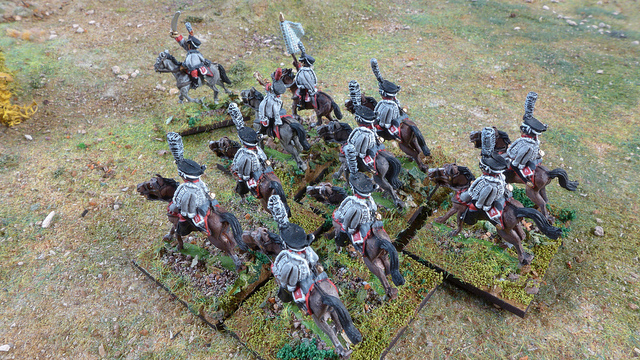
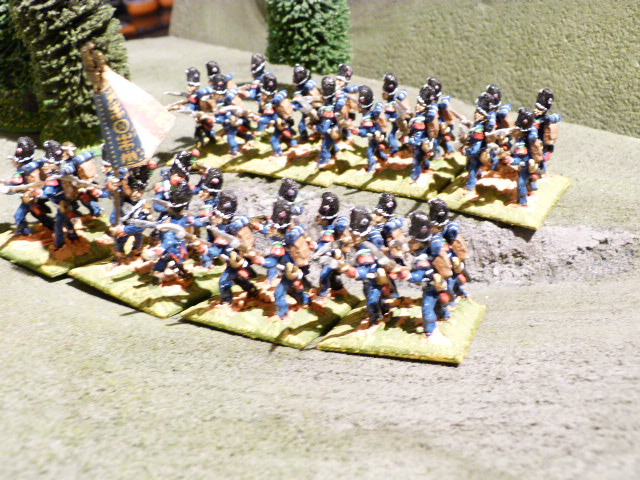
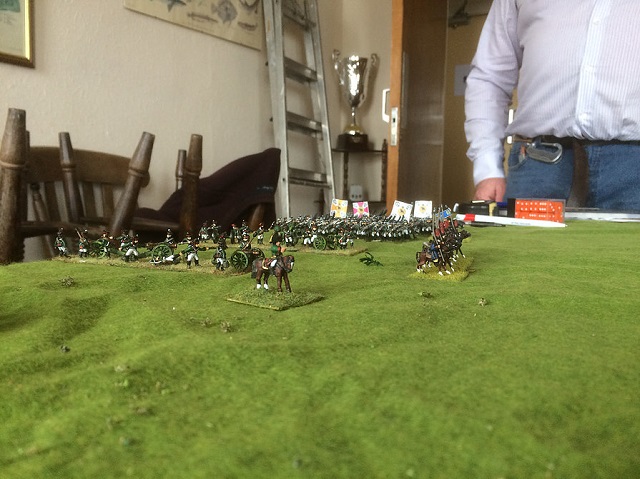
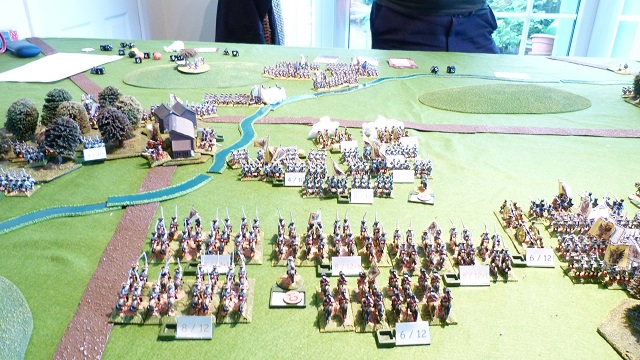
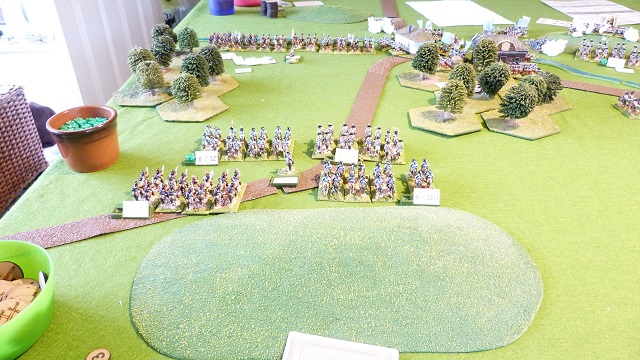
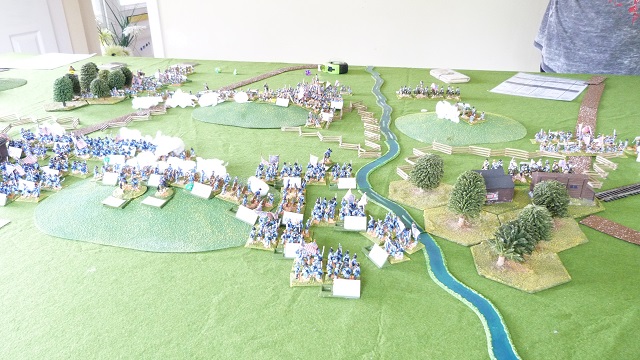
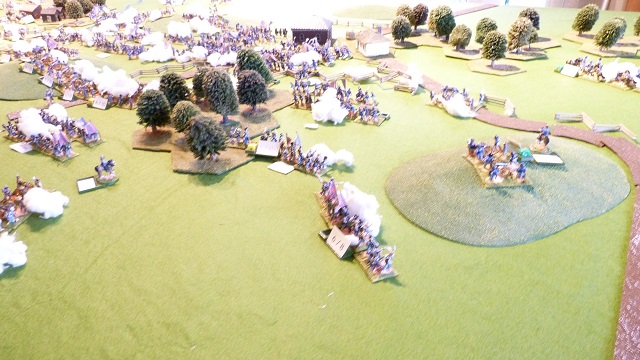
The fight over for the wood and village on the Austrian left the Cavalry cross the stream
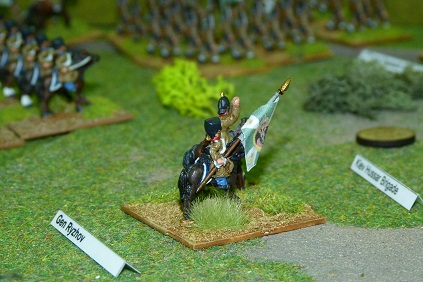
The Kuirassiers add the weight to the left to try and get around the guards holding the stream you can see 3rd Austrian Brigade using its artillery and a few battalions to keep the Prussians off there flank, just over the stream u can see the card for the reserve Prussian brigade, and the Austrian 5th brigade card
The small but violent Prussian counterattack on the 4th Austrian Brigade brought to a halt by volley after volley and Artillery support from the Bavarians
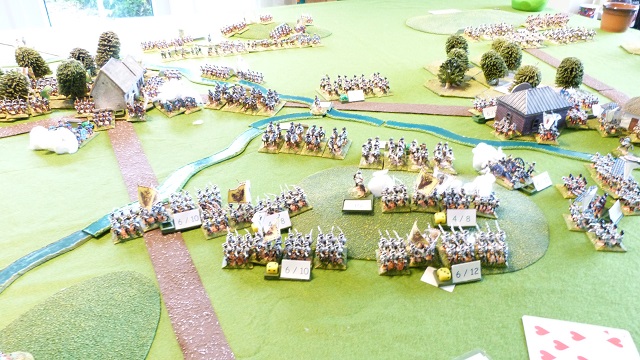
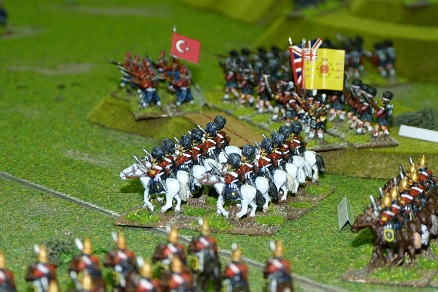
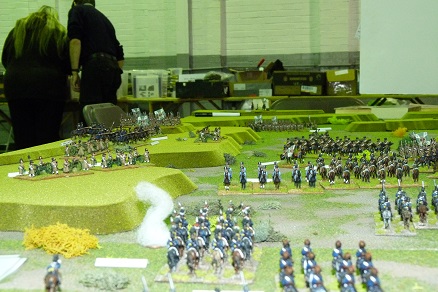
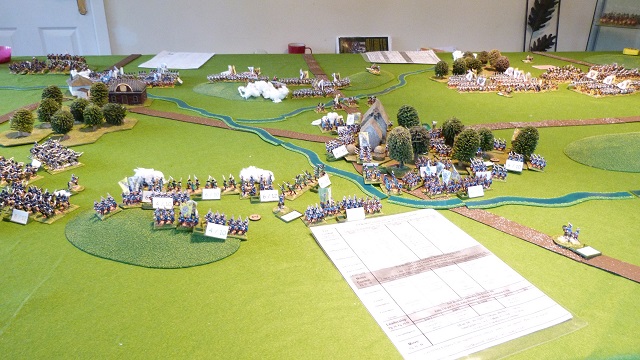
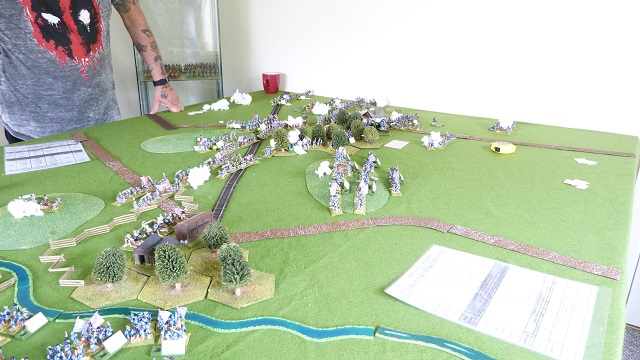
Austrian Right wing crosses the stream
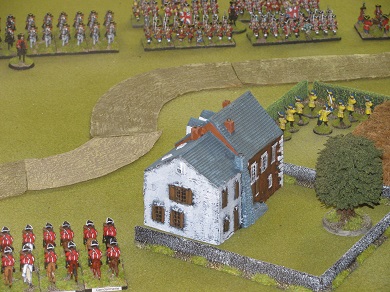
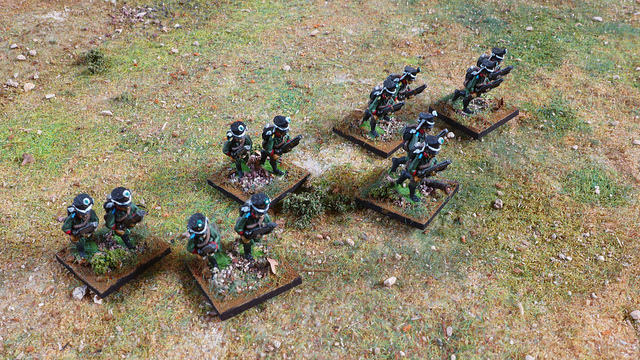
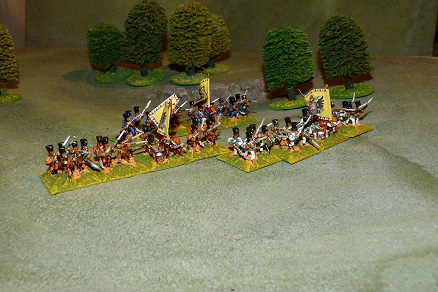
You can see the accessories we use to display the unit strengths neat and easy to see but not easy to see by your opponent
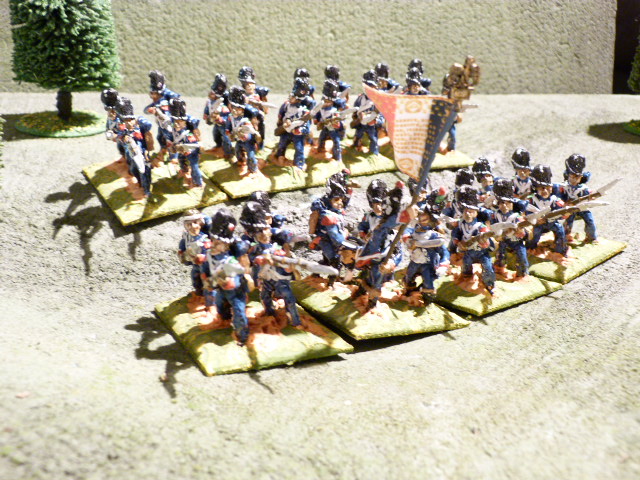
the centre the Prussians holding the village and the 2nd brigade to there left supporting them as th cavalry launch its attack on the Austrian 4th Brigade, you can see the lines of Austrian infantry and artillery of the 3rd brigade as it moves to assault the Prussian Garde
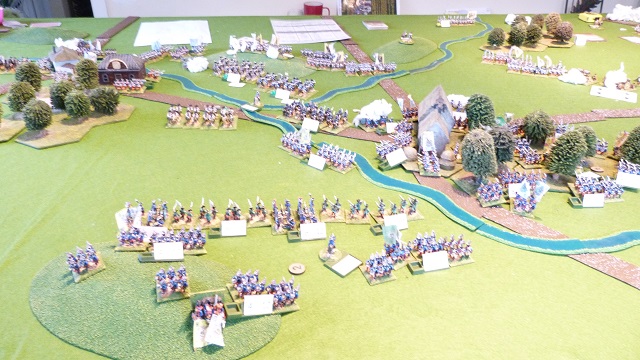
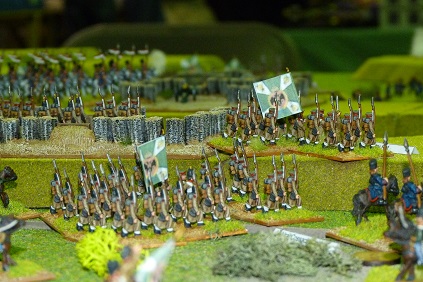
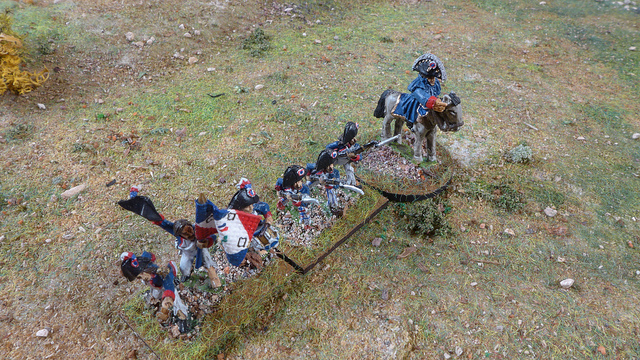
The Prussian Guards and supports, you can see the Prussians running from the woods and Austrian Infantry appearing, look out Frederick!
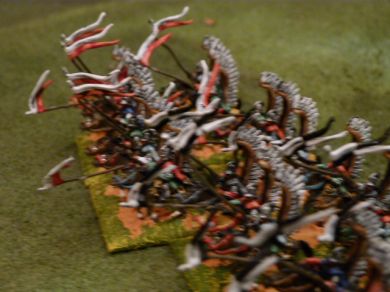
The Austrian Grenadiers in rout ( top left) as the Austrian Cavalry with infantry support cross to take on the Prussian Cavalry already with losses and under fire
At this point with chits falling thick and fast for the Prussians, the Prussian Right either in rout or about to be swamped by 13 cavalry regiments, the Prussian Guards being mowed down unable to reply to the
Austrian Batteries at cannister range and 2 more batteries moving to support with only the untouched 3rd Prussian Brigade for a rear guard the Prussian Army called a retreat. Another great game. I think the Prussians tied up too much in the central village and deployed themselves the full battlefield and thus no real attacking force to break the Austrians, but like all FoB2 games it had its high and low moments for both sides and was a thoroughly entertaining battle
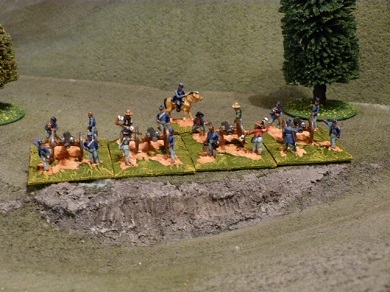
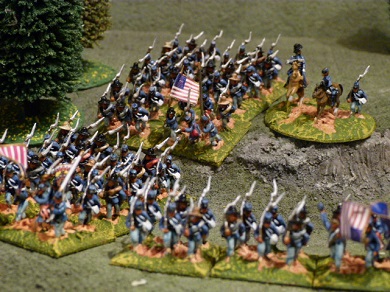
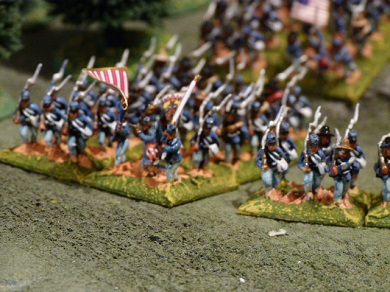
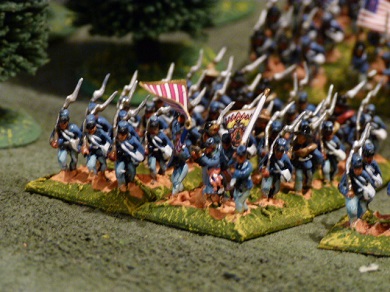
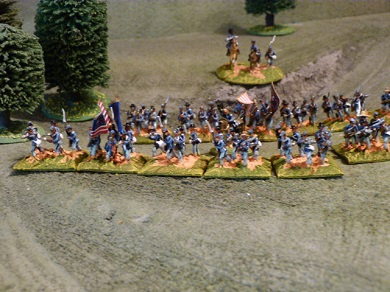
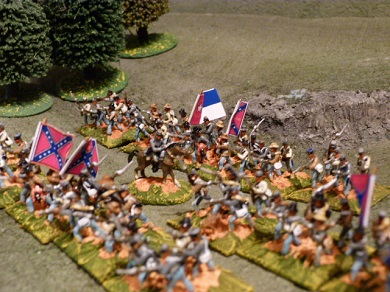
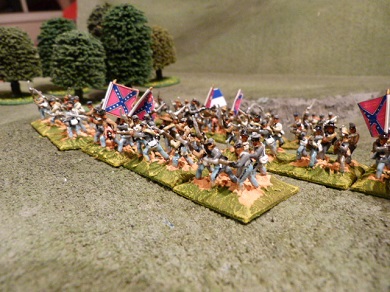
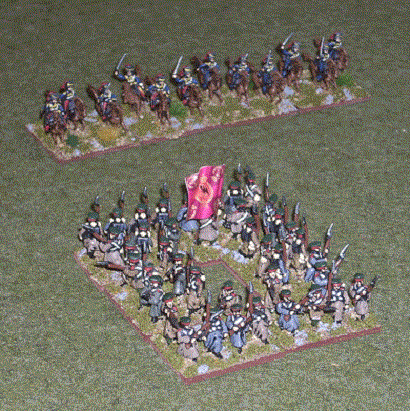
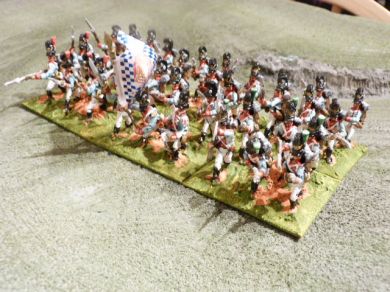
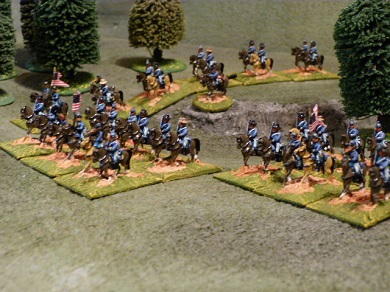
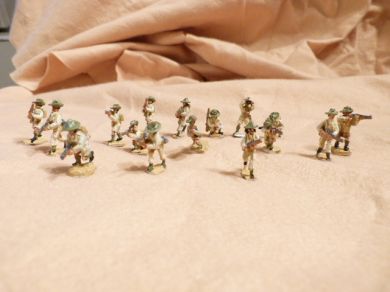
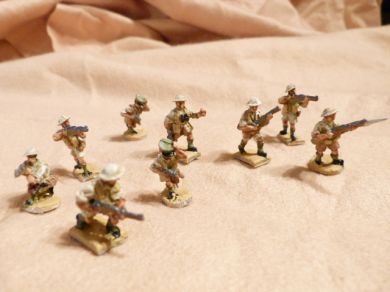
Fob2 ACW Game c1863
Fob2 ACW Game c1863
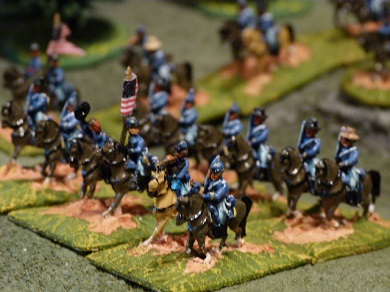
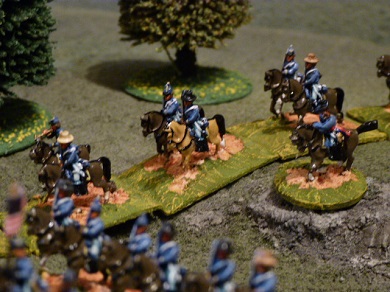
This weekend Jack came over for a game, usually, we have 4-6 players but holiday time kept the numbers down, so jack said ACW and the armies where
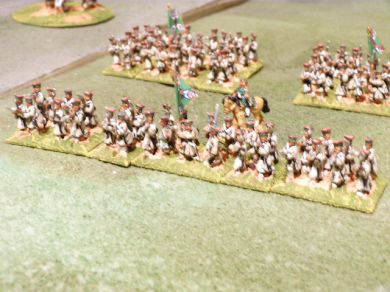
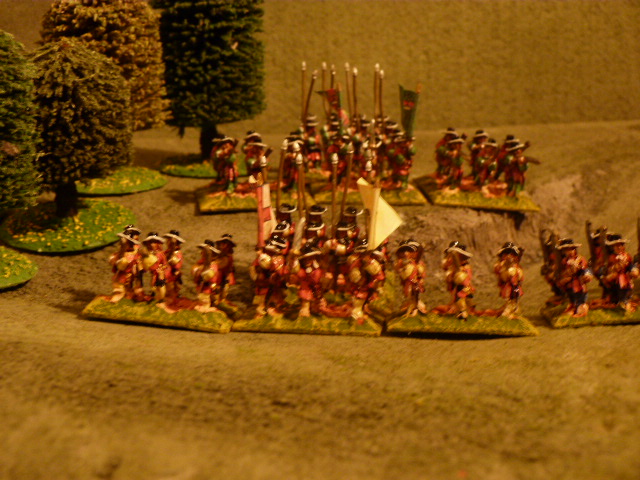
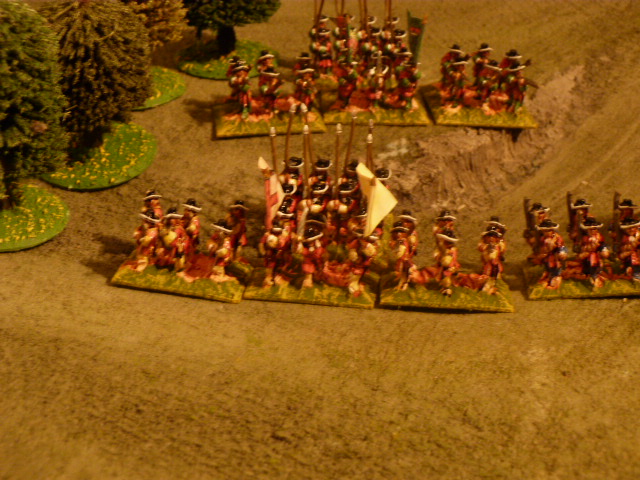
Confederate
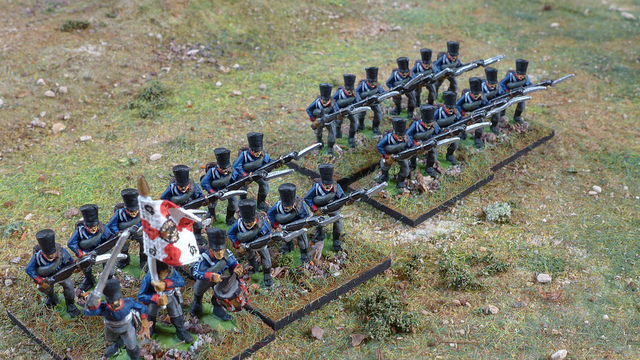
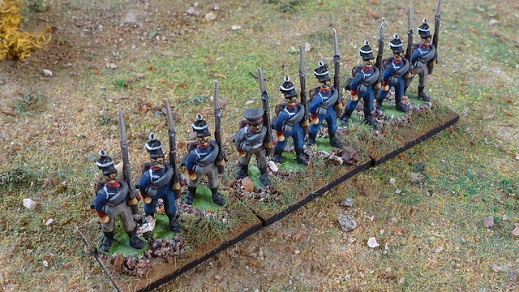
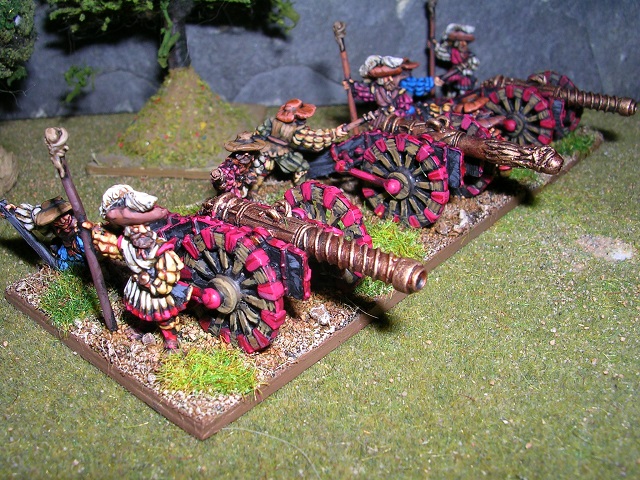
Brigade1 – 6 Infantry Units and 2 artillery batteries
Brigade2 – 6 Infantry Units and artillery battery
Brigade3 – 6 Infantry Units and artillery battery
Brigade4 – 6 Infantry Units and 2 artillery batteries
Brigade5 – 5 Infantry Units and artillery battery
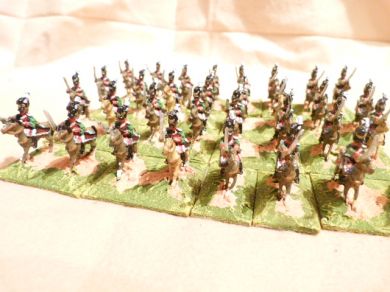
Cavalry Brigade 1 – 2 cavalry units and 1 battery H/A
Cavalry Brigade 2 – 2 cavalry units
Artillery reserve 4 batteries
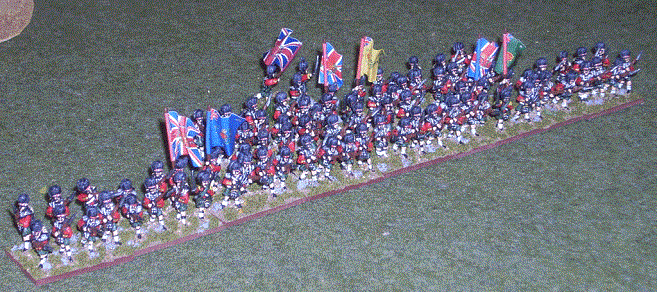
Union
Brigade1 – 6 Infantry Units and 2 artillery batteries
Brigade2 – 6 Infantry Units and artillery battery
Brigade3 – 6 Infantry Units and artillery battery
Brigade4 – 6 Infantry Units and artillery battery
Brigade5 – 6 Infantry Units and artillery battery
Brigade6 – 5 Infantry Units and artillery battery
Cavalry Brigade 1 – 2 cavalry units and 1 battery H/A
Cavalry Brigade 2 – 2 cavalry units
Artillery reserve 4 batteries
Options were to spread the Artillery reserve to the infantry brigades but we both decided against it
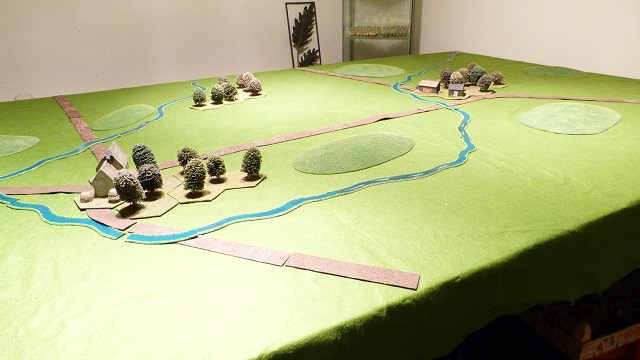
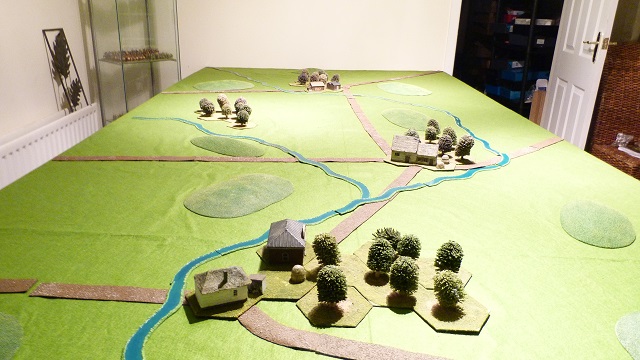
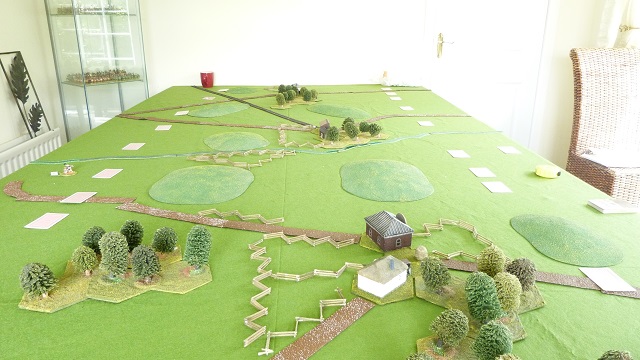
Table is 11.5 foot x 5.5 foot deployment was 1 foot in
Deployment
We deploy by using a deck of cards each card referring to a brigade and a random number of blanks, these are deployed – it saves times and also bad maps face down
Movement for any card is by the C in C die and movement is on cards at infantry speed, at anytime you can turn a card to use the commanders rating and faster( cavalry) movement but the troops have to be deployed
Once cards come within 24 inches they have to be revealed
Movement for the figures is 4 inch for foot and 6 for cavalry half the speed in the rules but ranges are the same
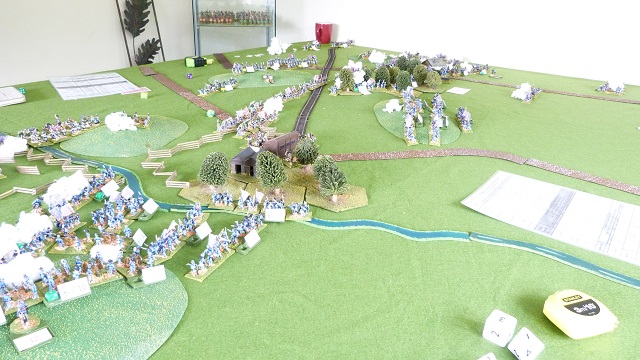
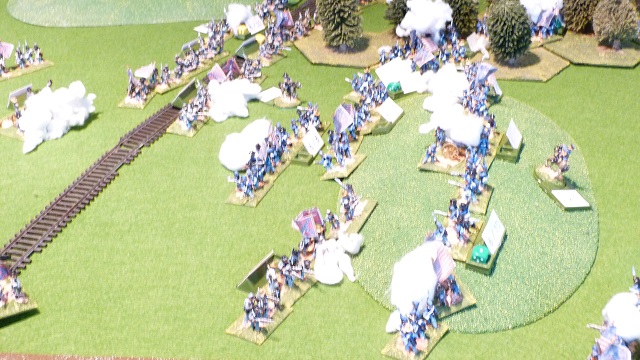
The objective was to drive away the enemy and keep control of the railway junction, the premise being the Union want to use this spur to extend the line for supplies to the main army, the Confederates want to drive the union off destroy the Junction and railway, hopefully making the main union army retreat due to supply problems
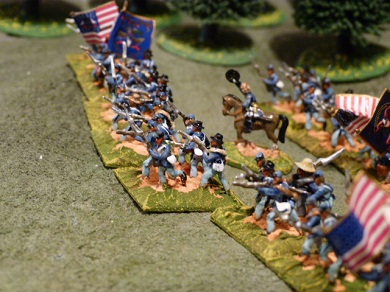
The Battle
The Union (me) decided to put the weight of the army on the Union left Centre, to the left of the stream(( 4 infantry brigades No1-4 and 1 Cavalry brigade No2 and the Artillery reserve) on the Right infantry brigades 5 and 6 plus cavalry brigade 1)
The Confederates( Jack) split his army on the Confederate right 2 brigades of Infantry and the Artillery reserve to the left of the stream he placed cavalry Brigade 1, and on the left his remaining 3 brigades of infantry. As you will see one cavalry brigade never appeared for the Confederates, I never noticed but in the heat of battle jack must have removed it as a blank in error
The armies are very even the commanders threw and the rating was 12+1 for the C in Cs for both the brigadiers where a smattering of 10, 12 and 12+1 for both sides.
The Union had the edge in quality of Artillery whereas the Cavalry and Infantry for the Confederates had a decidedly strong advantage over the Union.
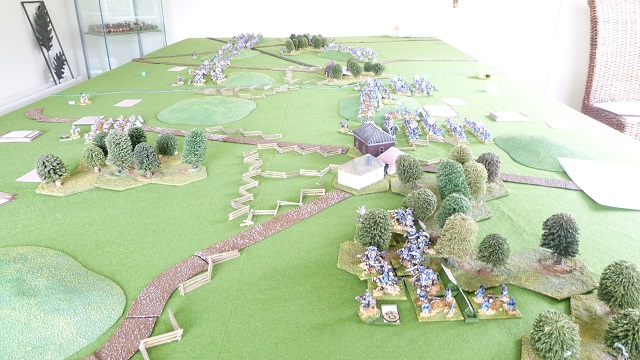
The battle began with all cards on the table and the Union got the first move and quickly headed on the Right towards the wood and Right had village although brigade 6 declined its initial move on the Union left the columns advanced on the objectives, after further into the deck the union pulled a second move card and Brigade 5 arrived at the wood on the Union right and took hold of the village, brigade 6 making up for its late start swept toward the hill its objective and the supporting cavalry brigade on the extreme right arrived and the Fencing next to the village and Brigade 5 and dismounted, on the Union left the central hill was occupied by the Artillery reserve and the infantry 1-4 swept up in support the extreme left cavalry brigade advanced through a wood to dismount.

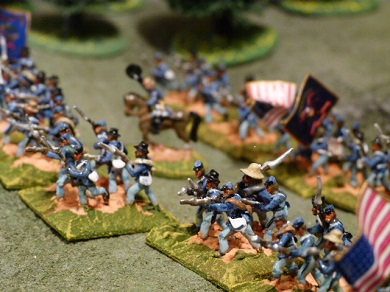
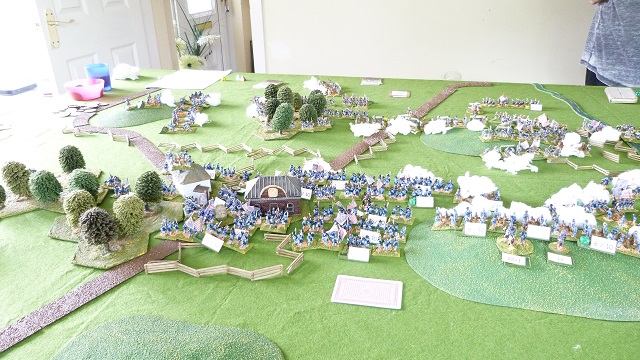
Jack thought we would end up playing on his side of the table as the union settled into its positions, soon the Confederate cards started to move with 2 brigades on the Confederate left marching straight for the woods and Union 5th Brigade, the cavalry in the centre swept over the hill toward the Village and the grand battery/Union artillery battery opened up and inflicted severe casualties, 2 hits each and driving one unit back in disarray also at this time over the hill to the front of the Union Artillery on the ridge appeared the 3rd Confederate brigade led by the Louisianan Tigers and Pelicans, the Confederate Artillery reserve deploying next to them with 8 batteries controlling the valley and others with the infantry brigades this was about to get bloody.
A little more manoeuvring led to all but a few blank cards of hidden troops and the Confederate Attack going in the Confederate left as it attacked the Union cavalry and the 5th Brigade, with an almighty volley two of the leading Confederate units Routed and 3 where pushed back, not a good start but it got worse the ragged volley back inflicted a few casualties but broke a unit in 5th Brigade. The Confederate cavalry swept into the railway junction but one battered unit got there the other, pushed back awaiting an opportunity to recover but the Artillery from the Cavalry brigade deployed to put more fire into the Valley of death. Licking its wounds Confederate infantry running for the baseline, the union turned a fire card and 5th Brigade and the Union 2nd cavalry brigade poured another volley into the Confederate line and two more units ran for the baseline. Although the downside was uncovering the Confederate second line and one of the Dismounted cavalry taking to its heels – as this was the best-dismounted cavalry unit for the Union this was a eeek moment, also fire from the Confederates in front of 5th Brigade and another Confederate brigade to their left caused several push backs – the 5th was buckling.
Inf the centre the Bombardment continued with the Union infantry and some supporting rifle fire causing the Confederate artillery hits to silence two and out of command 2 others, so them Union brigades 2 and 3 moved forward either side of the Reserve Artillery. The Union cavalry ordered forward swept toward a knoll on the Confederate right to try and enfilade the Confederate right and to draw away from the attacking 4th Union Brigade supporting infantry Brigades 2 and 3
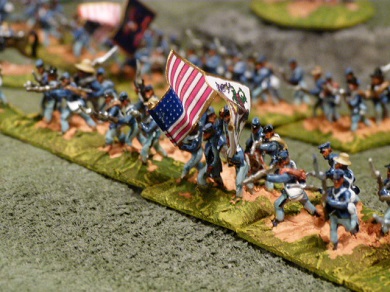
On the Union right the Confederates attacked the village and were repulsed, in the woods the union second rank fed in to strengthen the line as pressure mounted and the fire gradually drove the Union 5the brigade back but it bent and didn't break. The confederate now trying to turn 5th brigade engaged Union brigade 6 on the hill just to the south and initially drove back part of the brigade.
The cavalry on the Union right had only one unit holding the fence line a raw 4/10 unit and storming into view came an elite 10/12 and his friends although I didn't know that as our accessories don't let the unit ID be seen, luckily the Confederates desperate to clear away the cavalry didn't fire they charged with a rebel yell and they where in and the unit looked doomed, but a good die result led to the cavalry being pushed back with one casualty and out of command but the Confederate unit also out of command – well done.
In the centre, the Confederate commander ordered the remaining 4 units to assault and off it went and against all, the artillery fire( most missing) it broke two units of Union infantry and continued to fight toward the gun line.
Now it was getting desperate for the Confederates on their left the advance had been too slow and on their right, the Union cavalry had pushed past the flank. But desperate times make a commander take risks, on the left of the Confederate line saw the Union infantry ejected from half the village and 5th Brigade almost pushed out of the Wood, the Confederate assault on the cavalry brigade saw another melee and another push back, followed by the union deploying the brigade artillery in support of the cavalry only to see it silenced immediately and another melee with the dismounts seeing these raw troops wiped out, in the Confederate centre Brigade 3 shot up the artillery reserve battery destroying one of the 4 batteries and the Union Artillery praying for a fire card. On the Confederate right the brigade holding that was under attack from 2 union Infantry brigades and a brigade of cavalry.
The next series of cards see the Confederate high mark on the Confederate right they engage with the Cavalry brigade and with two supporting batteries panic the Dismounted cavalry and they flee leaving the Artillery battery alone in the centre the 3rd Brigade advances, in the face of two more brigade batteries coming into play and got to within an inch of the Union artillery reserve on the left they take the last section of village pushing a Union unit out. On the Union side 5th Brigade rallied its broken unit and formed the third line, 5th brigade threw in its last fresh unit to push back two Confederate units, the Right wing Union cavalry unit rallied and the Union 6th Brigade attacked and broke two of the opposite confederate brigade, the Union Infantry surged forward and broke several Confederate units, and eventually the artillery card appeared for the Union and so ended the confederate 3rd Brigades advance so close but not close enough the brigade with only 2 units left not routed and with the Confederate right and left with more broken units than steady with the Confederate general on the extreme left being killed with no tokens in the Confederate bowl and adding to the Union tally we called it to for the Confederates to limp home.
The heroes on the Confederate side definitely 3rd brigade under fire from artillery, infantry and killing the Union 3rd brigade commander it nearly achieved its superhuman target, unfortunately behind the hill and thus behind the Artillery was the Union 1st Brigade ready and waiting for these brave men, on the Union side it has to be 5th Brigade not only did it fight against twice as many confederate infantry but at the end all its units had rallied and although losing the village it still clung to the woods, bloody and having routed 4-6 units of confederates, also sterling service the artillery battery of the 5th Silenced, was assaulted by a battered( 2 casualties) confederate unit who sought to destroy it, alas our gunners had a surprise and pushed them back
The game lasted around 5-6 hours and was engrossing a thoroughly enjoyable game, even better when a plan works and you win
13th August 2015
Its been a busy few weeks, our vote for our next range came in and the next instalment of our World War One epic is underway - The Middle East, something I have always wanted to game so another army to paint, although I was voting for the Italian Wars it came in last but its in the pipeline as is the Napoleon in Egypt range.
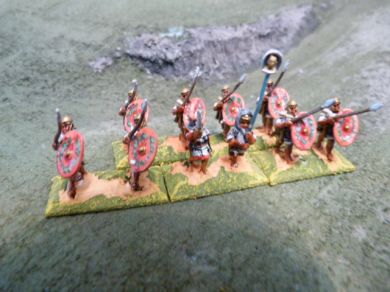
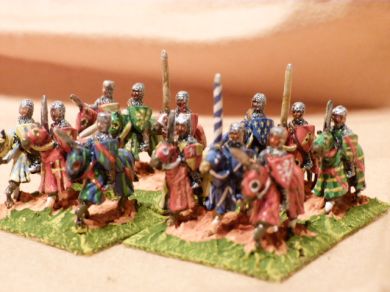
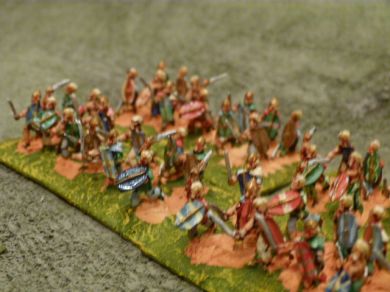
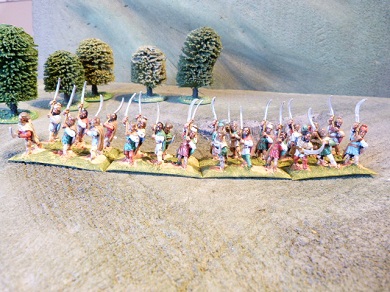
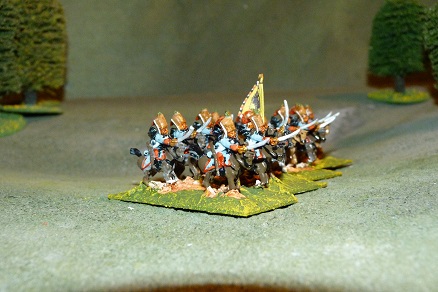
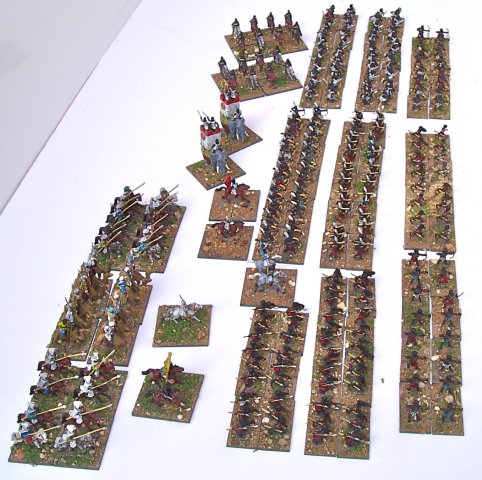
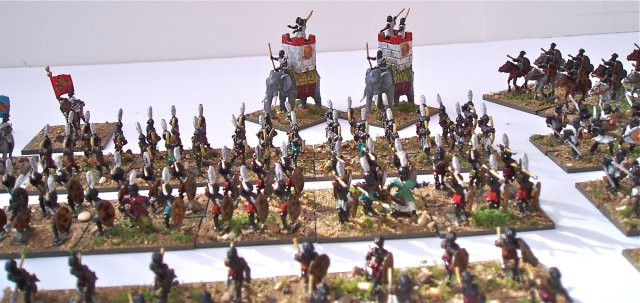
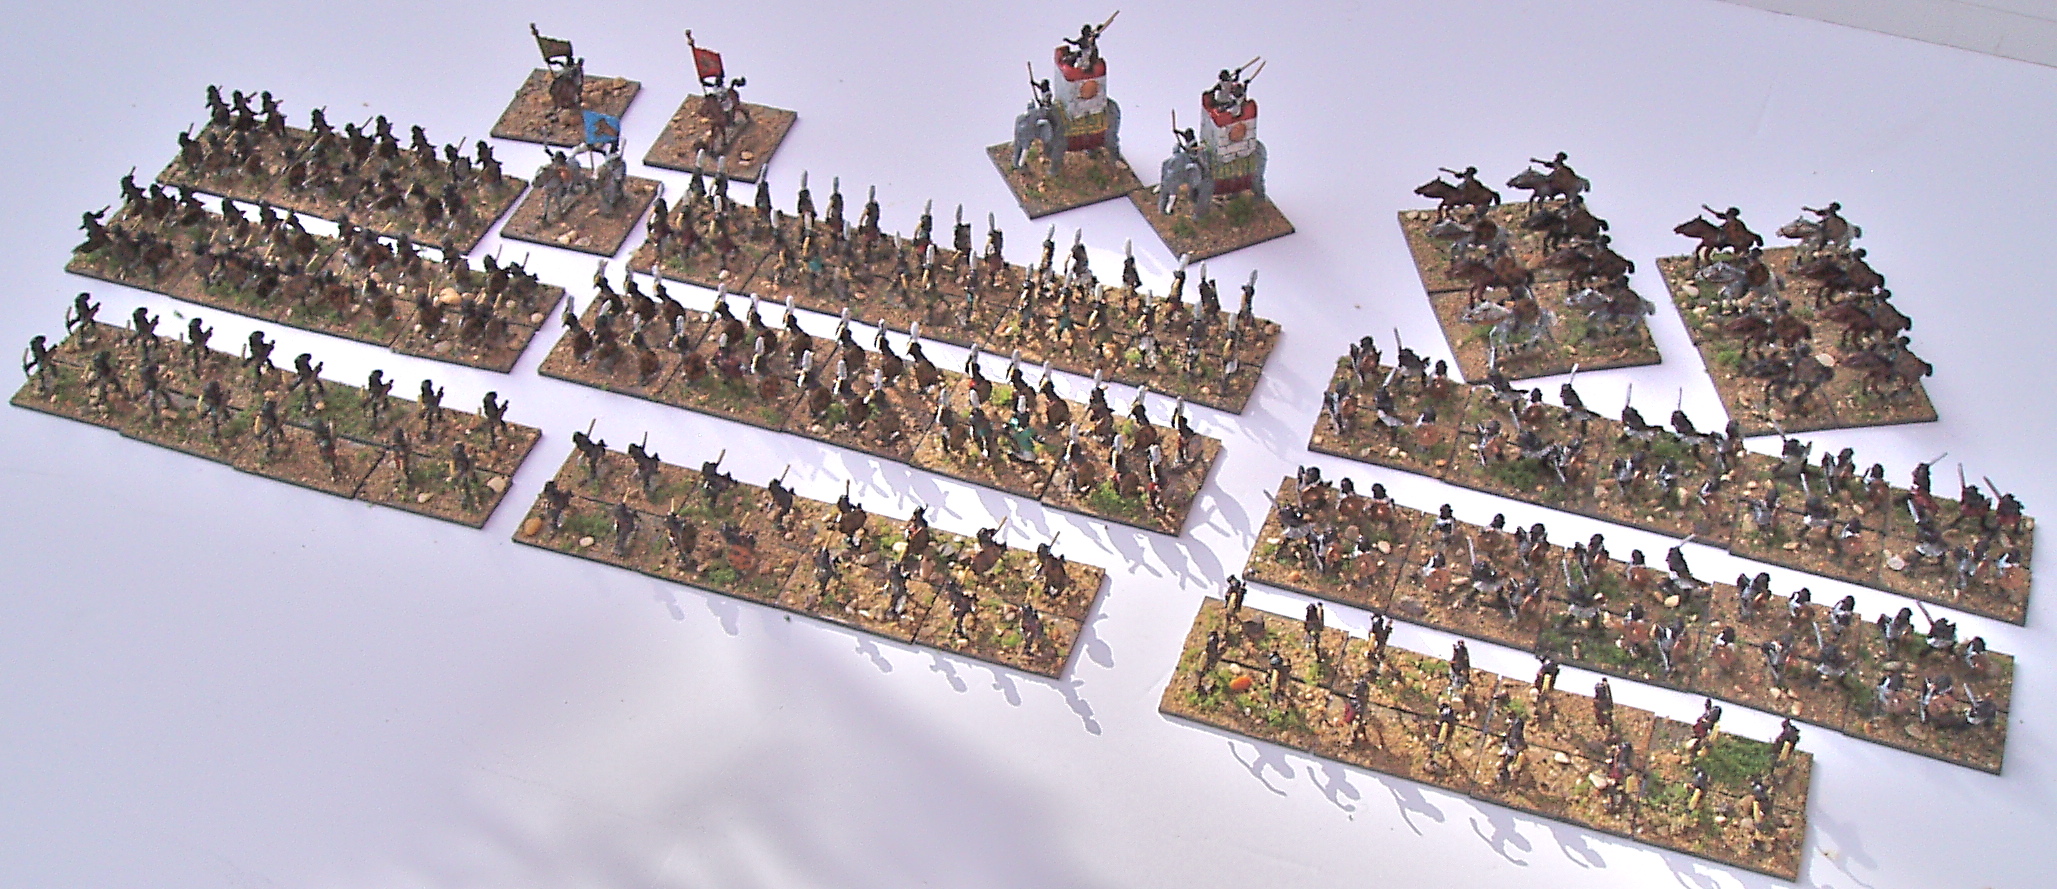
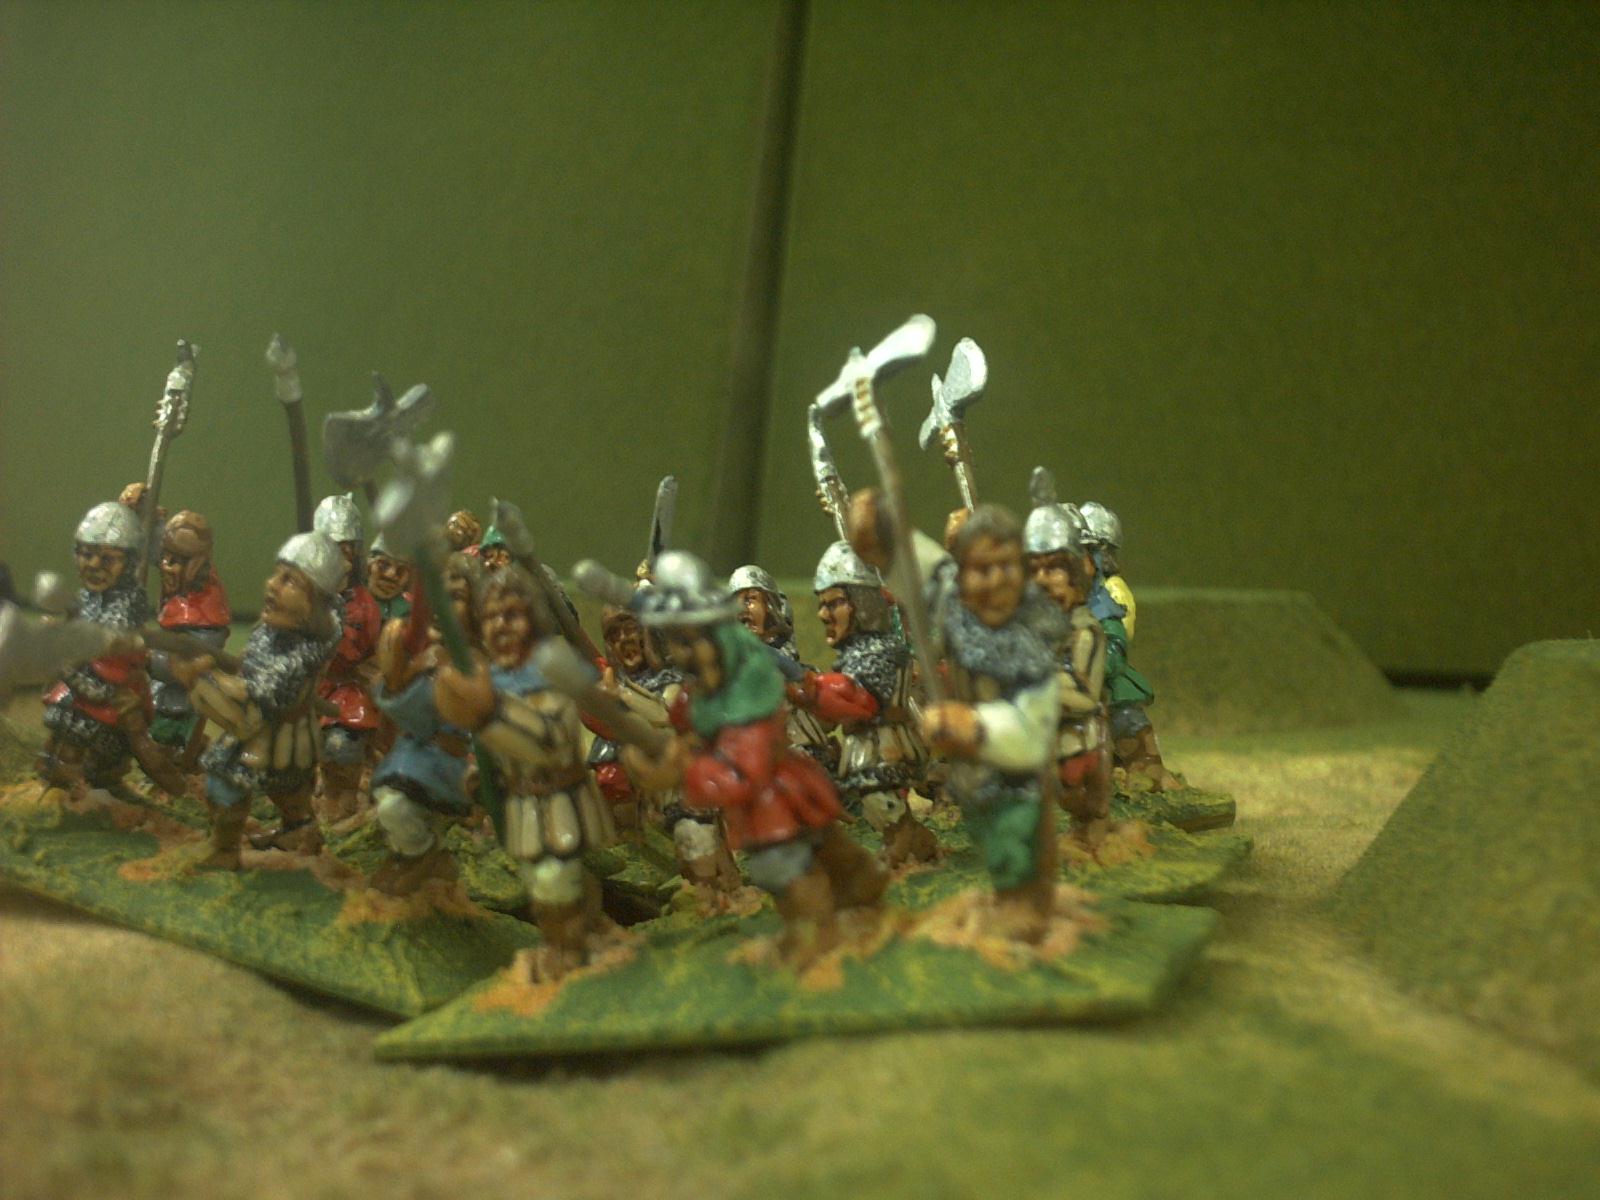
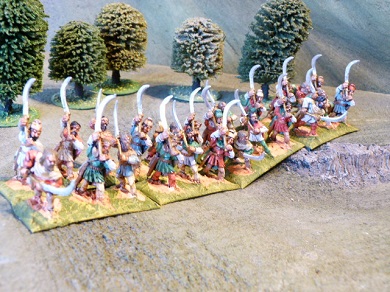
I've also been busy painting some of my own armies and my Carthaginian army is coming along, there are some pictures in the gallery but here are a couple
The Army so far
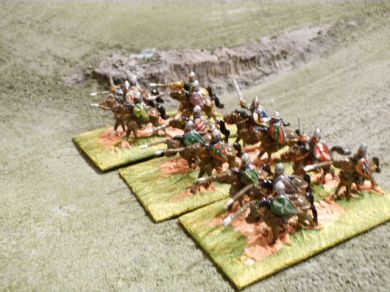
and the Numidian Light cavalry freshly based reinforcements
The Spanish cavalry are underway as are the Chariots (to make the Celts into an Ancient British) soon I will be able to start the Romans!
The Club site and Club list are nearly complete thanks for those who sent details, we have spent many hours trawling list of clubs finding lots of dead ends but we have our initial list.
Finally we are fast approaching our shows again, Border Reivers, Partizan, the World Championships, Fiasco then Reading, I'm looking forward to them all, especially the weekend away in Reading. But next year I'm looking to add a few more shows, already added Hammerhead, possibly Salute and a couple of others, so if you can suggest a show that you think we would enjoy near you drop us an e mail and we will look into it.
Now the Final, Final thing is to tell you that we are going to be adding lots more figures to the WW1 ranges in the next 12 months, inc East Africa and lots of colonial and minor states, plus we have got underway with our Limbers and we should be releasing the first before the end of this year
One last thing to add is how much we at Lancashire Games appreciate your support we are very lucky to work in our hobby and we like to deliver what you all want so again any suggestions please mail us and you never know
12th June 2016
Its been nearly a year since my last Blog, lots of reasons no excuses, so sorry for not keeping you in the loop on plans etc but lets rectify this now.
Our new 18mm ACW range is coming on line in a couple of weeks, thanks to all those pre orders and we are already working on our next addition to the range for October watch this space
Our next project is a large one, something for several months we have been talking to people about our 18mm Napoleon in Egypt range, we have gleaned that what you want from an initial range is, well everything so we are trying to get a balanced list together and we will publish it here and in our Future ranges section hopefully next week.
If your interested please let us know what you think and as its a biggy we are asking for people to pledge so we can see demand and hopefully do the whole range together and those who are interested to pre order can take advantage of our special offer so watch this space.
Next month we will be releasing more Napoleonic 15mm cavalry - Austrian, Prussian, Polish and much more
Lots in the pipeline and even more Ill tell you about later, take care and enjoy your gaming.
7th July 2015
Hi a little late with the blog, but its been a hectic few months, but at last more new ranges, the samples for the 15mm Renaissance, Napoleon in Egypt and WW1 Middle East will be on the site in a day or two for your last votes before we get stuck in, don't forget the one with the most votes will be up first and our 25 % pre release offer.
Our Club discount scheme will be ready soon hopefully we are compiling the list of clubs ready for its launch in a week or two so watch your mail boxes and if you haven't already register your club hopefully you will like the scheme, plus it will be there for people to find your club and hopefully get you a few extra members.
Thanks for all the pictures send in from everyone I'm always interested as are lots of people to see the different styles of real gamers and the games they play.
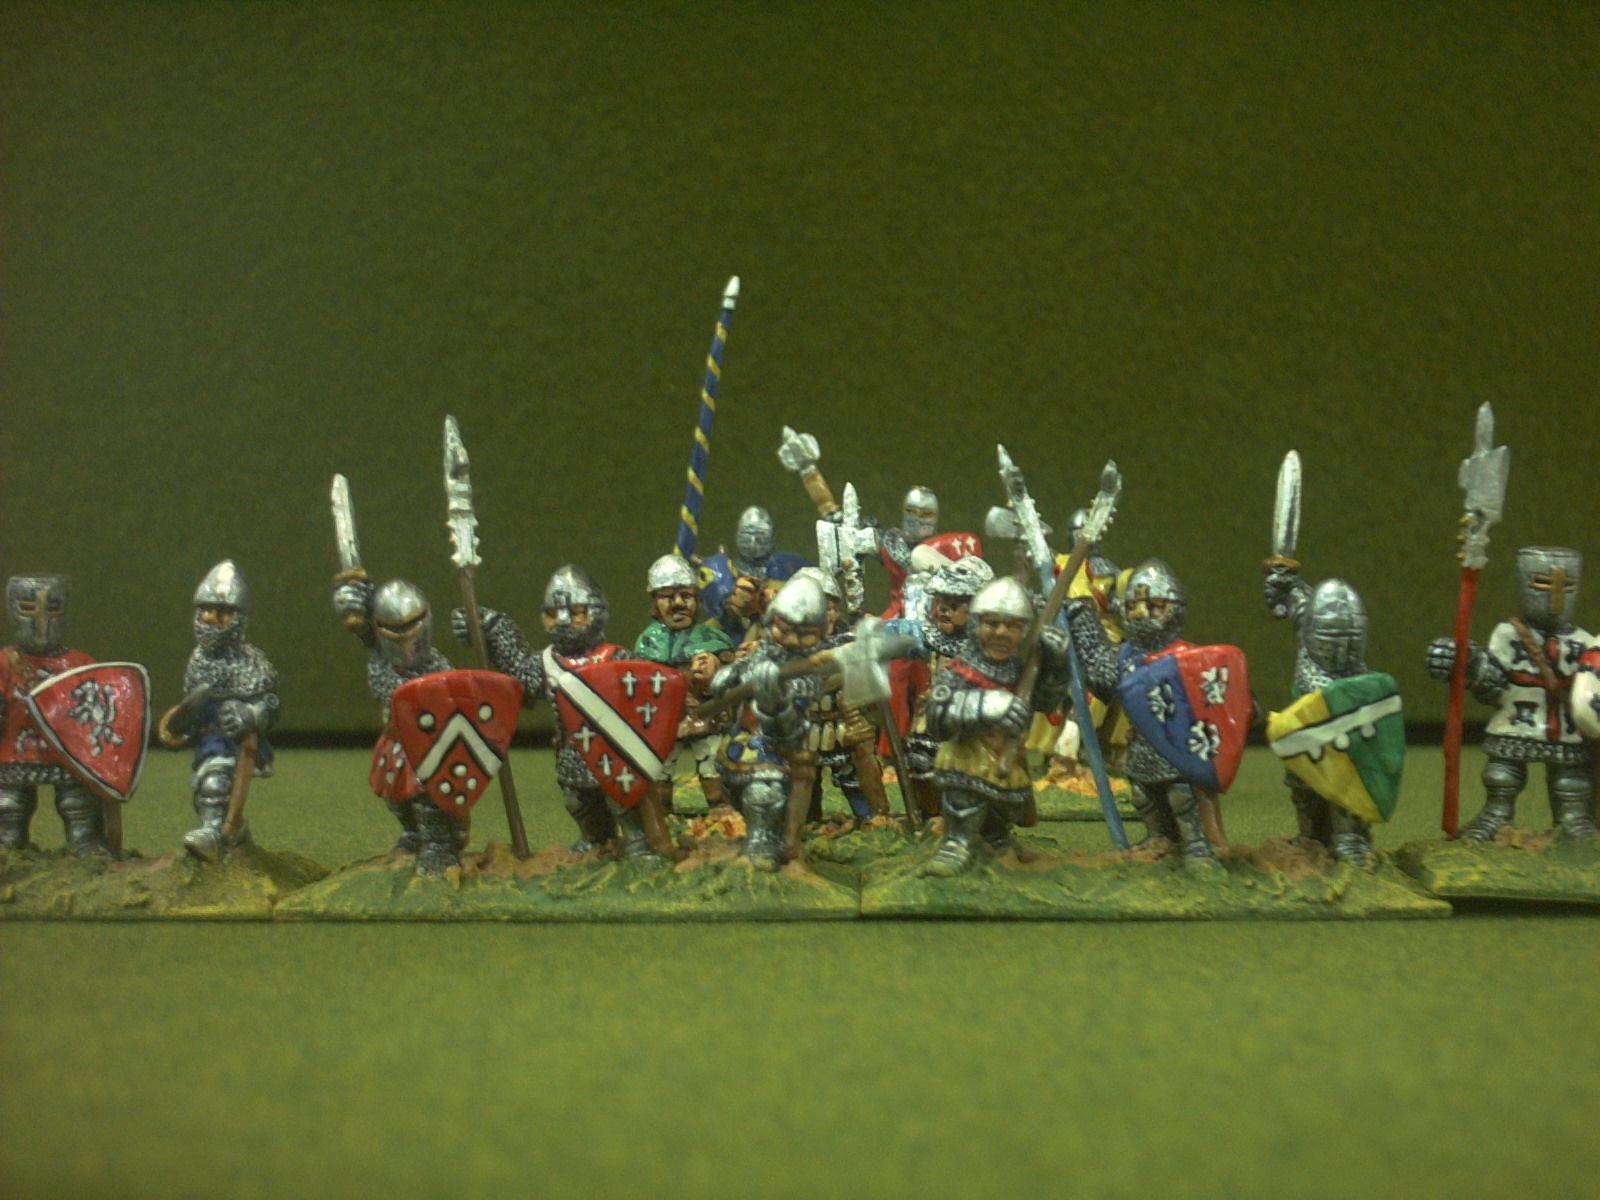
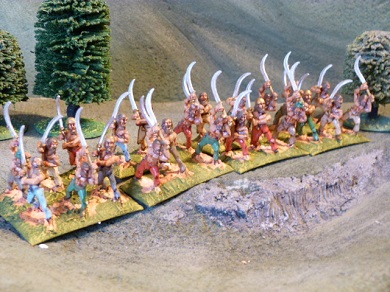
My personnel challenge come new armies, is my Punic war collection, the moment completed the African Heavy Infantry, all the Celt foot and the Carthaginian Heavy cavalry, pictures up next week and the next addition will be Celt cavalry.
That's it just to say watch out soon for some new Blaze Away 28mm Spanish as well......